I remember sitting in my old mentor’s shop back in the seventies, the air thick with the smell of burnt oil and the rhythmic clack-clack of the heavy press. I was twenty years old and convinced I could force a piece of thick-gauge steel into a perfect radius just by sheer willpower and a heavy hammer. I didn’t listen when he told me to watch the grain, and I ended up with a jagged, cracked mess that was fit for nothing but the scrap bin. That’s the thing about metal bending; it isn’t a contest of strength, and it certainly isn’t something you can bully into submission with a fancy, overpriced hydraulic kit you bought online.
If you’re tired of watching expensive stock snap or spring back like a rubber band, you’ve come to the right place. I’m not here to sell you on some high-tech, automated miracle that does the thinking for you. Instead, I’m going to show you how to actually read the metal and understand how heat and pressure work together. I’ll share the practical, hard-earned lessons I’ve gathered over forty years so you can stop wasting material and start building things that last.
Table of Contents
Understanding Material Ductility in Metalwork
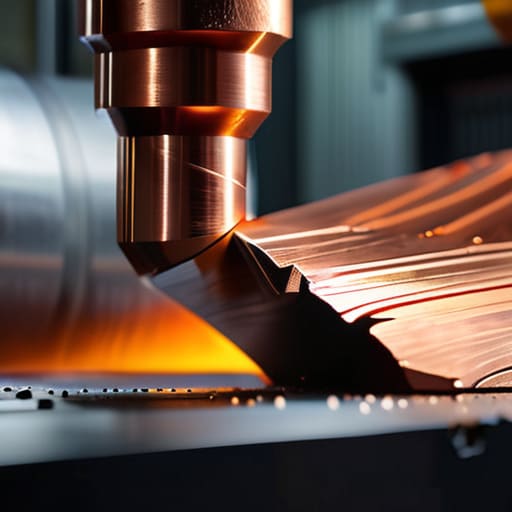
Before you even think about putting a piece of stock into the vise or under the brake, you need to understand what you’re actually working with. You can’t treat a piece of high-carbon steel the same way you treat a sheet of soft copper. Material ductility in metalwork is what determines whether your piece is going to flow into the shape you want or snap like a dry twig under the pressure. If the metal lacks the ability to deform plastically without cracking, you aren’t bending—you’re just breaking.
I’ve seen plenty of young lads walk into a shop, see a piece of metal, and assume it’ll behave just because it looks thin enough. That’s a quick way to ruin a good sheet. You have to account for how much that material is going to fight you. This is where you run into the headache of springback in metal bending; that’s the tendency of the metal to partially return to its original shape once you release the pressure. If you don’t respect the limits of the material’s ductility, you’ll spend more time grinding down mistakes than actually building anything.
The Truth About Springback in Metal Bending

Now, if you think you can just bend a piece of steel to a specific angle and walk away, you’re in for a rude awakening. Every time you apply pressure, the metal wants to fight you. It’s a phenomenon we call springback in metal bending, and it’s one of those things that’ll drive a novice mad. When you release that pressure from the brake, the material tries to return to its original, relaxed state. If you don’t account for that little bit of “rebound,” your finished part is going to be slightly more open than your blueprint intended.
I’ve seen plenty of young lads waste a perfectly good sheet of aluminum because they didn’t respect this reality. You can’t just eyeball it and hope for the best. To get things right, you have to overbend the piece slightly to compensate for that elastic recovery. It’s a bit of a dance between the machine and the material. Whether you’re using a small manual setup or a heavy-duty hydraulic press brake operation, you need to learn the temperament of your specific stock. It takes a bit of practice and a few ruined scraps to truly feel where that limit lies, but that’s how you learn to work with the metal, rather than against it.
Five Rules to Keep You From Wasting Good Steel
- Mind your bend radius. I’ve seen too many young lads try to make a sharp, tight corner on thick plate without thinking it through. If you force a radius that’s too tight, you’re going to crack the grain of the metal, and once that hairline fracture starts, there’s no fixing it. Use a radius that respects the thickness of the material.
- Watch your heat, but don’t lean on it. If you’re working with thicker stuff that needs a torch, get it to a dull cherry red and hold it there. Don’t go cranking the flame just because you’re impatient; you’ll end up overheating the localized area, making the metal brittle and prone to snapping right where you need it to be strong.
- Secure your work properly. A piece of metal that shifts halfway through a bend is a piece of metal that’s going to hit you in the knuckles or end up crooked. Clamp it down like you mean it. I’d rather spend an extra minute setting up my jigs and clamps than five minutes cursing a bent piece of stock that’s now useless.
- Work in increments. If you’re doing a heavy bend, don’t try to get it all in one go. Apply pressure, check your progress, and adjust. It’s better to take five small, controlled hits with the hammer or several slow presses on the brake than to one massive, uncontrolled shove that sends the metal flying or ruins the shape.
- Clean your dies and surfaces. It sounds like small stuff, but a bit of scale or a stray metal shaving caught between your die and your workpiece will leave a mark you can’t sand out easily. Keep your tools wiped down and your contact points clean. If you treat your equipment with respect, it’ll give you a much cleaner finish.
Lessons from the Anvil
Respect the material’s limits; if you try to force a bend without accounting for ductility or the right heat, you aren’t working the metal, you’re just breaking it.
Always account for springback in your initial measurements, because the metal is going to fight you just a little bit once you release the pressure.
Slow down and observe the grain and the heat; shortcuts in the preparation phase are nothing more than a fast track to a pile of wasted scrap.
## Listen to the Grain
“Metal isn’t a stubborn thing to be conquered; it’s a material to be understood. If you try to force a bend before the heat is right or the grain is settled, you aren’t working the metal—you’re just fighting it, and the metal always wins in the end.”
Alistair Fenwick
Making It Count
At the end of the day, successful metal bending isn’t about how much force you can throw at a piece of stock; it’s about how well you listen to the material. You’ve got to account for the ductility of your specific alloy, and you absolutely cannot ignore the inevitable reality of springback if you want your angles to be true. If you try to fight the metal instead of working with its natural properties, you’re going to end up with cracked edges or a pile of scrap that belongs in the bin rather than on a finished project. Remember, precision comes from preparation, not from rushing the bend when you’re feeling impatient.
I know it can be frustrating when a piece doesn’t come out exactly how you envisioned it on your first pass. I’ve spent more than a few afternoons staring at a ruined sheet of steel, wondering why my math didn’t match the reality in my hands. But that’s where the real learning happens. Don’t let a bad bend discourage you; let it teach you. Every mistake is just a lesson in how that specific metal wants to behave. Take your time, respect the tools, and keep your eyes on the work. We aren’t just making shapes here; we are building things that are meant to stand the test of time.
Frequently Asked Questions
How do I know when the metal is getting too hot and at risk of cracking or losing its temper?
Watch the color, but don’t trust your eyes blindly. You’re looking for that cherry red, but the moment you see bright orange or a hint of white, you’ve gone too far. If the metal starts looking “grainy” or if you see tiny, microscopic fissures forming near the bend, stop immediately. That’s the metal screaming at you. If you push through that, you aren’t working anymore—you’re just breaking things.
What kind of setup do I need in a home workshop to get clean bends without a massive industrial press?
You don’t need a factory floor to get decent results, but you do need leverage. For a home setup, I’d start with a sturdy, heavy-duty workbench bolted to the floor—if your bench moves, your bend won’t either. Get yourself a decent set of manual sheet metal brakes for thinner stuff, and a heavy-duty vise with some soft jaws to protect your work. If you’re moving into thicker stock, a small hydraulic shop press will save your back.
Is there a way to account for different metal thicknesses when I'm calculating my bend allowance?
You absolutely have to account for it. You can’t just use one rule of thumb for a thin sheet of copper and a heavy gauge of mild steel; that’s a quick way to end up with a part that’s useless. As the thickness increases, your K-factor changes. I usually grab my calipers, measure the material precisely, and then run the math based on the neutral axis. If you don’t adjust for thickness, your bend allowance will be off every single time.
