I remember sitting in my first fabrication shop back in the seventies, staring at a pile of scrap metal and feeling like a complete fraud because my beads looked more like a row of bird droppings than a professional weld. Everyone told me I just needed a more expensive machine or a fancy new gas mix to get it right, but that’s a load of rubbish. The truth is, most folks spend too much time reading manuals and not enough time actually getting their hands dirty with some real tig welding practice. You can buy the most expensive Miller or Lincoln on the market, but if you haven’t mastered the rhythm of your hands and the steady flow of your filler rod, you’re just burning money.
I’m not here to sell you on any miracle tools or expensive courses that promise perfection overnight. What I am going to give you is the honest, unvarnished truth about how to actually build muscle memory and control your puddle. We’re going to focus on the fundamentals—the stuff that actually matters when you’re staring down a critical joint—so you can stop guessing and start building things that last.
Table of Contents
Mastering Amperage Settings for Beginners Without Wasting Metal
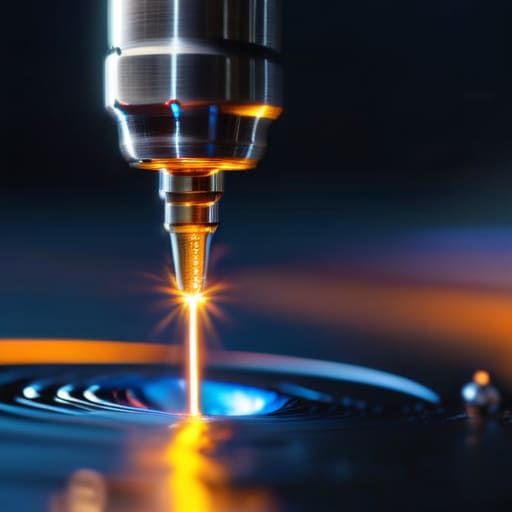
Now, before you even strike an arc, you need to understand that your machine isn’t just a dial; it’s the heartbeat of your weld. Most folks coming into this jump straight to the highest setting they think they need, but that’s a quick way to blow a hole right through your workpiece. Finding the right amperage settings for beginners isn’t about guesswork; it’s about reading the metal. You want enough heat to get that puddle moving, but not so much that you lose control of the molten pool. If you’re working with thin gauge, start low and work your way up. I’ve seen too many young guys waste a perfectly good sheet of stainless just because they were too impatient to dial it in properly.
Once you’ve got your base setting, you have to focus on welding puddle control. It’s a delicate dance between your foot on the pedal and your hand with the filler rod. If the puddle starts to get too wide or starts “walking” away from your joint, back off the heat immediately. This kind of heat management techniques is what separates a professional from someone just playing with expensive tools. Don’t get frustrated if you don’t nail it on the first pass; just adjust, observe, and try again.
Achieving Arc Stability Training Through Steady Hands
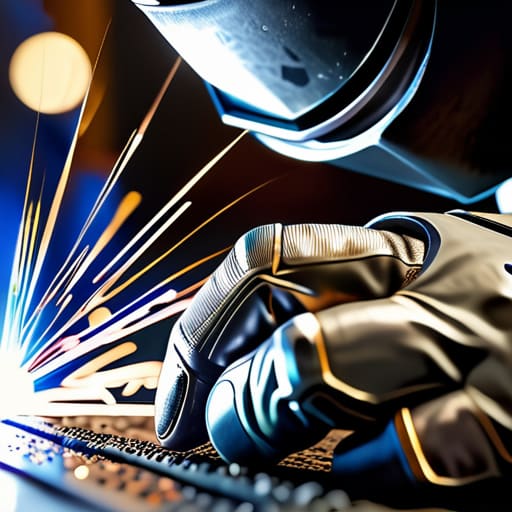
You can have the most expensive machine in the shop, but if your hands are shaking like a leaf in a gale, you aren’t going to get a clean bead. Real arc stability training isn’t about holding your breath; it’s about finding a way to brace yourself so the machine becomes an extension of your arm. I always tell my apprentices to find a “third point of contact.” Whether it’s bracing your elbow against your hip or resting your pinky finger on the workpiece to steady your reach, you need a physical anchor. If you’re just hovering in mid-air, you’re fighting gravity, and gravity always wins.
Once you’ve got your body settled, you need to focus on welding puddle control. It’s easy to get mesmerized by the light, but you have to watch the molten metal, not the spark. If your hand wanders even a hair’s breadth, your tungsten might dip into that puddle, and then you’re looking at a mess of contamination. Practice moving your torch in a slow, rhythmic motion—almost like you’re drawing a line with a fine-tipped pen. It takes time to build that muscle memory, but once it clicks, you’ll stop fighting the metal and start working with it.
Five Hard Truths for Better Beads
- Watch your filler rod like a hawk. A common mistake I see is people feeding the rod into the puddle too fast or, worse, touching the tungsten with it. If you contaminate that tip, you’re stopping work to grind it down, and that’s time—and tungsten—wasted.
- Get your breathing under control. You can’t expect a steady hand if your chest is heaving. I always tell my apprentices to time their rod movements with their exhales; it keeps the rhythm steady and keeps the arc from dancing all over the place.
- Stop neglecting your gas coverage. I’ve seen plenty of beautiful welds ruined by porosity because someone was too lazy to check their flow rate or their shielding gas purity. If you don’t protect that molten pool, the atmosphere will ruin your work before you even finish the pass.
- Learn to read the puddle, not the light. Don’t just stare at the blinding arc; look at how the metal is actually flowing. If the puddle isn’t behaving the way you want, your heat is wrong or your travel speed is off. Trust your eyes, not just what you think you’re doing.
- Clean your base metal until it shines. You can be the best welder in the county, but if you’re trying to run a bead over oxidation or oil, you’re just going to trap junk inside the weld. If it isn’t spotless, don’t bother striking the arc.
The Bottom Line on Getting Your TIG Right
Stop fighting the machine; if your arc is jumping or your puddle is acting erratic, you haven’t dialed in your amperage to match the thickness of the metal.
Treat your hand like a stabilizer, not a hammer; steady movement comes from breathing and patience, not from trying to force the torch through the weld.
Respect the material by refusing to rush, because a single bead built with discipline is worth more than a whole afternoon of scrap metal and wasted gas.
## The Truth About the Torch
“You can buy the most expensive TIG setup on the market, but it won’t teach you a damn thing about puddle control. Real skill isn’t found in the machine; it’s found in the quiet discipline of watching the metal melt and having the patience to wait until the arc tells you it’s ready.”
Alistair Fenwick
Putting the Torch to the Test
At the end of the day, TIG welding isn’t about how fast you can pull off a bead or how many scraps you can pile up in the bin. It comes down to the fundamentals we’ve talked about: dialing in your amperage so you aren’t fighting the puddle, and training your hands to move with a steady, rhythmic grace. If you can master those two things, you’ve already won half the battle. Remember, every failed weld is just a lesson in patience and heat control, not a reason to throw in the towel. Keep your settings precise and your arc stable, and you’ll stop fighting the metal and start working with it.
I know it can be frustrating when you’re staring at a messy, uneven seam that looks more like a bird’s nest than a professional weld. But that’s exactly why we do this. Real craftsmanship isn’t something you download or buy off a shelf; it’s earned through the sweat and the repetitive motion of a long afternoon in the shop. Don’t be in such a hurry to finish the job that you forget to respect the process. Take your time, keep your tools sharp, and build something that’ll still be holding strong long after the cheap, disposable stuff has rusted away. Now, get back to the bench and get to work.
Frequently Asked Questions
How do I know if I'm running too hot or too cold when I can't see the puddle clearly?
If you can’t see the puddle, stop looking for a mirror image and start listening to the metal. If you’re running too hot, you’ll hear a loud, aggressive hiss and see the metal start to sag or “wash out” like water on a hot pan. If it’s too cold, the arc will feel jumpy and you’ll struggle to get any flow at all. Watch the edges; if they aren’t melting smoothly, you’re fighting the heat.
What's the best way to practice my torch control without burning through a whole roll of expensive filler rod?
Stop buying new rods just to burn them. If you want to save your wallet and your sanity, grab some scrap steel—even some old, clean tubing from the bin will do. Practice your feeding rhythm by dipping into a piece of scrap metal instead of the rod itself. Focus on that steady, rhythmic motion of the hand. Once your muscle memory catches up, you won’t be fumbling or wasting good filler.
Should I be focusing on my breathing or my stance to keep my hands from shaking during a long bead?
It’s a bit of both, but if I had to pick a starting point, I’d say fix your stance first. If your base isn’t solid, your breathing won’t save you. Get your elbows braced and find a tripod position with your body. Once you’re steady, then focus on those slow, controlled breaths to settle your nerves. Don’t hold your breath like you’re underwater—that just makes the tension worse. Steady base, steady lungs, steady bead.
