I remember standing over a piece of scrap mild steel back in ’84, thinking a little extra heat would solve everything. I was young, impatient, and frankly, a bit arrogant. I tried to weld a piece of high-carbon tool steel to a common structural bar without even glancing at a spec sheet, and the result was a loud, sickening crack that echoed through the entire shop. That single mistake taught me more about the reality of understanding metal alloys than any textbook ever could. You can’t just treat every bit of shiny metal like it’s the same substance; if you don’t respect the chemistry hidden inside the grain, the metal will eventually betray you.
I’m not here to bore you with academic lectures or complex chemical equations that you’ll never use in a real workshop. My goal is to give you the practical, hard-earned truth about how different metals behave when they meet the torch, the hammer, or the grinder. I promise to cut through the jargon and show you how to identify what you’re actually holding so you can stop wasting good material. We’re going to focus on real-world application, ensuring that whatever you build is sturdy enough to outlast us both.
Table of Contents
The Crucial Difference Between Pure Metals and Alloys
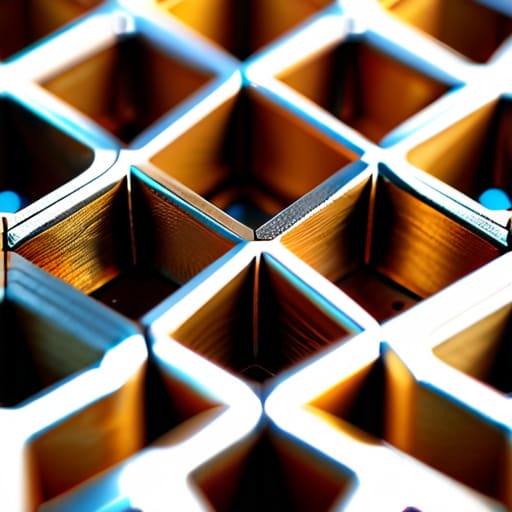
Now, you might think that a piece of metal is just a piece of metal, but that’s a quick way to ruin a project. If you were working with a pure metal—say, pure copper or gold—you’d find it’s often too soft, too forgiving, and frankly, too useless for most heavy-duty shop work. Pure metals have a very uniform crystalline structure of metals, where the atoms sit in neat, predictable rows. Because those rows are so orderly, they slide past each other far too easily when you apply pressure. That’s fine for a decorative piece, but if you’re trying to build a tool that holds an edge or a bracket that won’t bend under a load, pure metal is going to let you down every single time.
That’s where the real magic happens. When we talk about the difference between pure metals and alloys, we’re talking about intentional disruption. By introducing different atoms into that neat crystalline lattice, we create “speed bumps” that prevent those atomic layers from sliding around so easily. This is the heart of metallurgy fundamentals: we mix in specific elements to trade off some of that easy workability for much-needed strength and hardness. You aren’t just mixing ingredients like a baker; you’re re-engineering the very foundation of the material to suit the job at hand.
Mastering Metallurgy Fundamentals Before You Strike
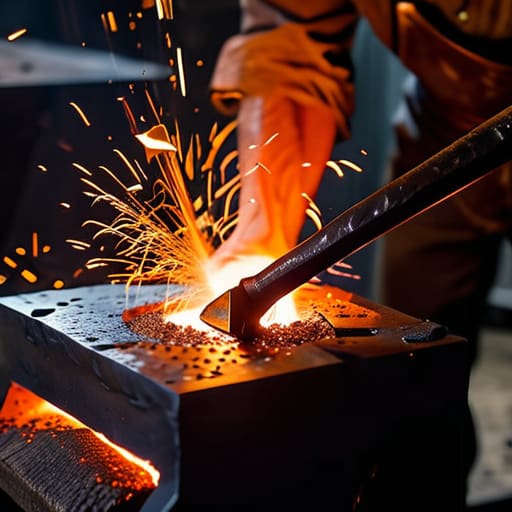
You can’t just walk into a shop, grab a piece of steel, and assume it’ll behave the way you want it to. If you haven’t taken a moment to wrap your head around the metallurgy fundamentals, you’re essentially flying blind. I’ve seen plenty of young fellas ruin a perfectly good project because they treated high-carbon steel like it was mild steel, only to find their workpiece snapped like a dry twig under the hammer. You have to respect the material; it has a memory, and it has a temperament.
A lot of what we do comes down to how those alloying elements and properties change the way the metal responds to heat and pressure. When you add something like chromium or nickel to a base metal, you aren’t just changing its color or its weight; you are fundamentally altering how the atoms sit together. If you don’t understand how those changes affect the mechanical properties of alloys, you’ll find yourself fighting the metal instead of working with it. Take your time to learn the science behind the strength, or you’ll spend more time fixing your mistakes than actually building something.
Five Rules to Keep from Ruining Your Material
- Don’t trust a label blindly. If you’re pulling a piece of steel out of a scrap bin, assume you don’t know its exact carbon content until you’ve tested it. Treating a high-carbon tool steel like a mild piece of mild steel will result in a brittle mess once you hit the heat.
- Watch your heat colors like a hawk. Different alloys react to temperature in ways that’ll catch you off guard. An alloy with chromium or nickel is going to behave differently under the torch than plain iron, and if you aren’t watching those subtle shifts in color, you’ll burn the properties right out of the metal.
- Respect the cooling process. You can’t just throw a piece of alloy on a cold concrete floor the second you’re done hammering. Some metals need a slow soak in sand to keep from cracking, while others need a quick quench. If you rush the cooling, you’re just asking for internal stresses that’ll snap your work later.
- Stop treating every “steel” the same. A stainless alloy is a different beast entirely compared to the structural stuff you’d use for a gate. One is meant to fight corrosion, the other is meant to hold a load. If you mix up your approach, you’ll end up with a beautiful-looking piece that fails the moment it sees a bit of moisture or weight.
- Keep your tools clean and your workspace organized. It sounds simple, but getting a bit of copper dust into a steel weld or a heavy aluminum slag into your ironwork is a fast way to contaminate an alloy. Contamination is the silent killer of good metallurgy; keep your materials segregated and your eyes sharp.
The Bottom Line Before You Light the Forge
Stop guessing what you’re holding; if you don’t know the specific alloy in your hand, you’re just playing a dangerous game with your tools and your time.
Respect the chemistry, because the way a metal reacts to heat and hammer is written in its composition, and ignoring that will lead to cracks you can’t fix.
Aim for the right tool and the right material for the job, not just the easiest one to find, because a shortcut today is a broken part tomorrow.
## Respect the Chemistry
“You wouldn’t try to drive a nail with a piece of dried bread, so don’t you dare approach an alloy like it’s just a chunk of plain iron; if you don’t respect the elements mixed inside that metal, it’ll fight you every step of the way from the forge to the finish.”
Alistair Fenwick
Respect the Material, Respect the Craft
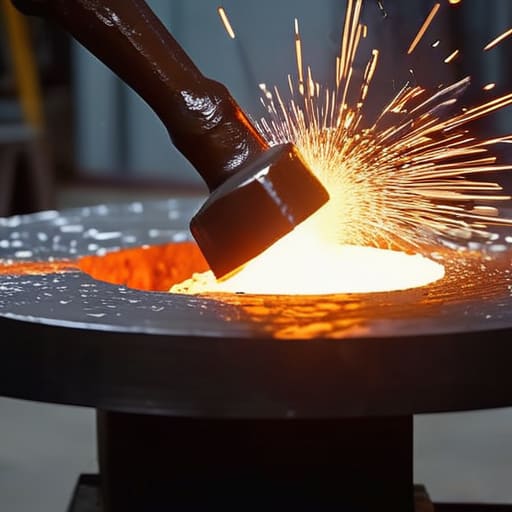
At the end of the day, understanding these alloys isn’t just some academic exercise to keep your head in a textbook; it’s about knowing exactly how your material is going to react when the heat climbs and the hammer falls. We’ve talked about why pure metals are rarely enough for a real job and why the specific chemistry of an alloy dictates whether your piece will hold its shape or crack under pressure. If you ignore these fundamentals, you aren’t just making a mistake—you’re wasting good steel and potentially compromising the safety of whatever you’re building. Take the time to identify your stock, respect the melting points, and never assume one piece of metal behaves like another just because they look the same in the bin.
My advice to you is simple: don’t be in such a hurry to see the finished product that you forget to honor the process. There is a quiet sort of satisfaction that comes from working with a material you truly understand, knowing that every bend and every weld is backed by a solid foundation of knowledge. We live in a world that’s increasingly obsessed with the quick fix and the disposable replacement, but that’s not how we do things in this shop. If you take the time to learn the science behind the metal, you stop being someone who just moves things around and start becoming a true craftsman. Build it right, build it to last, and always keep your tools sharp.
Frequently Asked Questions
How can I tell the difference between two similar-looking alloys if I don't have a lab or a spectrometer in my shop?
Look, I don’t have a fancy spectrometer sitting on my workbench either, and neither do most of you. When two pieces of steel look identical, you’ve got to use your senses. Start with a spark test; watch how the sparks spray and fade when you hit them against the grinder. If that’s too close to call, try a file test to check the hardness, or even a weight comparison. Trust your hands and your eyes.
If I'm working on a restoration, is it better to use a modern alloy that's easier to weld, or should I hunt down something that matches the original material exactly?
That’s the age-old tug-of-war between convenience and integrity. If you’re just patching a garden gate, use the modern stuff; it’s easier to work with and won’t give you as much grief. But if you’re restoring a piece of history—something meant to hold its soul—you hunt for the match. Using a modern alloy on an antique can change how the metal reacts to heat, potentially causing cracks or ruining the original patina. Match the metal, match the history.
At what point does adding more alloying elements stop making the metal stronger and just start making it brittle and a nightmare to work with?
You hit the nail on the head. There’s a fine line between a tough, resilient steel and a piece of scrap that snaps like a dry twig. It usually comes down to the “solubility limit.” Once you pack so many elements into the crystal structure that they can’t sit comfortably anymore, you get internal stress. You might gain hardness, sure, but you lose the ability to deform without cracking. If it feels like it’s fighting your hammer every step of the way, you’ve likely crossed that line into brittleness.
