I was hunched over my workbench last Tuesday, staring at a tarnished Victorian-era lamp that some kid had tried to “fix” with a bottle of harsh, supermarket acid. The metal was pitted, scarred, and half-ruined because they thought speed was more important than care. That’s the problem with most folks today; they treat brass polishing like a chore to be rushed through rather than a process that requires a steady hand. You can’t just scrub away years of oxidation with a piece of grit and hope for the best; if you don’t respect the grain of the metal, you’re just destroying the value of the piece you’re trying to save.
I’m not here to sell you on some fancy, overpriced chemical kit that promises miracles in thirty seconds. In this guide, I’m going to show you how to do this properly, from the initial cleaning to that final, deep luster that only comes from doing the work right. We’ll talk about the right abrasives, how to avoid those dreaded swirl marks, and why your patience is actually your most important tool. If you’re willing to put in the effort, I’ll make sure that brass doesn’t just look shiny—it looks timeless.
Table of Contents
Guide Overview
Tools & Supplies
- Microfiber cloth for buffing and wiping
- Soft-bristled toothbrush for crevices
- Brass cleaner or polish (1 small bottle)
- Mild dish soap (small amount)
- Warm water (1 bowl)
Step-by-Step Instructions
- 1. Before you even think about reaching for a polish, you need to get the surface clean. I’ve seen too many folks try to buff through layers of grease and old grime, only to end up smearing the filth deeper into the pores of the metal. Take a warm bucket of water with a bit of mild dish soap and a soft cloth. Scrub away the oils and the dust until the brass is actually clean to the touch. If there’s stubborn gunk, use an old toothbrush, but don’t go scrubbing like you’re trying to strip paint; just get the surface clear.
- 2. Once it’s dry, take a hard look at what you’re dealing with. If the brass is just looking a bit dull or tarnished, you can move straight to polishing. However, if you’ve got deep pits, heavy oxidation, or those nasty green spots that look like crust, you’re going to need a bit of grit. I usually reach for a fine-grade automotive compound or a dedicated metal polish. If the damage is real, you might need to start with a very fine abrasive pad, but keep your movements light.
- 3. Now, here is where most people lose their patience and ruin the job. Apply a small amount of your chosen polish to a clean, lint-free cotton cloth—an old T-shirt works just fine if it’s soft. Work in small, circular motions rather than trying to cover the whole piece at once. You want to focus your energy on one section at a time. If you try to spread a pea-sized drop across a whole platter, you’ll just end up with a streaky mess that looks worse than when you started.
- 4. As you work, you’ll notice the polish starts to turn dark and gummy. That’s not a sign to stop; it’s actually a sign that the chemical reaction is doing its job and pulling the oxidation out of the metal. Keep working that section until the cloth is dark, then buff it off with a clean part of the rag. You might find you need to repeat this process two or three times to get the depth of shine you’re looking for. Don’t rush the buffing stage, or you’ll leave behind a cloudy film.
- 5. Once you think you’re done, it’s time for the final inspection. Take a fresh, bone-dry microfiber cloth and give the piece a thorough wipe-down. I always check the crevices and the undersides, too—that’s where the hidden tarnish loves to hide. If you see any dull spots remaining, don’t get frustrated; just go back in with a tiny bit more polish and a bit more elbow grease. A true finish isn’t finished until you can see your reflection clearly.
- 6. The last thing you need to do—and I can’t stress this enough—is protect your work. If this is an item that’s going to sit on a shelf, you might be tempted to leave it as is, but if it’s a tool or something handled often, you’ll want to seal it. A very thin coat of high-quality Renaissance wax or even a specialized metal lacquer can prevent the air from getting back to that brass and starting the oxidation process all over again. Build it to last, and then make sure you keep it that way.
Restoring Brass Luster Without Sacrificing the Metals Soul
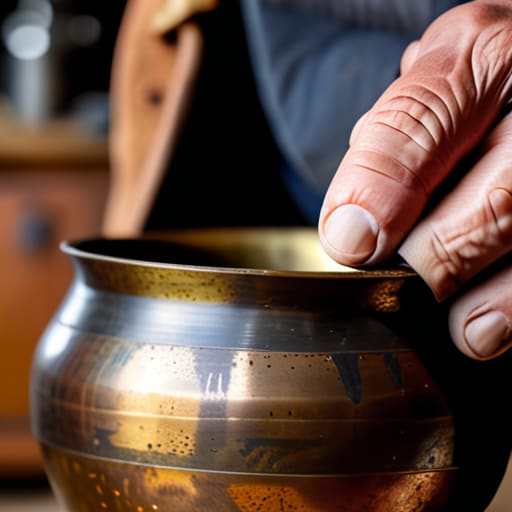
Now, listen close, because this is where most folks trip up. They get so caught up in making something shine like a new penny that they end up stripping away the very character that makes the piece worth owning. When you’re restoring brass luster, you have to remember that a little bit of aged patina isn’t “dirt”—it’s history. If you go in there with heavy-handed abrasives, you’ll end up with a surface that looks thin and lifeless. I always tell my apprentices: don’t chase a mirror finish at the expense of the metal’s integrity.
If you’re working on something truly old, I’d steer you toward natural brass cleaning methods rather than those harsh, chemical-laden pastes you find in the supermarket aisles. A bit of lemon juice and salt, or even a simple paste of flour and vinegar, does the job without eating into the fine details of the casting. Once you’ve got it clean, don’t just toss it back on the shelf. Grab a high-quality polishing cloth for metal and give it a gentle buff. It’s about nurturing the material, not just scrubbing it until it screams.
Natural Brass Cleaning Methods Over Harsh Chemical Shortcuts
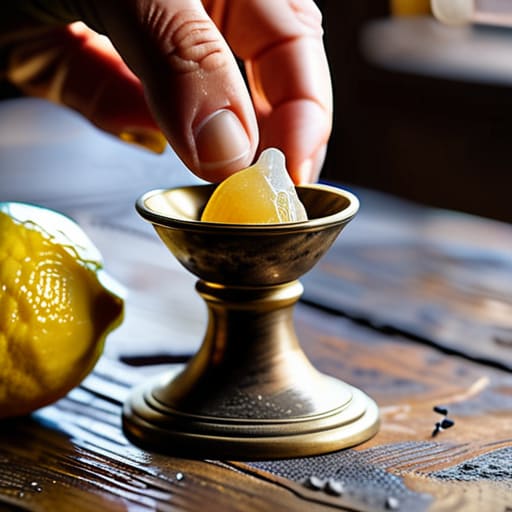
I’ve seen too many folks reach for those aggressive, store-bought chemical sprays the second they see a bit of tarnish. Those liquids are often far too harsh; they don’t just lift the oxidation, they eat away at the surface of the metal itself. If you’re cleaning brass antiques that have some history behind them, you have to be careful. I always prefer using a simple paste of lemon juice and salt, or even a bit of white vinegar and flour. These natural brass cleaning methods work with the metal rather than against it, lifting the grime without stripping the character that forty years of age has worked so hard to build.
The real secret, though, is knowing when to stop. You aren’t trying to sand the piece down to a mirror finish in one go; you’re looking to stabilize it. Once you’ve worked up that natural paste, rinse it thoroughly and dry it immediately. Any moisture left behind is just an invitation for more oxidation. If you want to stay ahead of the game, keep a dedicated polishing cloth for metal tucked in your drawer. A quick, gentle buff once a month is much better than a heavy-duty scrub once a year.
A Few Rules of Thumb Before You Get to Work
- Test a small, hidden spot first; you don’t want to find out halfway through the job that your cleaning solution is going to strip the patina right off a piece you actually wanted to keep.
- Stop scrubbing like you’re trying to win a race; brass is a soft metal, and if you go at it with too much aggression, you’ll end up with swirl marks that no amount of fine polishing will ever get out.
- Keep your workspace clean and free of grit; I’ve seen too many folks drag a dirty rag across a freshly polished surface and end up scratching the very thing they just spent an hour perfecting.
- Always finish with a thorough rinse and a dry wipe; leaving any acidic residue from your cleaning agents on the metal is just asking for uneven spotting and premature corrosion down the line.
- Use a bit of high-quality wax once you’re done; a thin, even layer of protective wax seals the surface and keeps the air from tarnishing your hard work the moment you turn your back.
The Bottom Line on Brass Maintenance
Stop reaching for those heavy-duty chemical cleaners that strip the character right out of the metal; stick to gentle, natural methods that clean the surface without eating away at the integrity of the piece.
Patience is your most important tool in this process, so don’t try to rush the polishing or skip the fine-grit steps, because a rushed job just leads to uneven patches and wasted effort.
Remember that you’re working with a living material that reacts to its environment, so view your maintenance as a way to preserve the metal’s history rather than just trying to make it look brand new.
## The Cost of a Quick Fix
“You can use all the caustic chemicals in the world to strip that tarnish away in five minutes, but you’ll find you’ve stripped the character right out of the metal too. Real polishing isn’t about erasing the past; it’s about working with the material until the shine feels earned, not forced.”
Alistair Fenwick
The Final Polish
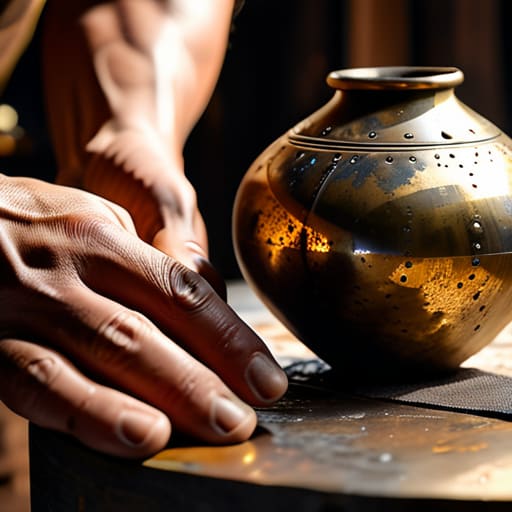
At the end of the day, cleaning brass isn’t about chasing some blinding, mirror-like finish that looks good in a catalog but lacks character. It’s about understanding the material you’re working with. Whether you opted for the gentle touch of a mild acid or a dedicated polishing paste, the goal was to remove the grime and oxidation without stripping away the history held in the metal. Remember, you want to avoid those aggressive chemical shortcuts that eat into the surface; if you’re too heavy-handed, you’ll end up thinning the piece until it loses its structural integrity. Stick to the steady, rhythmic work of hand-polishing, and you’ll find that patience pays off every single time.
I’ve spent a lifetime watching people throw away perfectly good tools and fixtures just because they looked a bit dull. Don’t be one of them. When you take the time to restore a piece of brass, you aren’t just cleaning a surface; you are participating in a tradition of stewardship. You are deciding that this object is worth the effort, and that quality deserves respect. So, keep your cloths clean, watch your pressure, and take pride in the work. When you’re finished, you won’t just have a shiny piece of metal sitting on your shelf—you’ll have something that was built to last another lifetime.
Frequently Asked Questions
If I see a dark patina or some deep pitting in the metal, is it worth trying to polish it out, or am I just going to ruin the piece?
Look, you have to decide if you’re chasing a mirror finish or preserving history. If it’s just dark patina, that’s character—leave it be or gently lift it. But if you’re seeing deep pitting, you’re looking at actual metal loss. You can sand it out, but you’ll be changing the geometry of the piece. If it’s a sentimental heirloom, don’t go digging. Only grind out pits if you’re prepared to reshape the soul of the object.
How often should I actually be doing this? I don't want to spend my whole weekend scrubbing if the shine is going to fade in a month.
Look, I get it. Nobody wants to spend their Saturday afternoon fighting with a piece of hardware just to watch it dull by Monday. If your brass is in a dry, indoor spot, you might only need to touch it up once or twice a year. But if it’s near a window or in a damp kitchen, you’ll be seeing tarnish more often. The trick isn’t scrubbing more; it’s staying ahead of the oxidation with a light wipe-down.
Once I've got it looking right, is there a way to seal it so I don't have to keep fighting the oxidation every few weeks?
Look, if you want to stop fighting the air, you’ve got to seal the surface. I usually reach for a high-quality microcrystalline wax—something like Renaissance Wax. It’s thin, won’t clog the details, and creates a real barrier against moisture. Just buff it on thin, let it sit, and polish it back. If you’re looking for something more permanent, a clear lacquer works, but once you go that route, you’re stuck with it.
