I remember a Tuesday back in ’88, standing in the middle of a fabrication floor with a deadline looming and a client breathing down my neck. I spent forty-five minutes hunting for a specific set of calipers, only to find them buried under a mountain of scrap metal and half-finished jigs. That’s when it hit me: poor workshop organization isn’t just a nuisance; it’s a thief that steals your focus and your profit. You can buy all the fancy, color-coded plastic bins and expensive pegboard kits the catalog offers, but if you don’t have a system built on logic, you’re just organizing your chaos instead of fixing it.
I’m not here to sell you on some high-tech, gadget-heavy lifestyle that belongs in a showroom rather than a working shop. What I want to do is show you how to set up a space that actually respects your tools and, more importantly, your time. I’ll be sharing the practical, straight-to-the-point methods I’ve used over forty years to keep my steel sharp and my workspace functional. We’re going to focus on layouts that make sense for the way you actually move, ensuring that when you reach for a wrench, it’s exactly where it ought to be.
Table of Contents
Small Workshop Space Optimization for Serious Makers
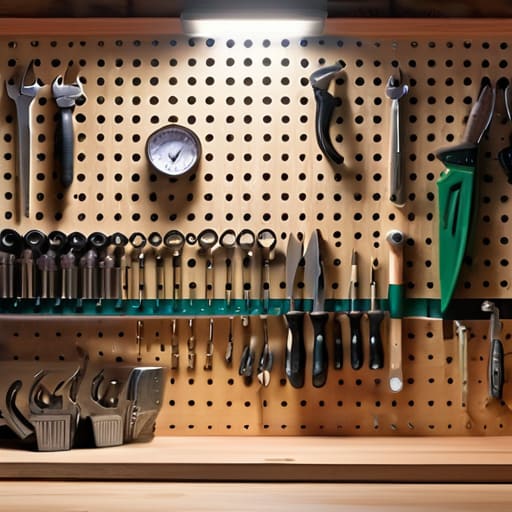
When you’re working out of a cramped garage, every square inch has to earn its keep. You can’t afford to have a workbench that’s nothing more than a graveyard for half-finished projects and scrap metal. I’ve found that the best approach to small workshop space optimization is to stop thinking about floor space and start thinking about verticality. If you aren’t using your walls, you’re wasting the most valuable real estate you’ve got. I swear by heavy-duty pegboard tool organization systems; they get your hammers, calipers, and pliers off the bench and right in front of your eyes where they belong.
It’s also about the flow of your movements. You don’t need a massive floor plan to do serious work, but you do need a logical sequence. I like to group my stations so I’m not tripping over a grinder just to reach my vice. If you’re tight on room, focus on organizing hardware and fasteners into small, labeled bins that can be tucked onto a shelf rather than scattered in open trays. When everything has a dedicated home, you spend less time hunting and more time actually shaping the metal.
Smart Pegboard Tool Organization Systems for Longevity
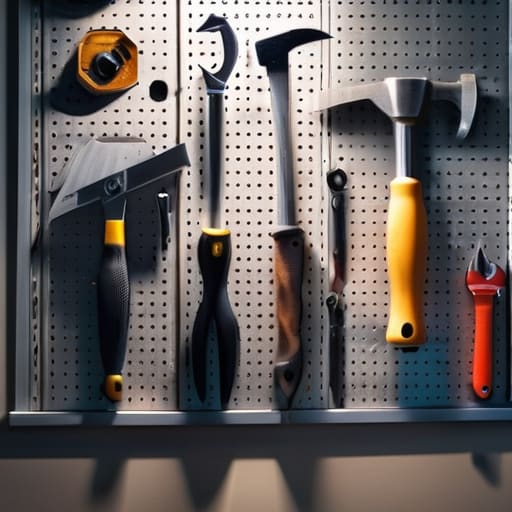
Now, don’t go buying one of those cheap, flimsy fiberboard boards you find at the big-box stores. They’ll warp the first time the humidity shifts, and you’ll find your heavy pliers dragging them right off the wall. If you’re serious about your setup, get yourself a heavy-duty steel pegboard. It’s a bit more of an investment upfront, but it won’t buckle under the weight of your real tools. When setting up your pegboard tool organization systems, I always suggest grouping things by frequency of use. Your most-handed hammers and wrenches should be at eye level, right where your reach is most natural.
I’ve learned the hard way that a cluttered board is just as bad as a cluttered workbench. Use sturdy metal hooks rather than those flimsy plastic ones that snap when you aren’t looking. I like to use a bit of electrical tape to color-code my hook ends; it helps me see at a glance if a tool has been put back in its proper home or if it’s still sitting on the bench. A well-maintained board isn’t just about aesthetics; it’s about respecting the tools you’ve worked so hard to acquire.
Five Rules for Keeping a Shop That Works for You
- Group your tools by the job they do, not just by what they look like. You want your measuring tools, your striking tools, and your cutting tools in their own distinct zones; searching through a mixed pile of pliers and hammers every time you need to scribe a line is a fool’s errand.
- Label your bins and drawers with more than just a Sharpie scribble. If you’re storing fasteners, don’t just write “bolts”—write the thread pitch and length on the outside so you aren’t squinting at a handful of steel every time you need a specific M8.
- Keep your heavy machinery on stable, leveled feet and clear the floor around them. A shop becomes a death trap when you’re tripping over scrap metal or power cords just to reach the grinder, so clear your walkways and keep the heavy stuff where it belongs.
- Don’t let your scrap pile become a mountain. I’ve seen men spend more time digging through a heap of rusted offcuts than actually fabricating, so sort your usable steel by length and thickness now, or you’ll be paying for it in wasted time later.
- Clean your workspace at the end of every session, even if you’re tired. A layer of fine metal dust and oil film might not look like much, but it’ll ruin a precision measurement or gum up a tool’s moving parts if you let it sit overnight.
The Bottom Line: A Shop That Works for You
Treat your tools like your livelihood, not just clutter; if you don’t give them a dedicated home, you’ll end up fighting your own workspace instead of the metal.
Efficiency isn’t about having every gadget under the sun, it’s about having the right tool within arm’s reach so you aren’t breaking your momentum to go hunting.
Build your organization around how you actually work, not how a catalog says it should look—a shop that’s too tidy to use is just as useless as one that’s a complete mess.
The Cost of a Messy Bench
A cluttered workbench isn’t just a mess; it’s a distraction that invites mistakes. If you spend half your afternoon digging through a pile of scrap and mismatched bolts just to find a 10mm wrench, you aren’t working—you’re just fighting your own lack of discipline.
Alistair Fenwick
Final Thoughts Before You Hit the Anvil
At the end of the day, organizing a shop isn’t about making it look pretty for a magazine cover; it’s about respect. You’ve looked at how to squeeze every inch of utility out of a small footprint and how to use pegboards to keep your most trusted tools within arm’s reach. When you treat your workspace with that kind of intention, you aren’t just tidying up—you are eliminating the friction that stands between you and a job well done. A shop that is organized for the long haul ensures that when you finally strike that first spark or tighten that last bolt, you aren’t fighting your own clutter. A clean bench is a clear mind, and in this trade, a clear mind is the difference between a successful weld and a ruined piece of stock.
Don’t get discouraged if your shop doesn’t look like a showroom overnight. Real organization is a slow process, much like seasoning a new cast-iron skillet or tempering a blade. It takes time, a bit of trial and error, and the willingness to adjust when a system isn’t working for you. Just remember that every minute you spend refining your setup is an investment in the quality of your work. We don’t build things to be disposable, so don’t treat your workspace like it is, either. Build a shop that stands the test of time, and it will serve you faithfully for decades to come. Now, quit reading and get back to work.
Frequently Asked Questions
How do I decide which tools deserve a permanent spot on the pegboard and which ones should stay tucked away in a drawer?
Look, your pegboard isn’t a trophy case; it’s a staging area. If you reach for a tool more than once a day—your hammer, your most used pliers, your calipers—it stays on the wall. If you’re only pulling a specific socket set out once a month for a deep repair, shove it in a drawer. Every tool on that board should be ready to grab in a heartbeat. If it’s just cluttering the view, it’s in the way.
Is there a way to organize a shop if I’m working with heavy, bulky materials like steel plate rather than just small hand tools?
When you’re moving steel plate, you stop thinking about pegboards and start thinking about gravity and leverage. You need a dedicated rack system—vertical for smaller sheets to save floor space, or heavy-duty horizontal cantilever racks for the thick stuff. Don’t just pile it in a corner; that’s how you end up with a crushed toe or a bent edge. Get your material off the floor and onto something sturdy that respects the weight.
When should I stop organizing and actually start working—how do I know if my setup is actually efficient or if I'm just tidying up to avoid a difficult job?
Look, I’ve been there. You spend three hours sharpening a chisel you haven’t used in a year just to avoid tackling that bent frame on the workbench. If you’re moving tools around to find a “better” spot instead of actually making chips or sparks, you’re just procrastinating. A shop is efficient when the tools are within reach, not when they’re perfectly aligned for a photograph. If you can reach your hammer without breaking your stride, stop tidying and start hitting.
