I remember standing in a massive industrial plant back in ’84, watching a kid try to fix a cracked mounting bracket with a brand-new, high-tech laser welder he’d spent three months’ salary on. The machine was fancy, sure, but the lad didn’t even know how to properly prep the surface or manage the heat soak, and he ended up warping the whole damn part into scrap. It’s the same thing I see now when people browse the internet; they think they can just order a box of shiny gadgets and suddenly they’re craftsmen. Most of those “must-have” lists online are just marketing fluff designed to drain your wallet. If you want to actually build something, you need to focus on the real metalwork workshop essentials—the heavy, reliable gear that works as hard as you do, not the overpriced toys that look good in a catalog.
I’m not here to sell you on some magic solution or a gadget that’ll be obsolete by next Christmas. My goal is to give you a straight-talking blueprint of what you actually need to get a job done right the first time. I’ll be sharing the tools I’ve relied on for forty years, focusing on durability, precision, and value. We’re going to talk about building a foundation that allows you to work with confidence, because at the end of the day, quality gear is what stands between a job well done and a pile of wasted material.
Table of Contents
Smart Workshop Layout for Metalworking and Precision
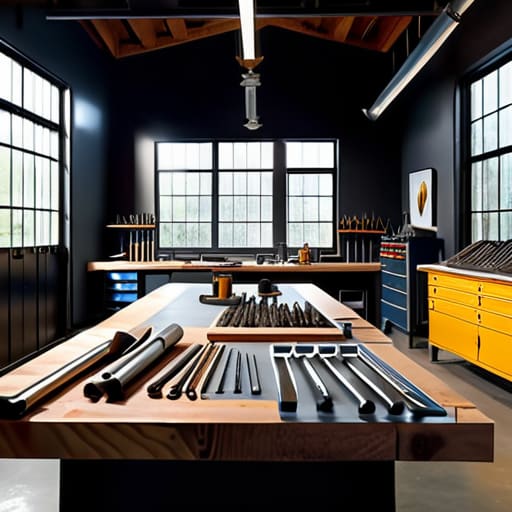
You can have the finest tools in the world, but if your shop is a disorganized mess, you’re going to fight your own space more than you fight the steel. When I was setting up my current studio, I spent more time measuring floor space than I did picking out my anvil. You need to plan your workshop layout for metalworking with a clear path for movement. I always tell folks to keep the heavy stuff—like the anvil or the heavy-duty vise—on the perimeter, while keeping your most frequently used essential metalworking hand tools within arm’s reach of your primary station. You don’t want to be tripping over a pile of scrap or a rogue extension cord every time you need to grab a file.
Lighting and airflow are the silent partners in any good setup. If you’re tucked away in a dark corner, you’ll miss the subtle color changes in the metal that tell you when it’s reaching the right temperature. More importantly, make sure your welding area is isolated from your grinding station. I’ve seen too many men ruin a clean finish because they were kicking up metal dust right next to a fresh weld. Organize by task, not just by tool size, and you’ll find you work much faster and with far less frustration.
Solid Metalworking Workbench Requirements for Lasting Work
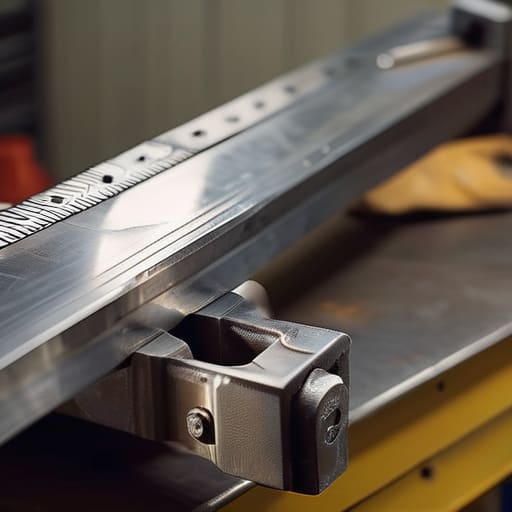
You can’t build something steady if your foundation is wobbling. I’ve seen too many young lads try to set up shop using a flimsy folding table or a piece of particle board they found in a scrap heap. That’s a recipe for frustration. When you’re grinding or prepping a joint, you need a surface that won’t budge an inch. For me, a proper setup means a heavy-duty steel top, ideally at least a quarter-inch thick, bolted to a rigid frame. If your bench flexes when you lean on it, your measurements will be off before you even pick up your tape.
Beyond just being heavy, you have to think about the functional surface of the bench. You want something that can handle the heat and the sparks without warping or catching fire. I always recommend drilling a series of holes through the top to accommodate various clamps; it makes securing your workpiece a whole lot easier when you’re working alone. Getting your metalworking workbench requirements right from the start means you won’t be fighting your equipment halfway through a build. A solid bench isn’t just a place to work—it’s your most important essential metalworking hand tool.
The Real Essentials: Gear That Earns Its Keep
- Don’t go buying cheap, flimsy tools just to save a buck; if you’re going to work metal, you need gear that can actually stand up to the hammer and the heat without bending or snapping when you need it most.
- Invest in a decent set of precision measuring tools—calipers and squares aren’t optional—because if your measurements are off by a hair at the start, you’ll be fighting a losing battle against scrap metal by the end.
- Get yourself a proper grinding setup with enough varied discs to handle everything from heavy stock removal to fine finishing; nothing frustrates a man more than trying to smooth a weld with a tool that’s too coarse for the job.
- Lighting is something most folks overlook until they’re squinting at a tiny crack in a piece of steel; get some high-quality, adjustable task lighting so you can actually see the truth of what you’re working on.
- Safety gear isn’t just a suggestion, it’s your lifeline—get a proper welding helmet with a good auto-darkening lens and a heavy-duty apron, because a momentary lapse in judgment can cost you more than just a ruined piece of metal.
The Bottom Line for Your Shop
Don’t go buying cheap, flimsy tools just to save a buck; if you’re going to work metal, you need gear that can actually stand up to the hammer and the heat.
A workspace is only as good as its layout, so prioritize movement and safety over trying to cram every gadget you own into one corner.
Invest your time and money into a heavy, stable workbench first, because everything you build—and every measurement you take—depends on having a solid foundation that won’t budge under pressure.
## The Cost of Cutting Corners
A workshop isn’t just a collection of shiny new gadgets; it’s a curated kit of reliable tools that you know by feel. If you invest in junk to save a few dollars today, you’ll end up paying for it twice—once in wasted metal and again in the frustration of a tool that fails right when the heat is on.
Alistair Fenwick
Setting Up for the Long Haul
At the end of the day, building a proper metalworking space isn’t about having the flashiest gadgets or the most expensive laser cutters you can find in a catalog. It’s about the fundamentals: a layout that lets you move without tripping over your own feet, and a workbench that won’t wobble the moment you put a heavy vise on it. If you get the foundation right—your workspace organization and your heavy-duty surfaces—everything else becomes a lot easier to manage. Don’t get distracted by the shiny, new-fangled toys until you’ve secured the basics of a solid shop. You can’t build anything worth keeping if your very foundation is shaky and disorganized.
I’ve spent forty years watching men rush into projects only to realize they didn’t have the right setup to finish them right. Metal is an unforgiving medium; it doesn’t care about your excuses or your lack of preparation. But if you approach this craft with a bit of patience and respect for your tools, you’ll find a kind of satisfaction that you just can’t get from buying something off a shelf. My advice is simple: start slow, invest in quality, and always measure twice and cut once. Build your shop with the same intention you use to build your projects, and you’ll find that you aren’t just making things—you’re creating a legacy that will stand the test of time.
Frequently Asked Questions
I’ve got a decent old anvil, but do I really need a dedicated heavy-duty vise, or can I make do with what I have?
Look, an anvil is a fine thing, but it isn’t a substitute for a proper vise. You can’t hold a piece steady enough for precision filing or delicate grinding if it’s just sitting on the anvil face. If you’re trying to save a few dollars by skipping a heavy-duty, bolted-down vise, you’re going to end up fighting your workpiece instead of shaping it. Get a real vise; your hands and your patience will thank you.
How much space should I actually set aside for ventilation and fume extraction if I'm doing any real welding or grinding?
Don’t skimp on this, or you’ll be coughing up metal dust for a week. If you’re doing real welding or heavy grinding, you need more than just a window and a prayer. Aim for a dedicated zone at least six to eight feet wide where your extraction can actually pull the air away from your face, not just swirl it around the room. Position your fan to pull fumes directly out, and keep that workspace clear of clutter so the airflow stays steady.
Is it worth investing in high-end precision measuring tools right away, or should I start with a basic set and upgrade as I get more experience?
Look, I’ve seen too many fellas waste money on fancy digital calipers they don’t know how to calibrate, and just as many ruin good steel because they were using a cheap ruler that’s bent out of true. Don’t buy the whole catalog, but don’t skimp on the basics. Get one decent, reliable set of micrometers and calipers that you can trust. You can always upgrade later, but you can’t fix a botched cut with a better tool.
