I remember standing in a loud, cramped fabrication shop back in ’84, watching a young kid try to force a job through with a cheap, handheld unit that wasn’t up to the task. He was peppering the sheet metal with weak, brittle nuggets, thinking he was making progress, but all he was really doing was creating future failure points. It’s the same thing I see today—people buying these flashy, overpriced kits online that promise professional results but end up just burning holes through good steel. Most of the “expert” advice out there is just noise designed to sell you more gear, but spot welding isn’t about having the most expensive machine on the bench; it’s about understanding how the current and the pressure work together.
I’m not here to sell you a dream or a complicated manual that reads like a textbook. What I’m going to give you is the straight truth from forty years of seeing what works and what falls apart under pressure. I’ll show you how to set your timing, manage your heat, and ensure every single weld is something you can actually rely on. We’re going to focus on doing it the right way the first time, so you don’t end up wasting good material or, worse, your own time.
Table of Contents
Choosing the Right Spot Welding Machine Types for Longevity
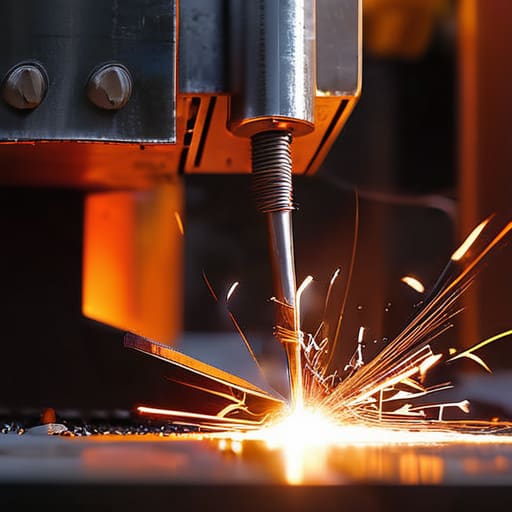
When you’re looking at the various spot welding machine types available today, don’t let the shiny catalogs fool you. Most of those cheap, lightweight units you see online are built for hobbyists who only care about a quick fix, not a lasting bond. If you’re serious about sheet metal fabrication, you need to decide between a portable unit for light repairs or a stationary transformer-based setup. A real transformer machine provides the steady, reliable current required for a proper resistance welding process, ensuring the nugget forms deep within the metal rather than just scuffing the surface.
I’ve seen too many fellas buy a budget machine only to realize it lacks the clamping force to hold the pieces steady. If you can’t control the pressure, you aren’t welding; you’re just making a mess. For anything meant to survive more than a season of use, invest in a machine that allows for precise control over heat and pressure. It’s better to spend a bit more upfront on a machine that won’t burn out the first time you hit a thicker gauge of steel. Remember, you’re building a tool, not a toy.
Essential Sheet Metal Fabrication Tips for a Solid Build
Before you even think about pulling the trigger on that machine, you’ve got to get your workpiece ready. I’ve seen too many fellas try to join up dirty, oily, or even slightly rusted sheets, and all they end up with is a weak, pitted mess. You need to clean your surfaces until they shine; any grit left behind will mess with the resistance welding process and lead to a joint that snaps the first time it sees any real stress. I always keep a bit of emery cloth handy to ensure the contact points are as clean as a whistle.
Once you’re set, pay attention to your alignment. If your sheets aren’t clamped tight and seated flush, you aren’t going to get a deep enough penetration to make it count. It’s not just about the heat; it’s about the pressure. I tell my apprentices that consistent clamping is half the battle in sheet metal fabrication. If you’re working with thin material, don’t go chasing high amperage to compensate for poor fitment. That’s a quick way to blow a hole right through your work and waste a perfectly good piece of steel.
Five Ways to Keep Your Welds from Falling Apart
- Clean your metal until it shines. I’ve seen too many young guys try to spot weld right over mill scale or a thin layer of oil, and they wonder why the joint pops loose a week later. If that surface isn’t bright and clean, you aren’t welding metal; you’re just heating up dirt.
- Watch your pressure, not just your timer. A spot weld isn’t just about the electricity; it’s about how hard those electrodes are squeezing the sheets together. If you don’t have enough pressure, you’ll get expulsion—those little sparks flying everywhere—and you’ll end up with a brittle, hollow weld instead of a solid bond.
- Don’t go overboard with the heat. It’s tempting to crank the setting up to get a fast result, but if you overheat the area, you’ll ruin the temper of the metal and leave yourself with a localized mess of burnt material. Slow and steady heat application keeps the structural integrity where it belongs.
- Keep your electrode tips dressed. Over time, those copper tips get pitted and deformed from the heat and the pressure. If your tips look like they’ve been chewed on, stop what you’re doing and grind them back to a clean, flat surface. A bad tip leads to uneven current, and uneven current leads to failed welds.
- Test your settings on scrap first. Never, and I mean never, make your first weld on the actual project piece. Grab a couple of offcuts of the exact same material and thickness, run a few spots, and give them a proper tug. If they don’t hold firm under a bit of stress, you haven’t found your sweet spot yet.
The Bottom Line on Spot Welding
Don’t go chasing the cheapest machine on the market; if it can’t hold a consistent heat, you’re just going to end up with brittle, useless joints.
Cleanliness isn’t optional—if you leave scale, rust, or oil on that metal, you’re fighting a losing battle against a bad weld from the start.
Patience beats speed every single time, so take the time to set your pressure and timing right instead of rushing through a job and having to redo it later.
## The Truth About a Good Weld
“A spot weld isn’t just about making two pieces of metal stick together; it’s about making sure they stay that way for the next forty years. If you’re just looking for a quick tack to hold it while you move to the next task, you aren’t welding—you’re just making a mess that’ll fail the moment it’s put to real work.”
Alistair Fenwick
Getting the Job Done Right
At the end of the day, spot welding isn’t about how fast you can click through a stack of sheet metal; it’s about the integrity of the bond you leave behind. We’ve talked about picking a machine that actually has the grunt to do the work and the importance of prepping your surfaces so you aren’t just welding over dirt and oil. If you ignore the fundamentals—like proper pressure and the right heat settings—you’re just making a mess that’ll fail the moment it sees any real stress. Remember, a weld that looks clean on the surface but lacks structural depth is nothing more than a lie told in metal. Take the time to do it right the first time, because you can’t un-burn a mistake once the metal has cooled.
I know it’s tempting to take the easy route when you’re tired or in a hurry, but that’s exactly when the real craftsmanship happens. There’s a certain kind of satisfaction that comes from looking at a finished piece and knowing that every single connection is solid because you saw to it personally. We live in a world that’s increasingly obsessed with things that are meant to be thrown away, but when you master these skills, you’re building something different. You’re building things that stay. So, keep your electrodes clean, watch your heat, and build things to last.
Frequently Asked Questions
How do I know if I'm applying enough pressure with the electrodes, or if I'm just crushing the metal instead of welding it?
It’s a fine line to walk. If you’re seeing metal squeeze out from the sides like toothpaste, you’re crushing it—you’ve got too much force and not enough heat. On the flip side, if you get those bright, angry sparks flying everywhere, your pressure is too light and you’re just burning the surface. You’re looking for a clean, consistent nugget. Listen to the machine; it should hum, not scream. Keep your eyes on the metal, not the clock.
What's the best way to tell if my heat settings are actually right for the gauge of steel I'm working with?
You can’t just trust the dial on the machine; you have to trust the metal. The best way to tell is by looking at the “heat-affected zone” around the weld. If the steel is warping or turning a dark, burnt purple, you’re cooking it too hard for that gauge. If the weld looks like a cold, sitting bead instead of actually fusing, you’re too low. Aim for a clean, consistent melt without the surrounding metal losing its temper.
How often should I be cleaning my electrode tips to keep the welds from getting those nasty, inconsistent pits?
You should be checking those tips every single time you notice the weld bead looking uneven or pitted. If you’re running a heavy shift, I’d say clean them every twenty minutes or so. Don’t wait until the metal looks like Swiss cheese. Grab a piece of fine-grit sandpaper or a dedicated tip cleaner and wipe away that carbon buildup and oxidation. If you let that gunk sit, you’re just inviting inconsistent heat.
