I remember sitting in a cramped fabrication shop back in ’84, watching a young apprentice try to force a thick strip of steel into a curve using nothing but brute strength and a prayer. The metal didn’t just resist; it screamed, cracking right down the middle and wasting a perfectly good piece of stock. That’s the problem with how people approach metal bending methods today—there’s this misguided idea that if you just buy a bigger machine or hit it harder, the physics will eventually give in. But metal has a memory, and if you don’t respect its limits, it’ll remind you of your mistake in the most expensive way possible.
I’m not here to sell you on some fancy, high-priced software or a thousand-dollar hydraulic press you don’t actually need. What I want to do is strip away the nonsense and talk about the real-world mechanics of how metal actually moves under heat and pressure. I’m going to walk you through the different metal bending methods from a perspective of practicality and patience, focusing on how to get a clean, lasting bend without ruining your material. We’re going to do this the right way, so the things you build actually stay built.
Table of Contents
Mechanical vs Thermal Bending Respecting the Materials Limits
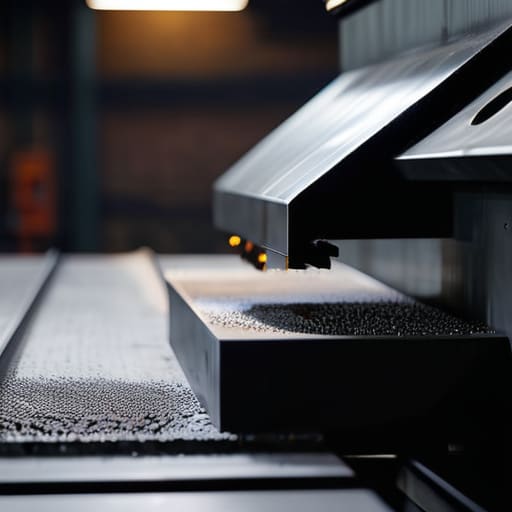
Now, before you go grabbing a hammer or cranking up the torch, you need to understand the fundamental difference between mechanical vs thermal bending. It isn’t just about which tool you pick up; it’s about how the molecules in that metal are going to react to the stress you’re putting on them. Mechanical bending is all about brute force and leverage—using a press brake or a vise to force the material into a new shape while it’s cold. It’s efficient, but if you aren’t careful, you’ll run into the springback effect in metal bending, where the material tries to fight its way back to its original state the second you release the pressure.
Thermal bending, on the other hand, is a game of patience. You’re using heat to soften the crystalline structure, making the metal more pliable. When you’re working with thicker stock or more stubborn alloys, heat is your best friend, but you can’t go in blind. If you overheat it, you’ll ruin the temper and leave the piece brittle. You have to learn to read the color of the glow and respect the limits of the material. Whether you’re using force or fire, the goal is the same: controlled, predictable results.
Mastering Sheet Metal Fabrication Techniques Without Wasting Good Steel
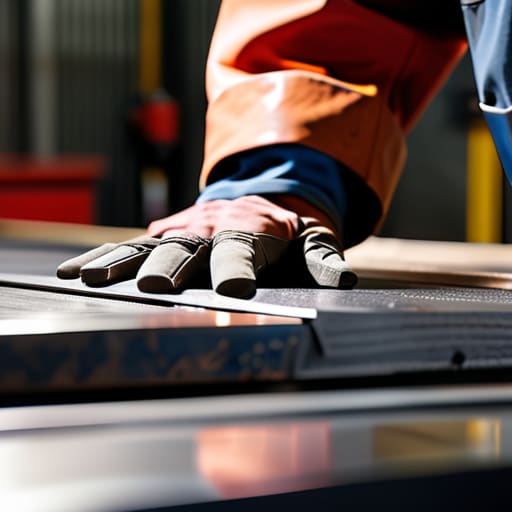
When you’re standing over a workbench, it’s easy to think that any piece of steel will behave the same way if you just apply enough force. That’s a mistake that’ll cost you a lot of money and a fair bit of frustration. To really get a handle on sheet metal fabrication techniques, you have to learn how to read the grain and understand how the metal wants to move. If you’re using a brake or a folder, you aren’t just moving a lever; you’re negotiating with the material. I’ve seen too many young lads try to force a bend on a piece that’s too thick or too brittle, only to end up with a jagged crack that ruins the whole sheet.
One thing that’ll trip you up if you aren’t paying attention is the springback effect in metal bending. You might think you’ve got your angle dead-on, but as soon as you release that pressure, the metal is going to try and fight its way back toward its original shape. You have to overbend just a hair to compensate for that internal tension. It takes a steady hand and a bit of practice to get it right, but once you learn to account for it, you’ll stop wasting good steel on scrap piles.
Five Hard-Won Lessons from the Bench
- Check your springback before you commit. Metal has a memory, and it’s going to try and snap back to its original shape the second you release the pressure. I’ve seen plenty of apprentices ruin a good piece of steel by not over-bending just enough to account for that tension.
- Never bend against the grain. Just like working with wood, steel has a grain from the rolling process. If you try to force a bend perpendicular to that grain, you’re asking for a crack to spiderweb right through your workpiece. Always plan your bend lines to follow the flow of the metal.
- Keep your radius consistent. A sharp, tight bend might look clean, but if you don’t respect the minimum bend radius for the thickness of your material, you’ll stress the molecular structure until it snaps. Use a radius tool or a proper die rather than trying to force a sharp corner with a hammer.
- Clean your work surface every single time. A tiny bit of grit, a stray metal shaving, or even a smear of old oil between your sheet metal and the brake can cause a crimp or a surface defect. If the contact isn’t perfectly flush, your bend won’t be straight, and you’ll spend more time grinding out mistakes than actually fabricating.
- Watch your heat soak. If you’re using a torch to soften a bend, don’t just blast one spot and hope for the best. You need even, controlled heat. If you overheat a localized area, you’ll end up with a brittle spot that’ll fail the moment it sees any real stress in the field.
Lessons from the Bench
Know when to use heat and when to use force; forcing a cold bend on thick stock is a quick way to snap a tool or crack your material.
Respect the grain and the thickness of your steel, because if you don’t account for springback before you start, you’ll be wasting good metal on a piece that won’t hold its shape.
Take your time with the setup; a steady, measured approach beats a rushed job every single time, especially when you’re working with materials meant to last a lifetime.
The Cost of a Quick Bend
You can either spend the time to respect the grain and the heat, or you can spend twice as much time later trying to fix the cracks you made by being impatient. Metal doesn’t forgive a rushed hand.
Alistair Fenwick
Final Thoughts Before You Hit the Shop
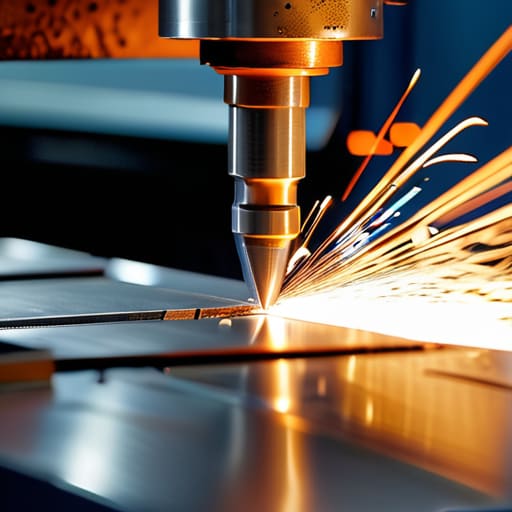
At the end of the day, whether you’re leaning on a heavy-duty press brake for mechanical bends or carefully managing a torch for thermal work, the principle remains the same: you have to work with the metal, not against it. We’ve talked about the necessity of respecting material limits and the importance of choosing the right technique for the specific gauge you’re handling. If you try to force a cold bend on a piece that’s too thick, or if you let the heat get too high and ruin the temper of your steel, you aren’t just making a mistake—you’re wasting good material that took time and money to acquire. Take a moment to check your measurements, verify your heat, and ensure your setup is solid before you ever make that first move.
I know it can feel tempting to grab a hammer and just start swinging when a project gets frustrating, but I’m telling you, patience is your best tool in this shop. Real craftsmanship isn’t about how fast you can finish a job; it’s about the pride you feel when you look at a finished piece and know it was done right the first time. Don’t be discouraged if your first few attempts aren’t perfect. Every scrap piece you bend incorrectly is just another lesson learned. Keep your tools sharp, keep your eyes observant, and remember that we aren’t just making objects—we are building things that are meant to last.
Frequently Asked Questions
How do I know when a piece of steel is getting too brittle from repeated bending to keep working it?
You’ll feel it in your hands before you see it with your eyes. When you’re working a piece, watch for “work hardening.” If the metal starts fighting you—if it feels stiff, loses its spring, or starts resisting the bend more than usual—stop immediately. If you see tiny, hairline cracks appearing on the outer radius, that’s your warning. That’s the steel telling you it’s spent. Anneal it right away, or you’re just begging for a snap.
If I'm working in a small home shop, can I get a decent bend using a manual brake, or do I absolutely need a hydraulic press?
Look, if you aren’t trying to bend heavy plate or thick structural steel, a manual brake is more than enough for a home shop. I’ve done plenty of decent work with nothing but a hand brake and a bit of patience. A hydraulic press is a fine tool, but it’s expensive and takes up a lot of floor space. Start with the manual brake; learn how the metal reacts first. You don’t need a massive machine to do honest work.
What's the best way to prevent springback from ruining a precise angle when I'm working with thicker gauge material?
Springback is a real headache when you’re working with heavy gauge, but it isn’t magic—it’s just physics. To beat it, you have to overbend. If you need a precise 90-degree angle, you’ll likely need to aim for 92 or even 93 degrees to account for that elastic recovery. I always recommend doing a few test bends on scrap of the exact same thickness first. Don’t guess; prove it to yourself on the scrap pile.
