I remember sitting in a drafty shop back in ’84, staring at a botched assembly where the builder had tried to force a square peg into a round hole using nothing but brute strength and a prayer. He’d skipped the proper prep work, thinking he could just weld his way out of a bad fit, but all he did was warp the base and ruin a perfectly good piece of steel. That’s the trouble with the way things are done lately; people treat tapered metal joinery like it’s some sort of magical trick you can fake with a high-end machine. In reality, if you haven’t respected the geometry of the taper before you even pick up your tools, you’re just wasting good material.
I’m not here to sell you on some fancy, expensive gadget that promises to do the thinking for you. What I want to do is show you how to get the fit right the first time by understanding the marriage of heat and precision. I’ll walk you through the actual, gritty steps of mastering tapered metal joinery so your work holds up long after the person who made it is gone. We’re going to focus on the fundamentals of the craft, ensuring that every joint you seat is solid, purposeful, and built to last.
Table of Contents
Mastering Conical Metal Connections Without Wasting Material
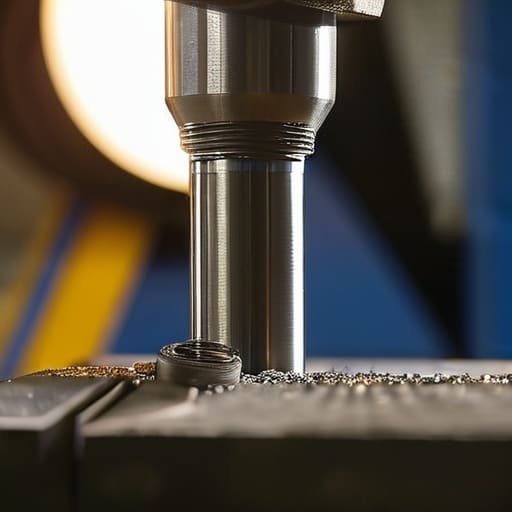
When you’re working on conical metal connections, the biggest mistake I see is people trying to force a fit that isn’t there. If you’ve got a taper that’s even a hair too thick, you aren’t going to solve it by swinging the hammer harder; you’re just going to deform the material and ruin your work. You need to focus on your tapered joint tolerances from the very first pass. I always tell my apprentices to check their measurements three times before they even think about bringing the heat to the metal. It’s about working with the material, not fighting it.
Precision isn’t something you can just “eye” your way through. To get that perfect, seamless seat, you have to respect the metalwork precision techniques that have been around for generations. This means using a dedicated taper gauge and taking small, incremental cuts. If you try to hog off too much material at once, you’ll lose that controlled slope, and suddenly your fitment is useless. Take your time, keep your edges clean, and remember: slow is smooth, and smooth is fast.
Precision Techniques for Mechanical Interlocking Joints That Hold
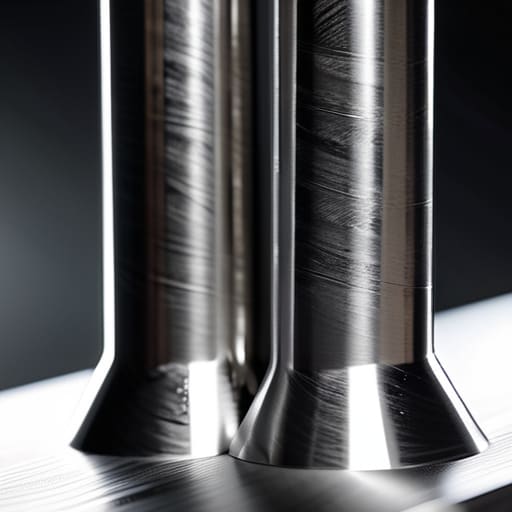
When you’re working on mechanical interlocking joints, you can’t just eyeball the fit and hope for the best. If the male component is even a hair too large, you’ll be fighting it with a mallet for an hour, and if it’s too loose, the whole assembly is junk. I’ve learned the hard way that tapered joint tolerances are where the real work happens. You want a fit that requires a steady, firm pressure to seat—not something you have to beat into place with a sledgehammer. I always recommend taking a few test passes with a scrap piece of the same gauge before you touch your actual workpiece.
Precision in these conical metal connections comes down to how you manage your material removal. If you’re using a file or a grinder to dial in the taper, work in small, consistent increments. It’s much easier to take a little more off than it is to try and add metal back once you’ve gone too far. I keep a small piece of fine-grit sandpaper in my pocket for a reason; a quick, light pass can often be the difference between a sloppy connection and one that truly locks tight.
Five Rules of Thumb to Keep Your Joinery Tight
- Check your taper angles twice before you ever strike the metal. If your angle is off by even a hair, the joint won’t seat properly, and you’ll spend the rest of the afternoon fighting a piece that simply refuses to close.
- Don’t try to force a fit with brute strength. If a tapered connection isn’t sliding home, it’s telling you something is wrong with the geometry or the surface finish. Respect the metal and find the rub point instead of hammering it into submission.
- Keep your surfaces clean of scale and oil. Any bit of grit trapped inside a conical joint acts like a wedge that’ll eventually work the whole assembly loose, and I’ve seen too many good projects fail because someone was too lazy to wipe down their workpiece.
- Use a light touch when checking for seated fit. You want to feel that the metal is mating across the entire surface area, not just catching on one high spot. If it feels “crunchy,” you’ve got debris or a burr that needs smoothing out.
- Control your heat carefully if you’re using thermal expansion to aid the fit. If you get the outer piece too hot too fast, you risk warping the taper, and once that shape is gone, you’re just looking at a pile of scrap metal.
The Bottom Line on Tapered Joints
Respect the heat; if you try to force a tapered fit while the metal is cold or unevenly heated, you’ll warp the piece and end up throwing good material in the scrap bin.
Precision isn’t just about how it looks; a proper mechanical interlock relies on a tight, consistent taper that distributes stress across the whole joint rather than a single weak point.
Slow down and check your work often—it’s much easier to file down a fraction of a millimeter now than it is to try and fix a botched, oversized joint later.
## The Truth About the Fit
“A tapered joint isn’t just about two pieces of metal meeting; it’s about the patience you put into the taper. If you force a fit that isn’t true, you’re just masking a mistake that’ll show itself the first time the metal expands under heat.”
Alistair Fenwick
The Long View on Metalwork
At the end of the day, mastering tapered joinery comes down to respecting the material and having the discipline to do it right the first time. We’ve talked about managing your heat cycles to prevent warping and the necessity of getting those mechanical interlocks tight enough to bite. If you try to force a fit or skip the fine-tuning on your conical surfaces, you’ll find yourself fighting the metal for the rest of the afternoon. Remember, a joint that isn’t perfectly seated is just a weak point waiting to fail under pressure. Take the time to check your tolerances and don’t be afraid to go back to the file if the taper isn’t sitting true. Precision isn’t a suggestion; it’s the requirement.
I know it’s tempting to grab a welder and just bridge the gap when things get frustrating, but there is a profound satisfaction in a connection that holds because the geometry is sound. When you finish a piece and see those tapered edges locking together seamlessly, you aren’t just looking at a finished project—you’re looking at something that will outlive us both. We live in a world that’s obsessed with the “quick fix,” but I’ll take a slow, well-crafted joint over a fast, sloppy weld any day of the week. Build things to last, and keep your tools sharp. That’s how we keep the craft alive.
Frequently Asked Questions
How do I know if I've overheated the metal and compromised its strength during the tapering process?
You’ll see it in the color and the grain. If you’ve pushed it too far, the metal won’t just look different—it’ll feel wrong. Watch for a dull, scaly texture on the surface, or if the color stays a bright, angry orange longer than it should. If you notice the metal becoming brittle or “crunchy” under the hammer, you’ve cooked the life out of it. Once that structural integrity is gone, you’re just working with scrap.
What’s the best way to check if my taper is truly even before I try to force the joint together?
Don’t just eyeball it and hope for the best. The surest way is to use a precision caliper to check the diameter at three different points along the taper—top, middle, and bottom. If those numbers don’t match your math, your angle is off. I also like to use a transfer punch or a scribe to mark the mating surfaces; if you see gaps or uneven lines when you dry-fit, you’ve got work to do.
If the fit is a bit too loose, can I shim it, or am I better off starting the cut over from scratch?
Look, I’ve seen plenty of fellas try to shim their way out of a bad fit, but a shim is just a bandage on a wound. If that taper is loose, you’re losing the mechanical integrity that makes the joint worth doing in the first place. If it’s a minor gap, maybe a thin copper shim will work, but if it’s sloppy? Cut it again. Don’t waste your time trying to fix a mistake that should’ve been a precision fit.
