I remember standing over a heavy slab of mild steel back in the shop in ’84, the air thick with the smell of cutting oil and the high-pitched scream of a bit that had finally given up the ghost. I’d been rushing, trying to beat the clock on a custom bracket, and all I had to show for it was a shattered cobalt bit and a hole that looked more like a jagged wound than a clean bore. That’s the thing about metal drilling; it doesn’t care about your deadline or how much you paid for your fancy new cordless drill. If you treat the material with disrespect, the metal will find a way to bite back, usually right when you’re most frustrated.
I’m not here to sell you on some overpriced, high-tech gadgetry that claims to do the work for you. What I want to do is teach you how to actually listen to the machine and the steel. I’m going to walk you through the real, gritty fundamentals of speed, pressure, and lubrication so you can stop wasting expensive bits and start making holes that are true every single time. We’re going to do this the right way—the slow and steady way—because that’s the only way to ensure the job is done once and done right.
Table of Contents
Choosing Your Weapon High Speed Steel vs Cobalt
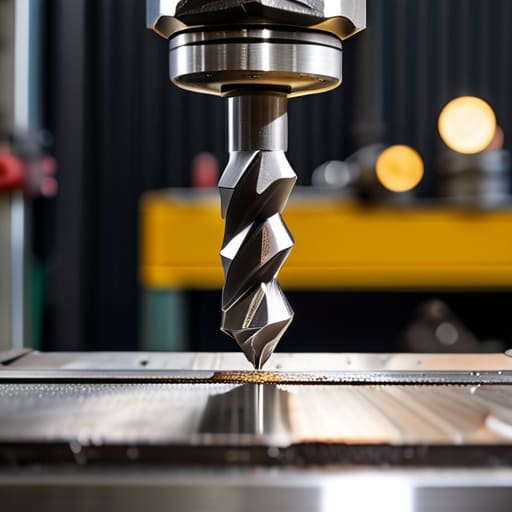
Now, before you even think about pulling the trigger on that drill press, you need to know what you’re putting in the chuck. I’ve seen too many young fellas grab a cheap pack of standard bits and wonder why they’re staring at a pile of blackened, useless scrap ten minutes later. If you’re just working with mild steel or some soft aluminum, a decent set of high-speed steel (HSS) bits will do the job just fine. They’re reliable, they’re easy on the wallet, and they’ll get you through most everyday repairs without a fuss.
But, if you find yourself staring down a piece of hardened alloy or you’re drilling through stainless steel, you’d better step up your game. That’s when you reach for cobalt. Cobalt bits are tougher and hold their edge much better when things get hot. The real secret, though, isn’t just the metal in the bit—it’s about preventing drill bit overheating. Even with a cobalt bit, if you don’t use a proper cutting fluid for metalwork and keep your speed steady, you’re going to burn that edge right off. Treat your tools with respect, and they’ll respect you.
The Precision Start Why a Center Punch for Metal Is Non Negotiable
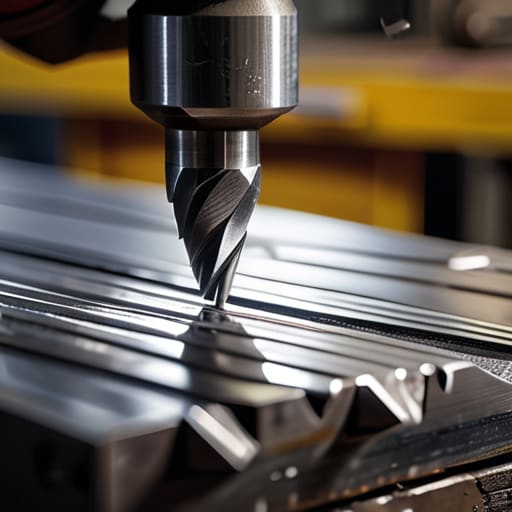
I’ve seen plenty of young lads walk into a shop, mark a spot with a pencil, and immediately try to bite into the steel with a fresh bit. It’s a recipe for a wandering drill and a ruined workpiece. A pencil mark is nothing more than a suggestion to a spinning bit; it has no physical teeth to hold it in place. That’s why a center punch for metal is the first thing you should reach for after you’ve laid out your marks. You need to give that bit a literal home to sit in before the power ever comes on.
Take a hammer and a sharp punch, and give it a firm, decisive strike right in the center of your mark. You aren’t trying to dent the plate, just creating a small, shallow divot. That little crater acts as a guide, keeping the tip of your bit from skittering across the surface like a puck on ice. If you skip this step, you’ll likely end up with a jagged, off-center hole that’ll make drilling through stainless steel even more of a nightmare than it already is. Do it right the first time, or you’ll be spending your afternoon grinding away mistakes.
Keep Your Cool: Five Ways to Stop Burning Up Your Bits
- Don’t skimp on the cutting oil. If you’re running dry, you’re just grinding the metal instead of cutting it, and you’ll have a dull bit before you’ve even finished the first hole.
- Watch your speed. If you see smoke or the metal starts turning a nasty blue color, you’re running the drill too fast. Slow down and let the bit do the work.
- Apply steady, even pressure. You want to feel the bit biting into the steel, not see it dancing on the surface. If you’re forcing it, you’re doing it wrong.
- Clear the chips regularly. Pull the bit out every few seconds to clear the metal shavings from the hole; if they pack in there, they’ll heat everything up and jam your progress.
- Secure your workpiece like your life depends on it. A piece of steel that shifts mid-drill isn’t just a nuisance—it’s a dangerous mess that’ll ruin your bit and potentially your fingers.
The Bottom Line Before You Pull the Trigger
Don’t be cheap with your bits; if you’re working through tough alloy, spend the extra few dollars on cobalt, or you’ll just be burning through HSS and cursing your luck.
Respect the center punch—skipping that step is the fastest way to watch your drill bit wander across the workpiece and ruin a perfectly good piece of steel.
Slow and steady wins the race; keep your speed low and your pressure consistent, because if you try to force the metal, you’re going to overheat the bit and kill it.
Respect the Bit
You can buy the most expensive cobalt bit in the shop, but if you try to force it through the steel with nothing but brute strength, you’re just burning money. Metal tells you when it’s ready to be cut; you just have to be patient enough to listen.
Alistair Fenwick
Final Thoughts Before You Pull the Trigger
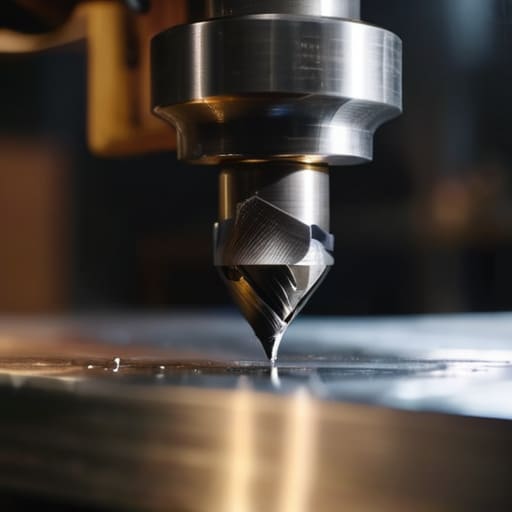
At the end of the day, drilling through metal isn’t about how fast you can get to the other side; it’s about the preparation you put in before the motor even starts spinning. You’ve got to pick the right bit—whether that’s a standard HSS for the light stuff or a rugged Cobalt bit when the steel starts fighting back—and you absolutely cannot skip that center punch. If you try to wing it without a guide, you’re just asking for a wandering bit and a ruined workpiece. Respect the material, use a bit of cutting oil to keep things cool, and never force the drill. If you feel it binding or stalling, stop and check your alignment. Patience is your best tool in the shop, even more than the drill itself.
I know it can feel a bit intimidating when you’re standing over a fresh piece of stock, worried about making a mistake you can’t undo. But that’s exactly how you learn. Every snapped bit and every crooked hole is just a lesson paid for in scrap metal. Don’t let the fear of a mistake keep you from picking up the tool. The world has enough people who buy something new the second it breaks; we need more folks who aren’t afraid to get their hands dirty and fix what’s broken. Go ahead, set your marks, and build something that lasts.
Frequently Asked Questions
How do I know if I'm using too much pressure or if the bit is just dull?
Listen, you can tell by the sound and the heat. If you’re leaning into it like you’re trying to push a plow through mud, and all you’re getting is a high-pitched scream and a cloud of burnt-smelling smoke, you’re doing it wrong. A sharp bit should bite; it should peel up consistent, curling ribbons of metal. If you’re just grinding away and making fine dust instead of chips, that bit is dead. Toss it.
What’s the real difference between using cutting oil and just plain old water or nothing at all?
Listen, I’ve seen plenty of folks try to “dry drill” to save a few seconds, and it usually ends with a snapped bit and a ruined workpiece. Water won’t do a damn thing for the heat, and nothing at all is just asking for trouble. You need cutting oil to pull the heat away from the cutting edge and lubricate the flutes. If you don’t use it, you’re just burning your tools alive.
I've snapped a few bits lately; how do I stop the drill from grabbing the metal and twisting my wrist?
That sudden jerk is enough to snap a bit or, worse, wrench your wrist. Most folks make the mistake of leaning too hard on the drill. You aren’t trying to plow through the steel; you’re trying to let the cutting edges do the work. Slow your feed rate and keep your pressure steady. If you’re using a hand drill, make sure you’re braced properly. If the bit starts to bind, back off immediately.
