I remember standing in a crowded hardware aisle back in ’84, watching a young lad stare blankly at a wall of shiny, overpriced tools, trying to figure out which one wouldn’t shatter his workpiece. It’s a mess out there today. You walk into any modern shop and you’re met with a mountain of marketing fluff claiming some titanium-alloyed gadget is going to change your life. The truth is, most of those fancy gadgets are just expensive distractions. People spend more time reading colorful packaging than they do actually feeling the weight of the steel in their hand. When you’re trying to shape hot metal or drive a stubborn pin, you don’t need a gimmick; you need to understand the fundamental differences between various hammer types and how they actually behave under pressure.
I’m not here to sell you on the latest trend or help you build a collection of tools that just sit on a pegboard looking pretty. My goal is to strip away the nonsense and give you the straight talk you’d get from a man who’s spent forty years getting his hands dirty. I’ll walk you through the specific tools you actually need for real work, from the heavy striking force of a ball-peen to the delicate touch of a chasing hammer. We’re going to focus on tools that are built to last, because if you don’t know your tools, you’ll never master your craft.
Table of Contents
Claw Hammer vs Ball Peen Choosing Your Primary Striking Tool
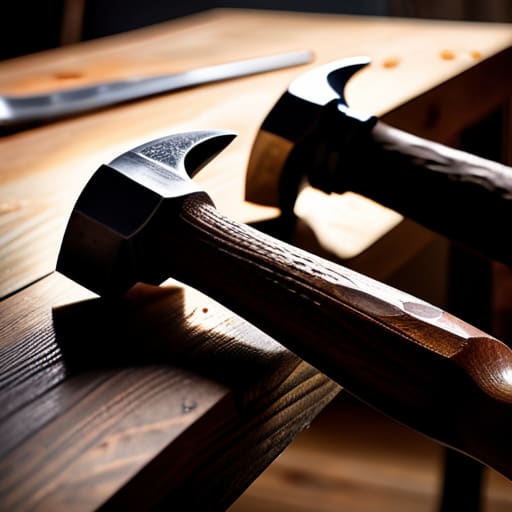
Now, if you’re standing in the tool aisle looking at a wall of steel, you’re likely going to run into the classic debate of claw hammer vs ball peen. For most folks, the claw hammer is the old reliable. It’s designed for driving nails and pulling them back out, making it a staple for general carpentry. But if you’re planning on doing any real metalwork, that claw is just dead weight. It’s unbalanced for heavy striking, and you’ll find yourself fighting the tool rather than working with it.
If you’ve stepped into my shop, you’ll notice my bench is dominated by the ball peen. This isn’t just a preference; it’s about having the right striking tools for metalwork. That rounded “peen” end isn’t there for decoration—it’s meant for shaping metal, setting rivets, and peening edges without marring the surface like a flat face might. While a claw hammer belongs in a kitchen drawer for hanging pictures, a ball peen is a workshop essential hammer that actually understands the physics of metal. Don’t try to make one tool do everything, or you’ll just end up frustrated and bruised.
Workshop Essential Hammers for the Serious Maker
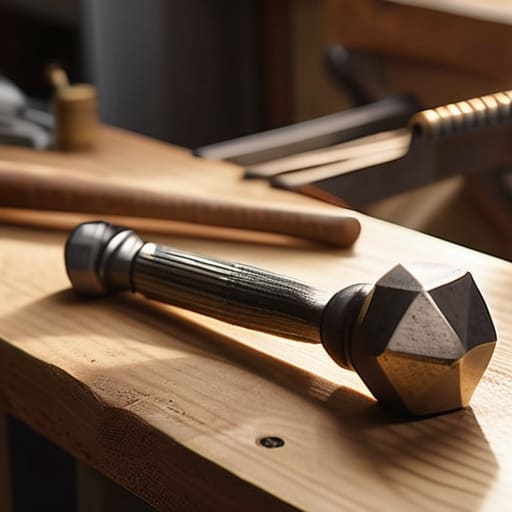
Once you’ve decided between a claw hammer vs ball peen for your daily tasks, you need to look at the rest of your bench. A serious workshop isn’t built on a single tool; it’s built on a collection of specialized instruments that know their place. I’ve seen too many young fellas try to force a hardened steel hammer onto a delicate piece of brass, only to end up with a dented mess and a bruised ego. You need to respect the material you’re working with.
For those of us doing more heavy-duty shaping, understanding various blacksmithing hammer uses is non-negotiable. You might find yourself reaching for a heavy cross-peen when you need to draw out metal, or perhaps a specialized rounding hammer for more intricate curves. On the flip side, don’t overlook the importance of softer options. I always keep a few different rubber mallet applications in mind for when I’m assembling parts or adjusting a fitting without marring the surface. If you don’t have a tool that treats the metal with the proper level of force, you aren’t crafting—you’re just making a mess.
Five Rules for Not Ruining Your Metalwork
- Match the weight to the task, not your ego. I’ve seen too many young lads grab a three-pound sledge for a delicate shaping job just to feel powerful; you’ll end up overshooting the mark and distorting the piece beyond repair.
- Check the handle every single time you pick it up. A loose head on a hammer isn’t just an inconvenience—it’s a projectile waiting to happen, and I’ve seen more than one workshop accident caused by a neglected wooden handle.
- Stop using the wrong face for the job. If you use a flat-faced machinist hammer on a piece of polished sheet metal, you’re going to leave marks that no amount of sanding will ever truly get out, so use a dead-blow or a rawhide mallet when you need to be gentle.
- Listen to the ring of the metal. When you’re striking, the sound tells you everything you need to know; a dull thud often means you’re hitting with poor technique or your tool is slipping, while a clean ring means you’re hitting true.
- Never settle for cheap, “all-in-one” kits from the big-box stores. Those tools are made of soft alloys that mushroom after three hits; buy a decent hammer with a forged head that you can actually rely on when the work gets serious.
A Few Things to Remember Before You Swing
Don’t go buying a whole rack of cheap, shiny hammers just because they’re on sale; invest in one solid, well-balanced tool for each specific task, or you’ll just be fighting your own equipment.
Respect the weight and the balance of what’s in your hand, because if the tool doesn’t feel right, you’re going to end up with sore wrists and a piece of metal that’s been beaten into scrap.
Always match the face of your hammer to the material you’re working on—using a hard steel face on something delicate is a quick way to ruin a good project and waste your time.
## The Right Weight for the Right Work
“A man who uses a sledgehammer where a ball peen belongs isn’t working hard, he’s just working foolishly; you don’t respect the metal by forcing it, you respect it by choosing the tool that understands the task.”
Alistair Fenwick
The Right Tool for the Long Haul
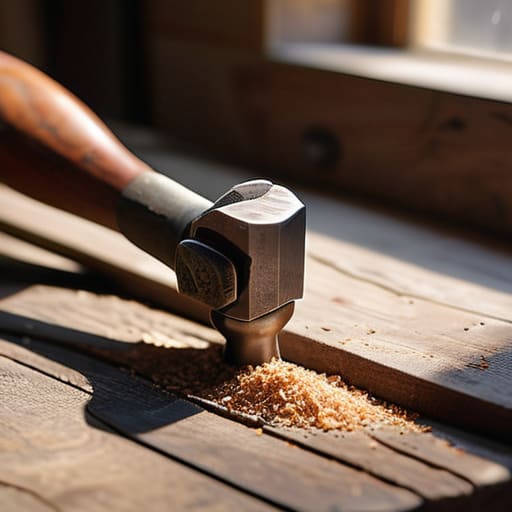
At the end of the day, picking a hammer isn’t about finding the flashiest tool in the catalog or the one that costs the most at the big-box store. It’s about understanding the physics of your work. If you’re driving a nail into a piece of framing, you reach for that claw hammer. If you’re shaping metal or setting a rivet, that ball peen is your best friend. I’ve seen too many beginners try to force a job with the wrong weight or the wrong face, and all they end up with is bruised knuckles and a piece of ruined material. Take the time to match the tool to the task, and you’ll find that the work flows much smoother when you aren’t fighting your own equipment.
My advice to you is this: don’t be afraid to invest in quality. A decent hammer is something you can pass down to your grandkids, provided you treat it with a bit of respect. Clean it, oil the handle when it gets dry, and never use it as a pry bar unless it was built for it. Mastery doesn’t come from owning every gadget under the sun; it comes from knowing exactly how your tools feel in your hand. Build things with intention, use the right striking force, and remember that true craftsmanship is measured in decades, not minutes. Now, get back to the bench and get to work.
Frequently Asked Questions
If I'm working on a restoration project, should I be looking for a vintage forged hammer or is a modern steel one just as good?
Look, if you’re restoring something with history, a vintage forged hammer has a soul and a balance you just won’t find in a modern, mass-produced tool. There’s a certain rhythm to old steel that feels right. That said, don’t go chasing antiques just for the sake of it. If the vintage head is cracked or the handle’s gone soft, it’s useless. A high-quality modern hammer works fine, provided it’s built to last.
How can I tell if a hammer's handle is actually going to hold up under heavy use, or if it's just one of those cheap ones that'll snap when I need it most?
You can tell a lot by how a hammer feels in your hand before you even swing it. If the handle feels hollow or light, run the other way. Look for a solid connection where the head meets the shaft—there shouldn’t be any wiggle or play. I always prefer a good, dense hickory that’s been properly seasoned, or a steel handle with a solid, integrated grip. If it feels flimsy in the shop, it’ll snap in the heat of a real job.
Is there a specific weight of mallet I should keep in my kit for working with softer metals without leaving ugly marks?
If you’re working with softer stuff like copper or brass, stay away from the steel. You’ll mar the surface before you even get a rhythm going. I always keep a 16-ounce dead-blow or a heavy rawhide mallet in my kit. It’s enough weight to move the metal without leaving those nasty indentations that’ll take you hours to grind out later. Remember, it’s about controlled force, not just swinging hard.
