I remember standing over a piece of copper back in ’84, watching a young apprentice try to force a finish by cranking the torch way too high. He thought he could skip the prep work and just blast the color on, but all he did was scorch the surface and turn a beautiful piece of metal into a streaky, blackened mess. That’s the problem with most folks today; they treat patina application like it’s some kind of magic trick you can perform with a spray can and a bit of luck. The truth is, a real patina isn’t something you just slap on top—it’s a controlled reaction that requires you to respect the material and work at its pace, not yours.
I’m not here to sell you on any fancy, overpriced chemical kits or tell you that you can get professional results in five minutes flat. What I am going to give you is the honest, unvarnished truth about how to manage your heat, prep your surfaces, and actually control the outcome of your work. We’re going to walk through the proper steps of patina application so you can stop guessing and start building things that look like they have a history, rather than just looking like they were rushed through a factory.
Table of Contents
- Step-by-Step Instructions
- Understanding the Metal Oxidation Process Without Taking Shortcuts
- Achieving an Aged Bronze Look Through Proper Weathering Metal Surfaces
- Five Things I’ve Learned the Hard Way About Patina
- The Bottom Line on Doing It Right
- ## The Soul of the Surface
- The Final Inspection
- Frequently Asked Questions
Guide Overview
Tools & Supplies
- Sandpaper (various grits for surface prep)
- Small paintbrush (for precise application)
- Microfiber cloth (for buffing and cleaning)
- Patina solution or aging agent (1 bottle)
- Metal or wood substrate (1 item)
- Wax or sealant (1 small tin)
- Degreaser or isopropyl alcohol (1 bottle)
Step-by-Step Instructions
- 1. Before you even think about touching a chemical or a torch, you’ve got to get that surface spotless. I’m talking about more than just wiping off the dust with a rag; you need to strip away every bit of oil, grease, and old wax. If there’s even a fingerprint left on that metal, the patina is going to react unevenly, and you’ll end up with a blotchy mess that looks more like a mistake than a finish. Use a good degreaser or some denatured alcohol and keep scrubbing until the surface is completely sterile.
- 2. Once the metal is clean, you need to decide if you’re going for a cold application or a heat-assisted one. For most of the smaller restoration pieces I work on in my garage, I prefer using a torch to bring the metal up to temperature slowly. You don’t want to go from cold to glowing red in five seconds; you need to gradually raise the heat so the metal expands evenly. If you shock the material with too much heat too fast, you risk warping the piece, and once it’s warped, there’s no going back.
- 3. Now comes the part where most folks lose their nerve: applying the solution. Whether you’re using a commercial patina or a homemade mixture, you have to work in small, controlled sections. Don’t try to douse the whole thing at once. I usually take a small sponge or a fine brush and work the liquid into the metal, watching the color change like a hawk. If you see the reaction happening too quickly, pull the solution off immediately. You’re the one in control here, not the chemical.
- 4. While the patina is reacting, you’ve got to keep a close eye on the depth of color. This is where my old habit of carrying sandpaper comes in handy—if a spot starts looking too dark or uneven, you might need to lightly intervene, but only if you’re prepared for the consequences. You’re looking for a consistent tone that settles into the grain of the metal. If it starts looking “muddy,” you’ve likely pushed the heat too high or left the solution on too long.
- 5. Once you’ve achieved the look you’re after, you have to stop the reaction dead in its tracks. You can’t just let it air dry and hope for the best. I usually quench the piece in a bath of cool water or use a neutralizing agent depending on what kind of acid you’re working with. It’s vital to neutralize the surface thoroughly, otherwise, that chemical reaction will keep crawling under the surface, and your hard work will start pitting and corroding within a week.
- 6. The final, and perhaps most important, step is sealing the deal. A patina is a living thing, and without protection, it’ll change every time someone touches it or the humidity shifts. I prefer using a high-quality microcrystalline wax for my restorations because it doesn’t leave a thick, plastic-looking film. Apply a thin, even coat and buff it out with a soft cloth. You want a finish that feels like part of the metal, not something that was just slapped on top at the last minute.
Understanding the Metal Oxidation Process Without Taking Shortcuts
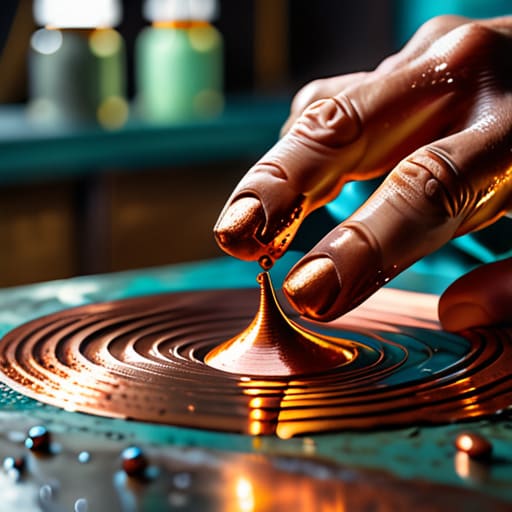
Now, before you go dumping chemicals onto a piece of brass or copper, you need to understand what’s actually happening at a molecular level. The metal oxidation process isn’t just a way to make something look old; it’s a controlled chemical reaction between the metal and its environment. When you use various copper patina solutions, you’re essentially forcing the metal to “age” decades in a matter of minutes. If you don’t respect that chemistry, you’ll find yourself fighting a losing battle against uneven spotting or, worse, a finish that flakes off the moment you touch it.
I see a lot of folks trying to use faux aging techniques to mimic a century of history, but they often miss the mark because they don’t account for the metal’s surface preparation. You can’t just slap a solution on a greasy piece of scrap and expect a masterpiece. Real weathering requires patience. If the surface isn’t chemically clean, the reaction will be erratic. Take your time with the cleaning phase; it’s the difference between a finish that looks like it belongs on a museum piece and one that looks like a mistake.
Achieving an Aged Bronze Look Through Proper Weathering Metal Surfaces
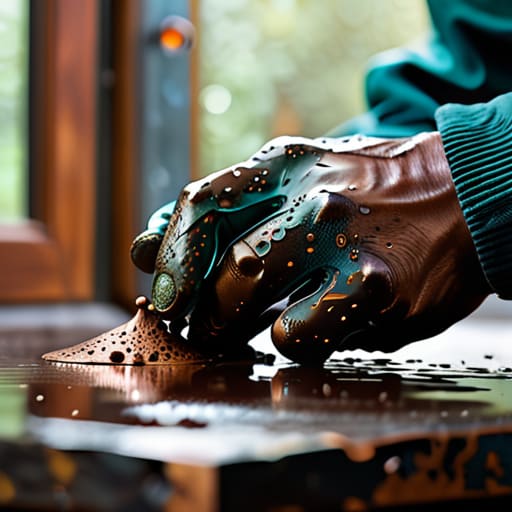
Now, if you’re looking at a piece of brass or bronze and you want it to look like it’s been sitting in a garden for fifty years, you can’t just slap on a coat of paint and call it a day. Achieving an aged bronze look requires you to work with the chemistry of the metal, not against it. I’ve seen many folks try to use cheap faux aging techniques that end up looking like plastic once they dry. Instead, you want to lean into the natural metal oxidation process. If you’re working indoors, I recommend using specific copper patina solutions that react to the surface, but you have to be patient. You might need to mist the solution on in layers, letting the metal breathe between applications.
One thing I can’t stress enough is your workspace setup. When you’re weathering metal surfaces, you’re dealing with reactive agents, so please don’t ignore patina chemical safety. I always keep my shop well-ventilated and wear my heavy-duty gloves. If you rush the chemical reaction, you’ll get splotches that look more like a mistake than a deliberate finish. Slow and steady wins the race every single time.
Five Things I’ve Learned the Hard Way About Patina
- Clean your surface until it’s spotless. I’ve seen too many fellas try to layer a patina over old oil or fingerprints, and all they end up with is a blotchy mess that peels off like cheap paint.
- Control your temperature like a hawk. If you’re using heat to drive a chemical reaction, you can’t just crank the torch and hope for the best; you need to watch the metal’s color and react to it, not the other way around.
- Patience is your most important tool. A good patina often needs time to settle and react with the air, so don’t go rushing in to apply a sealant before the metal has finished its business.
- Test your chemicals on scrap first. Never, and I mean never, use a new solution on your finished piece without testing it on a bit of the same metal sitting on your workbench. You’ll learn more from a failed scrap piece than a ruined masterpiece.
- Watch the humidity in your shop. The air around you plays a massive role in how metal oxidizes, so if it’s a damp morning or a bone-dry afternoon, expect your results to behave a little differently.
The Bottom Line on Doing It Right
Respect the heat and the clock; you can’t force an oxidation process to happen faster than the metal wants to go without risking a ruined finish.
Preparation is everything, so don’t even think about applying a patina until you’ve scrubbed that surface clean and smooth.
Aim for longevity over a quick fix, because a job done properly with patience will look better ten years from now than a rushed job looks tomorrow.
## The Soul of the Surface
A good patina isn’t something you slap onto a piece of metal to make it look old; it’s a conversation between the material and the elements. If you try to force the finish with chemicals and haste, you’re just masking the truth of the metal. You have to give it the time to breathe and react, because a finish earned through patience will outlast any shortcut you could ever take.
Alistair Fenwick
The Final Inspection
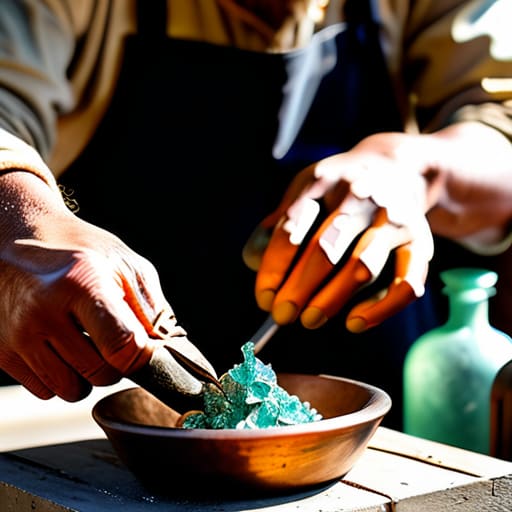
At the end of the day, getting a proper patina right comes down to two things: patience and respect for the chemistry involved. You can’t force an oxidation process to happen faster than the metal wants to move, and you certainly can’t hide sloppy surface preparation under a layer of chemical coloring. Whether you’re working with bronze to get that deep, weathered look or applying a controlled finish to a piece of steel, remember that the foundation is everything. If you skip the cleaning or rush the heat, you aren’t building a finish; you’re just creating a mess that’ll flake off the moment it sees some real use. Take your time, watch how the metal reacts, and trust the process.
I know it’s tempting to want to see the finished product sitting on your workbench immediately, but true craftsmanship isn’t about the clock. It’s about the satisfaction of knowing that when you walk away, that piece is better than when you started. When you do things the right way, you aren’t just making something look old; you’re giving it a character that can’t be bought in a spray can. So, keep your tools sharp, keep your workspace clean, and never settle for mediocre results. If you treat your metal with the respect it deserves, it’ll reward you with a finish that stands the test of time.
Frequently Asked Questions
If I accidentally overheat the metal while I'm working the patina, is the piece ruined or can I strip it back and start over?
Look, don’t panic, but don’t pretend it didn’t happen either. If you’ve scorched the surface or caused uneven discoloration from too much heat, the piece isn’t necessarily scrap, but it is certainly not finished. You’re going to have to strip it back. Grab your abrasives and sand that mess down until you’re back to clean, bare metal. It’s a setback, sure, but it beats trying to patch a bad finish.
How do I know when to stop the oxidation process so I don't end up with a finish that looks more like corrosion than a controlled aged look?
That’s the million-dollar question, isn’t it? You have to keep your eyes peeled. Don’t just look at the color; look at the texture. As long as the surface stays smooth, you’re in the clear. The moment you see pitting or a crusty, uneven buildup, you’ve gone too far and crossed the line from patina to rot. Stop early, neutralize it, and remember: you can always add more, but you can’t take it back.
What’s the best way to seal in a patina once I'm happy with the color without making the metal look unnaturally shiny or plastic?
You want to lock that color in without making it look like it was dipped in cheap plastic. Avoid the heavy spray lacquers; they’ll give you that artificial, greasy shine that ruins the character of the metal. Instead, reach for a high-quality microcrystalline wax. Apply a thin, even layer with a soft cloth once the metal is cool and clean. It’ll soak in, protect the surface, and keep that honest, matte finish you worked so hard for.
