I remember standing in a massive industrial shop back in ’84, watching a young apprentice waste a perfectly good sheet of mild steel because he thought he could “eyeball” a series of repetitive cuts. He’d spent more time cursing his crooked lines than he ever would have spent actually building a proper setup. Nowadays, you can go online and find a thousand different gadgets claiming to be the ultimate solution, but most of those flimsy, overpriced metal-working jigs are nothing more than expensive paperweights designed to separate a fool from his money. If a tool doesn’t help you find your center and stay there under the pressure of the work, it’s just cluttering up your bench.
I’m not here to sell you on some magic shortcut or a high-tech gizmo that breaks the first time you tighten a bolt. What I want to do is show you how to build your own reliable, heavy-duty guides that actually hold their ground. We’re going to talk about the fundamentals of stability and repeatable accuracy so you can stop fighting your material and start mastering it. I’ll share the exact methods I’ve used for forty years to ensure that once a piece is clamped, it stays exactly where it belongs.
Table of Contents
Mastering Custom Jig Design Principles for Longevity
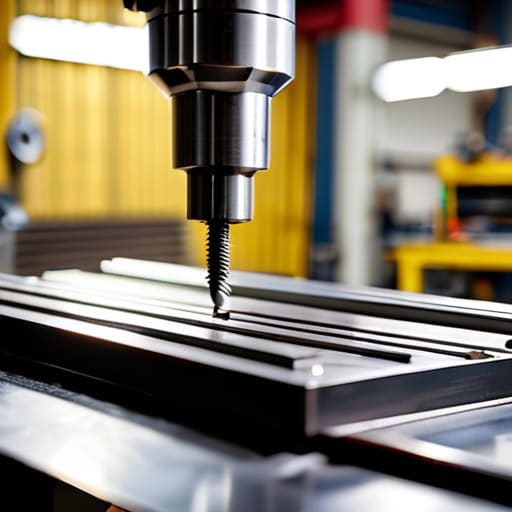
When you sit down to design a new setup, don’t just grab whatever scrap steel is lying around the shop floor. If you want a tool that stays true after a hundred uses, you need to follow a few core custom jig design principles that prioritize rigidity over convenience. A jig that flexes under the pressure of a clamp or the heat of a torch is nothing more than an expensive way to make mistakes. I’ve seen too many young fellas build something that looks fine on paper, but the moment they start applying real force, the whole thing bows. You want to build for absolute stability, ensuring that your baseplate is heavy enough and your fastening points are stout enough to resist any shifting.
It isn’t just about holding a piece of metal in place; it’s about creating reliable welding alignment aids that take the guesswork out of your seams. If your setup isn’t repeatable, you aren’t crafting—you’re just guessing. I always tell my clients that a well-made jig should act like a second set of eyes, guiding your hand and keeping your measurements dead-on every single time.
Precision Machining Fixtures That Outlast the Trend
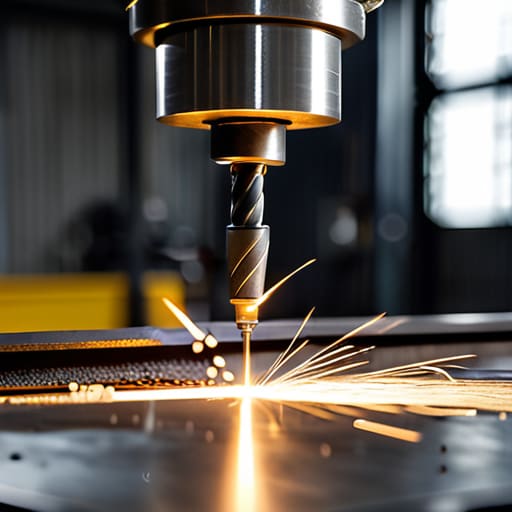
Now, I see a lot of folks buying these pre-made, lightweight kits online and calling them a day. They look fine in a catalog, but the moment you put any real pressure on them, they flex. If you’re moving into more serious work, you need to stop thinking about temporary setups and start investing in precision machining fixtures that you’ve built yourself from seasoned steel. A fixture shouldn’t just hold a part; it should be an extension of your own steady hand. I always say, if the base isn’t heavy enough to stay put without you leaning on it, it’s not a tool—it’s a toy.
When you’re designing these more permanent setups, don’t cut corners on the mounting points. I’ve seen too many guys try to save time by using thin, mild steel for their welding alignment aids, only to find the heat warps the whole assembly after three uses. You want something with enough mass to soak up the vibration and the heat. Build it beefy, bolt it down, and make sure it’s something you can still use ten years from now when the “latest” trend has long since ended up in the scrap bin.
Five Rules for Jigs That Won't Let You Down
- Stop using scrap wood for everything. I see plenty of young fellas trying to pin steel workpieces down with nothing but a bit of plywood and a couple of screws. Wood warps, it compresses, and it’ll give you a measurement that’s off by a hair before you’ve even finished your first pass. If you’re working with metal, your jig needs to be metal. Use heavy steel plate or thick angle iron so the setup stays as rigid as the part you’re making.
- Build in your adjustment points. A jig that only works for one specific dimension is just a fancy way of wasting material. I always design my setups with slotted holes or threaded rods so I can fine-tune the position. You want a jig that can grow with your projects, not one you have to toss in the scrap bin the moment you change a measurement by a sixteenth of an inch.
- Prioritize easy cleaning and debris removal. There is nothing more frustrating than a jig that traps metal shavings or grit in its joints. If those chips get wedged in your locating pins, your precision goes right out the window. I always make sure my designs have clear access points or slight chamfers so I can blow out the workspace with compressed air and start the next piece with a clean slate.
- Don’t skimp on the clamping force. You can have the most precise layout in the world, but if the workpiece shifts even a fraction of a millimeter under the pressure of a grinder or a drill, you’ve just ruined your afternoon. Use heavy-duty toggle clamps or robust screw clamps that are integrated into the jig itself. A jig is only as good as its ability to hold something still when the real work starts.
- Mark your jigs permanently. I’ve spent more time than I care to admit digging through a drawer of “similar-looking” fixtures trying to find the one I built for a specific task. Use a punch to mark your jigs with their primary function or a serial number. It might seem like a small thing, but when you’re deep into a complex build, you don’t want to be playing guessing games with your own tools.
The Fundamentals to Carry Back to the Shop
Stop chasing speed over stability; a jig that wobbles or flexes under pressure isn’t a tool, it’s a liability that’ll cost you more in ruined material than you’ll ever save in time.
Build your setups with heavy-duty, reusable components rather than disposable scraps, because if you have to rebuild your jig every time you change a workpiece, you aren’t working, you’re just fussing.
Always design for accessibility and sightlines, ensuring you can actually see your marks and reach your fasteners without fighting the very tool that’s supposed to be helping you.
The True Cost of a Shortcut
A jig isn’t just a way to hold a piece of steel in place; it’s the foundation of your accuracy. If you build a flimsy setup just to save twenty minutes today, you’ll spend ten hours fixing the crooked work it leaves behind tomorrow.
Alistair Fenwick
Final Thoughts Before You Hit the Anvil
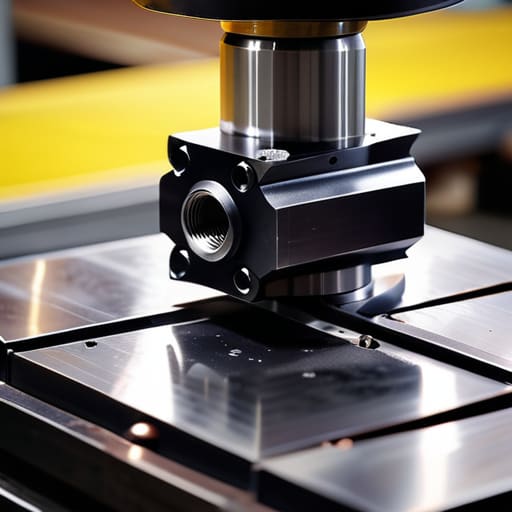
At the end of the day, a good jig isn’t about how many fancy gadgets you can buy from a catalog; it’s about understanding the relationship between your workpiece and the forces acting upon it. We’ve talked about the importance of custom design principles that don’t warp under heat, and the necessity of building fixtures that can handle real-world machining without shaking themselves to pieces. If you take the time to build your setups with proper stability and heavy-duty materials, you aren’t just making a tool—you’re eliminating the guesswork that leads to ruined stock. Remember, a jig that wobbles is just a way to ensure you’ll be making the same part twice, and wasted material is the one thing a real craftsman can’t afford.
I know it’s tempting to just grab a pair of clamps and hope for the best when you’re in a hurry to get a project finished. But I’m telling you, slow down. Take the extra hour to square up your base and ensure your stops are dead-on. When you invest that kind of effort into your workshop setup, you’re investing in your own skill and your own peace of mind. There is a deep, quiet satisfaction in knowing that when you set that metal down, it isn’t going anywhere. Build it right the first time, and you’ll find that the work itself becomes a lot more rewarding. Now, quit reading and get back to the bench.
Frequently Asked Questions
How do I know if I’ve used enough material for a jig to prevent it from flexing under heavy pressure?
If you have to squint or lean into it to make the jig hold, you’ve already lost. A good jig shouldn’t feel like it’s “working” to stay still; it should feel like part of the workbench. If you see even a hair’s breadth of deflection under a heavy load, stop immediately. You haven’t used enough mass or the right profile. Add some thickness or a gusset—don’t just hope it holds. If it flexes, your measurements are garbage.
Is it worth the time to build a dedicated jig for a one-off repair, or should I just use standard clamps?
If it’s a one-off, don’t go wasting an afternoon building a complex fixture just to use it once. That’s a recipe for unfinished projects. Use your standard clamps, but use them right—get them positioned so they aren’t fighting the material. However, if that “one-off” repair requires a specific, awkward angle that keeps slipping, take the ten minutes to scrap together a quick wooden block or a shim. Stability beats speed every time.
What’s the best way to mark my jig so I can quickly swap parts in and out without losing my alignment?
Stop relying on a pencil; graphite wears down and shifts under the heat. If you want real repeatability, you need to scribe your layout lines with a sharp carbide scriber or use a dedicated center punch to create permanent reference points. For even better results, I use hardened steel pins or dowel holes drilled directly into the jig base. It takes more effort upfront, but once those parts seat into their marks, they aren’t going anywhere.
