I remember standing over a workbench back in ’84, staring at a piece of rolled steel that looked smooth enough to eat off of, only to realize the finish was so inconsistent it was practically useless for the precision jig I was building. Most folks today think you can just slap some chemical wash or a quick buff on a piece of iron and call it a day, but they’re missing the point entirely. They treat metal surface textures like they’re just something to look at, rather than a fundamental part of how the metal behaves under a tool or a weld. If you don’t understand the grain, the grit, or the way the light hits a brushed finish, you aren’t working the metal—you’re just fighting it.
I’m not here to sell you on some expensive, high-tech coating that’ll flake off in six months. What I want to do is walk you through the actual, hands-on reality of how different metal surface textures affect your work, from the grit of a hand-sanded patina to the deep, honest character of a hammered finish. I’ll show you how to get it right the first time so you aren’t wasting good material on mistakes you could have avoided with a little bit of patience.
Table of Contents
- Brushed vs Polished Metal Choosing Character Over Cheap Glitz
- Aesthetic Metal Treatments That Actually Stand the Test of Time
- Five Rules for Getting the Texture Right the First Time
- The Bottom Line on Metal Finishes
- ## The Soul in the Surface
- Making the Right Call for the Long Haul
- Frequently Asked Questions
Brushed vs Polished Metal Choosing Character Over Cheap Glitz
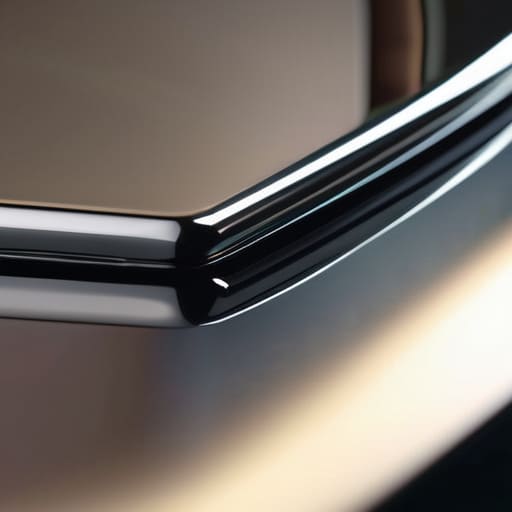
Now, when you’re deciding between a brushed or polished look, you’ve got to ask yourself what you’re actually trying to achieve. A polished finish is like a mirror; it’s bright, it’s flashy, and it catches every bit of light in the room. But let me tell you, a mirror finish is a high-maintenance beast. Every fingerprint, every smudge, and every tiny scratch from a stray tool is going to scream at you. If you’re looking for something that feels expensive and pristine, go ahead, but don’t expect it to stay that way without constant buffing.
On the other hand, I’ve always had a soft spot for a brushed finish. It’s got a certain grit to it that feels honest. When you use industrial metal finishing techniques to create those fine, directional lines, you aren’t just hiding imperfections; you’re adding a sense of purpose to the piece. It’s a much better choice for anything that’s actually going to see some use. In my experience, brushed vs polished metal comes down to whether you want a showroom piece or a tool that can actually live a life. If you want character that ages gracefully, skip the glitz and go for the texture.
Aesthetic Metal Treatments That Actually Stand the Test of Time
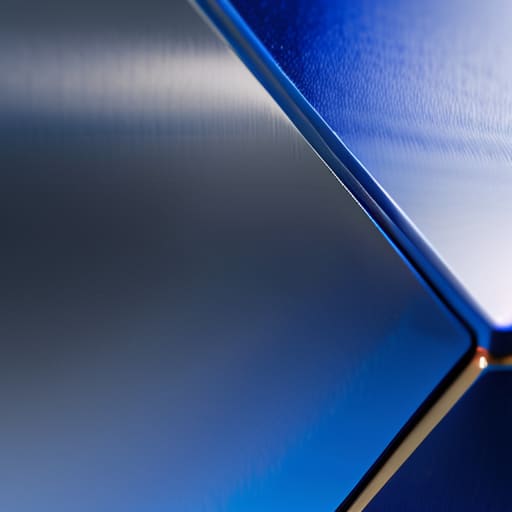
Now, if you’re looking to move beyond simple sanding and want something that feels intentional, you need to look at more permanent aesthetic metal treatments. I’ve seen too many folks try to slap a cheap coating on a piece of steel only to have it flake off within a year. If you want a finish that survives actual use, you should consider anodizing metal surfaces. It isn’t just a layer of paint sitting on top; it’s an electrochemical process that integrates the finish into the metal itself. It’s one of those industrial metal finishing techniques that actually respects the integrity of the material rather than just masking its flaws.
When I’m consulting on a project, I always tell people to think about how the piece will age. A hammered texture or a chemically darkened patina tells a story. Unlike a mirror finish that shows every single fingerprint and scratch, a more rugged, textured surface hides the wear and tear of daily life. You aren’t just choosing a look; you’re choosing how that metal will carry its history over the next twenty years.
Five Rules for Getting the Texture Right the First Time
- Don’t go chasing a mirror finish if you can’t maintain it. A high polish looks grand for ten minutes, but in a working shop or a busy kitchen, it’ll show every single fingerprint and scratch. If you want something that ages with dignity, stick to a brushed or satin texture that hides the wear of real life.
- Respect the grain. When you’re using an abrasive pad or a belt, you have to move in one consistent direction. If you start jumping around or crossing your paths, you’re going to create a mess of swirl marks that no amount of sanding is going to fix easily.
- Watch your heat. I’ve seen too many young fellas get impatient and run a grinder too hard against a piece of finished metal. If the surface gets too hot to touch, you’re risking discoloration or even warping the piece. Keep a bucket of water nearby and take your time.
- Test your grit on the scrap pile first. Never, and I mean never, take your best tool to your final workpiece without testing it on a piece of similar metal first. You need to see how that specific alloy reacts to the grit before you commit to a permanent change.
- Clean as you go. Metal dust and grit act like a grinding paste if they get trapped under your tools. If you don’t clear the surface regularly, you’ll end up scratching the very texture you’ve worked so hard to perfect. Keep a rag handy and keep it tidy.
The Bottom Line on Metal Finishes
Stop chasing that mirror-shine if you aren’t prepared to baby it; a brushed or textured finish hides the real-world scratches and dings that come with actually using a tool or a piece of furniture.
Always prioritize the integrity of the metal over the flashiness of the coating, because a cheap plating will peel off in a month, but a properly worked texture is part of the metal itself.
Take your time with the abrasive work—if you rush the grain or the polish, you’ll spend twice as much time trying to fix your mistakes as you would have spent doing it right the first time.
## The Soul in the Surface
“A mirror finish is fine if you’re looking to show off, but a well-worked texture tells a story. When you leave a bit of the maker’s hand in the metal, you aren’t just finishing a piece; you’re giving it the grit it needs to survive a lifetime of use.”
Alistair Fenwick
Making the Right Call for the Long Haul
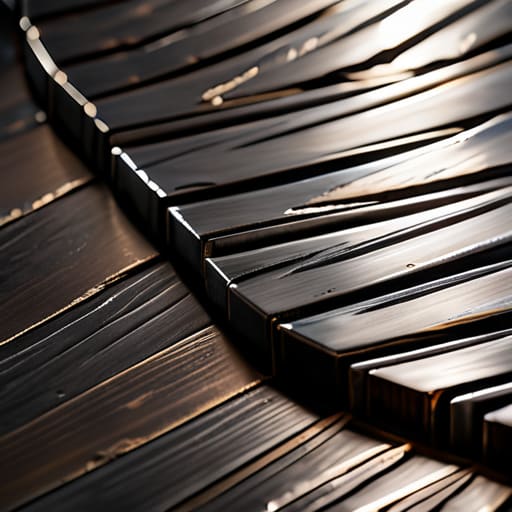
At the end of the day, choosing a texture isn’t just about what looks shiny under the shop lights; it’s about how that piece is going to behave ten years down the line. Whether you decide to go with a soft, brushed finish to hide those inevitable scratches or a deep, hammered texture to give a piece some real soul, you have to think about the maintenance. A mirror polish might look grand for a week, but if you aren’t prepared to babysit it every single day, you’re just asking for frustration. Remember, the texture you choose dictates how the metal ages, and the goal is to age gracefully, not to hide flaws behind a coat of cheap glitz.
I’ve seen plenty of folks rush through the finishing stages just to get the job done, only to realize they’ve ruined a perfectly good piece of stock. Don’t let that be you. Take your time with the grit, respect the grain, and listen to what the metal is telling you. If you approach your work with a bit of patience and a steady hand, you won’t just be making something that looks decent—you’ll be creating something that commands respect. Go ahead, pick up your tools, and build something that actually lasts.
Frequently Asked Questions
If I decide to go with a brushed finish on an old cast-iron piece, am I going to ruin the seasoning or the integrity of the metal?
Now, hold on a second. If you’re talking about an old cast-iron piece, you don’t “brush” it like you would a sheet of stainless steel. That seasoning isn’t just a coating; it’s part of the metal’s soul now. If you go in with abrasives to create a brushed texture, you’ll strip that seasoning right down to the raw iron. You won’t ruin the integrity of the metal, but you’ll certainly ruin the history—and the non-stick surface.
How do I tell the difference between a factory-applied texture and something someone just slapped on with a cheap abrasive before it hit the shop floor?
You’ve got to look at the pattern, not just the shine. A factory finish is consistent; the grain follows a deliberate, rhythmic direction because it was done with intent. If it’s just someone slapping a cheap abrasive on it, you’ll see “chatter”—uneven scratches, varying depths, and spots where they skipped a beat. Real texture has a logic to it. If the marks look frantic and messy, it’s amateur work.
Once I've worked a specific texture into a piece, how do I stop it from looking ragged or worn out after a few years of actual use?
You’ve got to seal it properly, or you’re just inviting trouble. If it’s a decorative finish, a high-quality microcrystalline wax is your best friend; it fills the microscopic valleys of the texture without masking the character. For something that takes a real beating, look into a clear, hard-coat lacquer or a specialized metal sealant. Don’t just slap it on—clean the surface first. If you leave oils or grit in those textures, the finish will peel and look ragged.
