I remember standing in a massive fabrication shop back in ’84, watching a young apprentice try to mask a surface imperfection with nothing but a high-speed grinder and a prayer. He thought he could just buff out his mistakes and call it a day, but the heat from that tool had already compromised the temper of the steel. He didn’t realize that metal finishing isn’t just about making a piece look shiny for a showroom floor; it’s about protecting the integrity of the material itself. Most folks these days think you can just slap some cheap coating on a part and walk away, but if you don’t respect the science of the surface, you’re just painting over a problem that’s going to come back to haunt you.
I’m not here to sell you on expensive, proprietary chemicals or some fancy automated system that costs more than your truck. What I want to do is show you how to do it right, the old-fashioned way, using your eyes, your hands, and a bit of common sense. I’ll walk you through the grit, the heat, and the patience required to ensure your work stays built to last.
Table of Contents
Mastering Surface Preparation Methods Before You Strike
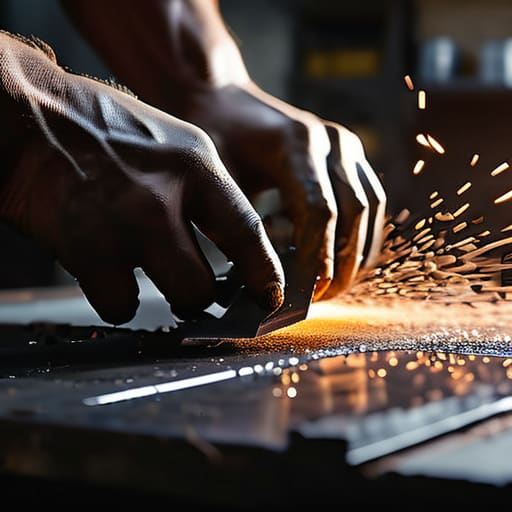
Before you even think about picking up a welder or a grinder, you need to get your head right about what’s sitting on your workbench. You can have the most expensive machine in the shop, but if you’re working on a surface covered in mill scale, grease, or old rust, you’re just masking problems that’ll resurface later. Most folks want to jump straight to the flashy part, but real surface preparation methods are where the integrity of the work is actually decided. I’ve seen too many young apprentices try to coat over a dirty substrate, only to watch that finish bubble and peel off within a month.
If you want your work to stand the test of time, you have to treat the cleaning stage like it’s the most important part of the job. Whether you’re using a wire wheel or a chemical degreaser, your goal is a clean, uniform surface that’s ready to bond. Getting this right is the foundation for all your metal oxidation prevention down the line. If you don’t strip it down to the honest metal, you aren’t building something meant to last; you’re just putting a coat of paint on a disaster.
Protective Surface Coatings That Actually Stand the Test of Time
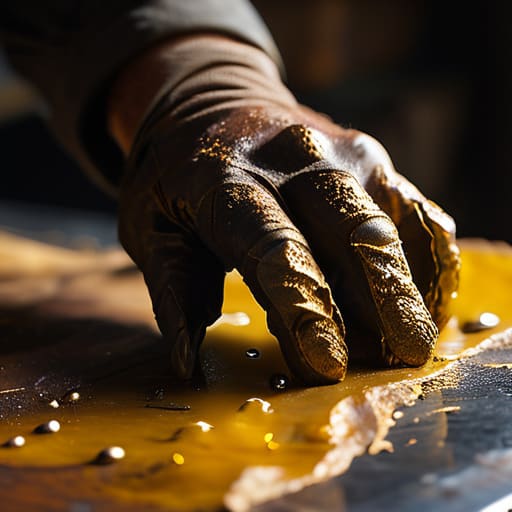
Once you’ve got that surface cleaned and prepped, you have to decide how you’re going to defend it. I’ve seen too many folks slap a quick coat of cheap spray paint on a project, only to watch it flake off and peel within a month. If you want real metal oxidation prevention, you need to look at what actually bonds to the substrate. For my shop work, I lean heavily on oil-based finishes or even traditional beeswax for smaller pieces. It isn’t as flashy as some of the high-tech industrial metal coating processes you’ll see in a factory, but it creates a barrier that’s easy to maintain and repair.
If you’re working on something that’s going to see heavy use or harsh environments, you might need to step up to something more substantial like powder coating or even a hot-dip galvanizing process. These aren’t just aesthetic metal treatments; they are serious layers of defense. The trick is remembering that even the best protective surface coatings are only as good as the foundation you built underneath them. If your prep work was sloppy, even the toughest coating will eventually fail.
Five Rules to Keep Your Finish from Failing
- Watch your temperature like a hawk. If you’re applying a coating or a finish and the metal is too hot, you’ll bake it on unevenly or cause it to bubble; if it’s too cold, it won’t bond. You want that metal at a steady, predictable state before you even think about applying the finish.
- Don’t let your grit choices get lazy. I see too many folks jumping from a coarse abrasive straight to a fine polish, and they wonder why the scratches keep showing through the final layer. You have to work through the grits—step by step—or you’re just masking problems instead of fixing them.
- Cleanliness isn’t just about looks; it’s about chemistry. A single fingerprint or a smudge of machine oil can ruin an entire batch of finishing work. Wipe your surface down with a proper degreaser and make sure it’s bone-dry before you move to the next stage.
- Respect the grain. Whether you’re working with brushed steel or a decorative finish, you need to follow the established direction of the metal. Going against the grain creates tiny micro-scratches that catch the light in all the wrong ways and make your hard work look amateur.
- Test your work on a scrap piece first. I don’t care how much you think you know a specific alloy or coating; every batch of metal behaves a little differently. Take a piece of the same stock, run your full process on it, and see how it holds up before you commit to the real project.
The Bottom Line on Doing It Right
Never skip the prep work; if you try to coat or finish a surface that hasn’t been properly cleaned and smoothed, you’re just putting a pretty face on a failure.
Choose your coatings based on the job at hand, not what’s easiest—a cheap spray will peel in a month, but a proper finish is what keeps the rust at bay for years.
Respect the material and the process, because taking shortcuts during the finishing stage is the fastest way to turn a piece of quality steel into a pile of scrap.
The Truth About the Final Pass
A shiny surface might fool a customer for a day, but a proper finish is about what’s happening underneath the grit; if you haven’t prepared the metal right, you’re just putting a coat of paint on a lie.
Alistair Fenwick
The Long View on Finishing
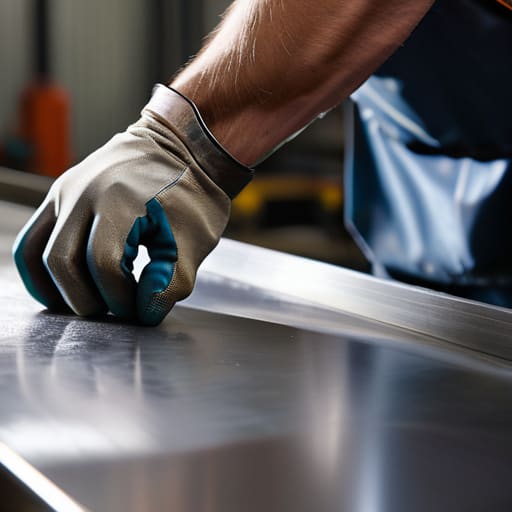
At the end of the day, getting a metal finish right isn’t about chasing some shiny, showroom look that’ll peel off the moment it hits a real workload. It’s about the discipline of the process. You’ve got to respect the preparation, whether you’re grinding down scale or cleaning off oils, and you’ve got to choose a coating that actually belongs on that specific material. If you skip the prep or slap on a cheap spray just to save an hour of labor, you aren’t actually finished; you’ve just delayed the inevitable failure of the piece. Remember, a proper finish is the final line of defense against the elements and the wear of daily use.
I’ve seen plenty of folks in my time try to rush through the shop, treating every project like it’s something they can just toss in the scrap bin when it fails. But there is a deep, quiet satisfaction in looking at a piece of work and knowing it was done right from the first grit of sandpaper to the final coat of oil. Don’t be in such a hurry to get to the next job that you forget to honor the metal you’re holding in your hands. Take your time, do the work properly, and build something that your grandkids will still be able to use long after we’re gone.
Frequently Asked Questions
How do I know when I've sanded enough to get a smooth finish without stripping away the integrity of the metal itself?
You have to feel it more than you see it. If you’re relying solely on your eyes, you’re going to overwork the piece. Use your hands—clean the metal first, then run your fingers over the surface. If you feel a snag or a ridge, you aren’t done. But the moment that surface feels unnaturally thin or starts looking “cloudy,” back off. You want a smooth finish, not a diminished workpiece.
If I'm working on an old piece of cast iron, should I be looking to apply a modern oil or stick to traditional seasoning methods?
Stick to the tradition. I’ve seen folks try to slap modern vegetable oils or chemical sprays on old cast iron, and they usually end up with a sticky, gummy mess that peels off like bad paint. You want a real polymer bond. Use a high-quality flaxseed oil or even a simple grapeseed oil. Build it up in thin, even layers through repeated heat. It takes more patience, but that’s how you build a surface that lasts decades.
Is it worth the extra effort to polish a structural component, or should I just focus on ensuring the coating is thick enough to prevent rust?
Listen, if we’re talking about a structural piece, your priority is integrity, not aesthetics. A thick, honest coating is what keeps the rust from eating your work alive. However, don’t mistake “thick” for “better.” If you just glob on paint over a rough, pitted surface, you’re trapping moisture and grit underneath. Spend the time to smooth the metal first. A clean, polished surface lets the coating bond properly, making it a shield rather than just a mask.
