I remember standing in a client’s workshop back in ’88, watching a young kid try to convince a homeowner that a complex, spindly pattern was the pinnacle of modern ironwork design. The lad was talking about “aesthetic fluidity” and “minimalist silhouettes,” but all I could smell was the scorched ozone of a poorly tuned welder and the looming scent of a structural failure. He was designing for a magazine spread, not for a life lived in the real world. To me, a piece of iron isn’t just a decoration to hang on a wall; it’s a commitment of weight, heat, and honest geometry that has to stand up to the wind and the weather long after the designer has moved on to the next trend.
I’m not here to sell you on some fancy, overpriced catalog aesthetic that’ll rust out in five years. What I want to do is show you how to approach ironwork design with a bit of common sense and a heavy hand. I’ll be sharing the kind of hard-earned principles you only get from forty years of hitting hot metal, focusing on how to build pieces that are as structurally sound as they are visually striking. We’re going to talk about real strength, proper joinery, and why sometimes the simplest line is the one that lasts the longest.
Table of Contents
Mastering Forged Metal Aesthetics Through Patience
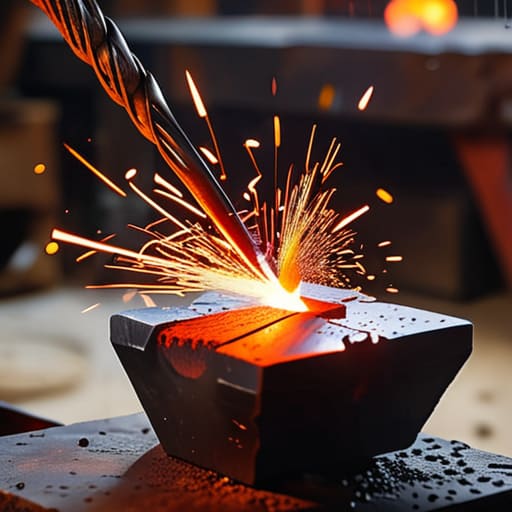
You can’t rush a piece of hot steel into submission. I’ve seen too many young lads coming into the shop, trying to force a curve or a taper before the metal is actually ready to move. They think they’re saving time, but all they’re doing is stressing the grain and risking a crack that’ll ruin the whole piece. When you’re working on ornamental metalwork techniques, you have to listen to the hammer. The sound changes when the heat is right, and if you aren’t paying attention, you’re just making noise instead of making progress.
True forged metal aesthetics aren’t about perfection; they’re about the character left behind by the maker. I like to see the slight variations in the hammer marks—it shows there was a human hand behind the tool, not a computer program. If you’re crafting something like custom wrought iron railings, don’t try to sand away every single bit of soul you’ve hammered into it. A little bit of honest texture is what separates a piece of art from something that looks like it was spat out of a factory mold.
The Honesty Found in Metal Fabrication Artistry
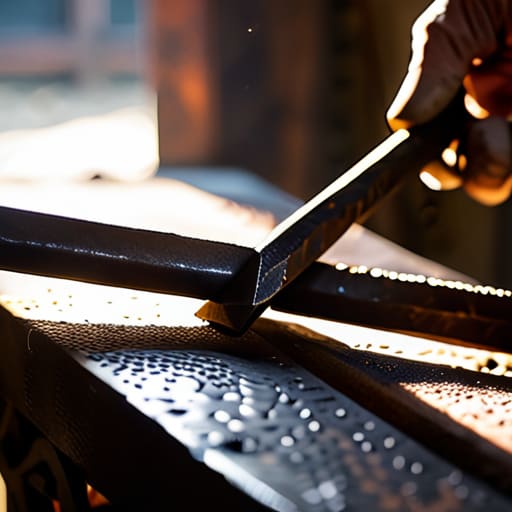
There’s a specific kind of truth you find when you’re standing over an anvil or a welding bench that you just won’t find in a factory catalog. When I’m working on bespoke iron gate designs, I’m not just trying to make something that looks expensive; I’m trying to make something that tells the story of how it was made. You can see it in the hammer marks left on a taper or the way a joint sits. If you try to hide your mistakes with too much grinding or a thick coat of cheap paint, the metal knows. It feels dishonest. True metal fabrication artistry isn’t about achieving a sterile, machine-perfect finish; it’s about the integrity of the connection and the strength of the bond.
Whether you are installing custom wrought iron railings on a porch or shaping small decorative accents, the goal is the same: respect the material. You have to listen to how the heat moves through the piece and how the metal resists your hand. If you rush the process to meet a deadline, you lose that soul. A piece of work should have enough character and grit to show it was shaped by a person, not a computer program.
Five Rules for Design That Won't Fail You
- Plan for the scale of the material. I see too many youngsters trying to design delicate, spindly lace patterns using thin-gauge rod that has no business being in a structural piece. If you’re designing a gate or a railing, pick a stock that matches the visual weight of the job; there’s no substitute for the heft of real iron.
- Respect the joinery. A design might look fine on a computer screen, but you need to think about how those pieces actually meet in the real world. Whether you’re riveting, mortise-and-tenon, or welding, make sure your design allows for clean, tight connections that won’t pull apart when the temperature shifts.
- Leave room for the tool marks. If you’re going for a hand-forged look, don’t try to sand every single hammer strike away until the metal looks like plastic. A bit of texture shows the history of how the piece was made, and that’s where the soul of the design actually lives.
- Account for the “real world” movement. Metal expands and contracts, and nothing ruins a good design faster than a piece that buckles because you didn’t leave a bit of breathing room. Build in your tolerances from the start so the piece can live in its environment rather than fighting against it.
- Keep the maintenance in mind. Before you finalize a pattern, ask yourself if it’s going to be a nightmare to clean or oil in five years. Avoid overly complex, tight crevices where rust can hide and eat away at your hard work; a good design is one you can actually keep up with.
The Fundamentals of Lasting Ironwork
Stop chasing the perfect, sterile look; aim for a design that respects the material’s natural grain and allows for the character that only comes from a steady hammer.
Never prioritize a quick assembly over structural integrity, because a piece that looks good but fails under pressure is nothing more than expensive scrap metal.
Always design with the end in mind—build your ironwork so that it can be maintained, cleaned, or even repaired by the person who owns it decades down the line.
The Soul of the Forge
A good piece of ironwork isn’t just about how the lines look under a shop light; it’s about whether the design respects the strength of the material and gives a man a way to maintain it long after the welder’s torch has gone cold.
Alistair Fenwick
Putting the Hammer Down
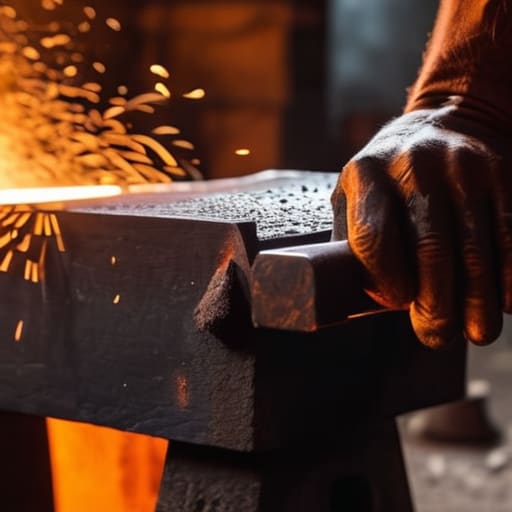
At the end of the day, good ironwork design isn’t about chasing whatever flashy trend is popping up on a digital screen. It’s about understanding the relationship between the heat of the forge, the weight of your hammer, and the inherent character of the material itself. We’ve talked about why you can’t rush the cooling process and why there is a certain unmatched integrity in a piece that shows the marks of its making. If you try to skip the hard parts—the heavy shaping or the meticulous finishing—you’ll end up with something that looks fine for a month but fails the moment life actually tests it. Real design requires you to respect the metal enough to work with its strengths rather than fighting against them.
I want you to leave your workbench today thinking about more than just the finished product sitting on your shop floor. Think about the legacy of what you’re building. When you take the time to do things the right way, you aren’t just making an object; you’re creating something that can be passed down, repaired, and cherished long after we’re gone. Don’t settle for the easy way out or the quick fix that relies on cheap welds and thin gauges. Instead, aim for that stubborn permanence that only comes from true craftsmanship. Grab your tools, steady your breathing, and build something that lasts.
Frequently Asked Questions
How do I know if I’m using too much heat and risking the structural integrity of the piece?
Watch the color, but don’t trust your eyes alone. If you see bright, sparking white or if the metal starts looking “grainy” like it’s bubbling, you’ve gone too far. You’re burning the carbon right out of the steel, making it brittle as glass. If the piece feels spongy or loses its resistance under the hammer, pull it back. If you can’t control the heat, the metal will eventually control you.
What’s the best way to transition from decorative scrollwork to something that can actually handle a heavy load?
You can’t just weld a pretty scroll onto a thin rod and call it a structural support. If you want to move from decoration to something that carries weight, you have to start with the skeleton. Build your primary frame using heavy-gauge stock—something with real meat on its bones—and use the scrollwork as an ornamental skin rather than the foundation. Always prioritize your joinery and thickness first; the beauty is just the reward for a sound build.
When restoring an old piece, how do I tell the difference between surface rust that needs a good scrub and deep pitting that means the metal is shot?
You’ve got to get your hands on it. Run a piece of sandpaper or even just your thumb over the area. Surface rust is just a skin; it’ll come off with a bit of elbow grease and a wire brush, leaving the metal smooth underneath. But if you feel those tiny craters—those little pits that catch your nail—that’s structural. If the metal looks like a sponge or feels thin, it’s likely gone too far.
