Most folks see a hairline crack in an old skillet and think it’s headed straight for the scrap heap, but that’s a load of nonsense. They’ll tell you that once the iron breaks, the piece is dead, but I’ve spent forty years seeing exactly how wrong they are. Real cast iron repair isn’t about slapping some epoxy on a crack and hoping for the best; it’s about understanding how the metal breathes and reacts to heat. I remember a heavy Dutch oven from the 1920s that came into my shop looking like a lost cause, but with a little patience and the right technique, we brought it back to life better than the day it was poured.
I’m not here to sell you some fancy, overpriced chemical kit or give you a lecture filled with textbook jargon. In this guide, I’m going to show you the honest, hands-on methods for mending your gear using tools you likely already have in your shed. We’ll walk through the proper way to prep the surface, how to manage the temperature so you don’t stress the metal, and how to finish the job so it lasts another century. If you’re willing to put in the work, I’ll show you how to save your tools instead of replacing them.
Table of Contents
- Step-by-Step Instructions
- Welding vs Epoxy for Cast Iron Choosing the Right Mend
- Restoring Vintage Cast Iron Pans Without Rushing the Process
- Five Things I’ve Learned the Hard Way About Mending Iron
- The Bottom Line on Fixing Iron
- ## The Cost of Shortcuts
- The Long View on Metalwork
- Frequently Asked Questions
Guide Overview
Tools & Supplies
- Metal file or sandpaper for smoothing edges
- Wire brush for removing loose debris
- Heat source (stove or oven) for seasoning
- J-B Weld or Steel Epoxy for cracks
- Flaxseed or Grapeseed oil for seasoning
Step-by-Step Instructions
- 1. First thing you need to do is get that piece cleaned up. I don’t care if it looks okay to you; if there’s old grease, burnt-on food, or flaking rust sitting in the crack, your repair won’t hold. Scrub it down with some coarse steel wool or a stiff wire brush until you can see the actual grain of the metal. You want the area around the damage to be completely bare before you even think about moving to the next step.
- 2. Once it’s clean, you need to assess the damage to see if it’s actually worth your time. If the crack is running straight through the entire body of the pan, or if the metal is paper-thin, you might just be looking at scrap. But if it’s a surface crack or a small chip, grab your magnifying glass. You need to find exactly where the break starts and ends so you don’t miss the root of the problem.
- 3. Now, if you’re dealing with a crack, you’ve got to “stop” it. Take a small, fine-tooth drill bit and carefully drill a tiny hole at both ends of the crack. It sounds counterintuitive to drill into something you’re trying to fix, but that hole acts as a stress relief point. It stops the crack from traveling further down the line while you’re working on it.
- 4. For the actual mending, I usually lean toward a high-quality cold-weld epoxy if it’s a minor chip, or a specialized brazing rod if I’m at the forge. If you’re using epoxy, mix it slow and steady. Don’t try to rush the ratio; if you get the chemistry wrong, the whole thing will just flake off like dried mud the first time it hits a flame. Apply it deep into the crevice, making sure there are no air pockets trapped inside.
- 5. After the filler is in place, let it sit. This is where most folks fail—they get impatient. If you’re using a chemical bond, leave it alone for the full duration the manufacturer suggests, and then some. I like to let mine sit overnight just to be sure. If you try to heat it up too early, you’ll just compromise the structural integrity you just worked so hard to build.
- 6. Once the repair has hardened, grab your sandpaper—I always keep a bit in my pocket for this very reason. You’ll want to smooth out the patch so it’s flush with the rest of the iron. Start with a coarser grit to knock down the bumps, then move to a finer grit until it feels smooth to the touch. You aren’t trying to hide the repair, you’re just making sure it doesn’t snag a spatula or a cleaning pad later on.
- 7. The final step is the most important: seasoning. A repaired piece of iron is thirsty, and it’s vulnerable. Rub a very thin layer of grapeseed or flaxseed oil over the entire surface, including the repair. Put it in a warm oven to bake that oil in. You want to do this several times until the metal has a deep, dark patina. That’s your shield against rust, and it’s what makes the piece functional again.
Welding vs Epoxy for Cast Iron Choosing the Right Mend
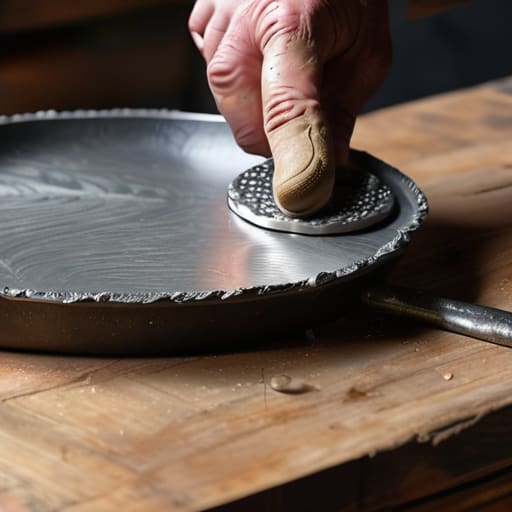
Now, you’re going to run into a crossroads when you’re deciding how to actually bridge that gap in the metal. You’ll see folks online suggesting all sorts of quick fixes, but you need to decide if you’re looking for a cosmetic patch or a real solution. If you’re fixing cracked cast iron skillet that’s just going to sit on a display shelf, a high-quality heat resistant metal adhesive might get the job done without much fuss. It’s clean, it’s easy, and it won’t warp the piece if you’re careful.
However, if you’re restoring vintage cast iron pans that you actually intend to cook with every single week, you can’t rely on glue. For any piece where the cast iron structural integrity is compromised—especially something heavy like a Dutch oven—you’re going to have to look at welding. It’s a temperamental beast, though. You can’t just slap a bead on it and call it a day; you have to manage the heat or the metal will just crack right next to your weld. It’s more work, but it’s the only way to build something that lasts another fifty years.
Restoring Vintage Cast Iron Pans Without Rushing the Process
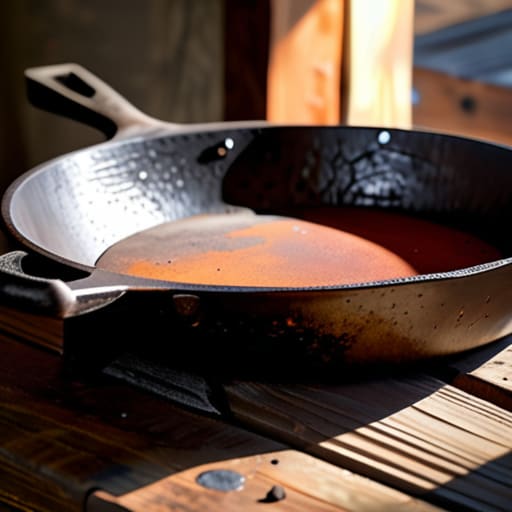
When you’re working on restoring vintage cast iron pans, the temptation is to scrub away the rust and get straight to the stove. I’ve seen plenty of folks do that, only to realize they’ve ignored a hairline fracture that’s been hiding under the grime for years. Before you even think about seasoning, you need to inspect the piece under a good light. If you’re fixing a cracked cast iron skillet, you have to decide if the piece is meant for heavy-duty daily use or just for display. If the crack is deep, you’re looking at a matter of cast iron structural integrity rather than just aesthetics.
Once you’ve made your choice on the mend, patience becomes your best tool. Whether you’ve opted for a weld or a heat resistant metal adhesive, you can’t just slap it in a hot oven and call it a day. You need to let the repair cure fully at room temperature. I always tell my apprentices that rushing the cooling process is the quickest way to induce new stress fractures. Take your time, let the metal settle, and then move on to seasoning repaired cast iron with a slow, steady heat.
Five Things I’ve Learned the Hard Way About Mending Iron
- Clean the surface until it shines. You can’t fix what you can’t see, and if you try to weld or bond over old grease and carbon buildup, the repair will fail before you even get it back to the stove.
- Respect the temperature. If you’re welding, you can’t just hit a cold crack with a torch; you need to preheat the whole piece so the metal expands and contracts evenly, otherwise, you’ll just crack it somewhere else.
- Stop looking for the easy way out. A bit of epoxy might hold a decorative piece together, but if that pan is going to see real heat and heavy use, you’d better do it right with a proper metal mend.
- Watch your cooling rate. When you’re done with a repair, don’t just toss the piece in a bucket of water to speed things up. Let it cool slow and steady, or you’ll shock the metal and ruin the integrity of the whole pan.
- Keep your tools sharp and your workspace organized. I’ve seen too many fellas ruin a good piece of iron because they were fumbling around in a messy shop looking for a file or a scraper mid-job.
The Bottom Line on Fixing Iron
Stop looking for the quick fix; whether you’re choosing between a weld or an epoxy, the most important thing is that you’ve prepped the surface properly and didn’t rush the cooling process.
Match your method to the job—don’t try to weld a thin, decorative piece that’ll crack under the heat, and don’t rely on glue for a heavy-duty pan that’s going to see a hot stove every single day.
Respect the material and take your time, because if you try to cut corners on the prep work, you’re just going to end up with a failed repair and a piece of scrap metal you can’t use.
## The Cost of Shortcuts
“A crack in a piece of iron isn’t just a flaw to be hidden; it’s a lesson in patience. You can try to mask a bad repair with a quick weld or a bit of glue, but if you haven’t respected the metal’s integrity, that piece will fail you exactly when you need it most. Do it right the first time, or don’t bother doing it at all.”
Alistair Fenwick
The Long View on Metalwork
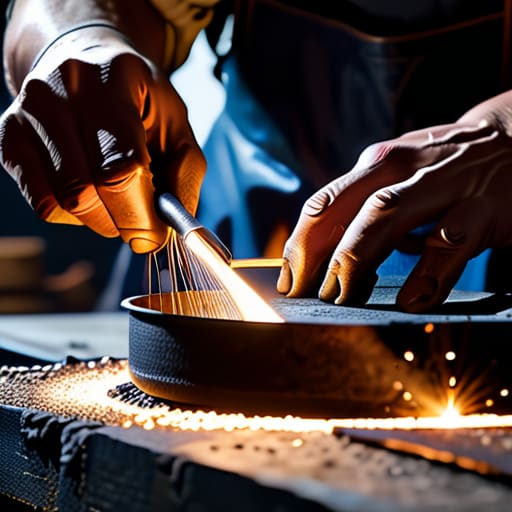
At the end of the day, repairing cast iron isn’t about finding the quickest way to patch a crack; it’s about understanding the material you’re holding in your hands. Whether you decided to go the route of a slow, controlled weld or opted for a high-strength epoxy for a non-structural fix, you have to respect the metal. Remember that heat management is your best friend and your worst enemy. If you rush the cooling process or skip the cleaning, you’re just setting yourself up for a failure that’ll leave you with a pile of scrap instead of a tool. Take the time to do it right, because doing it right once saves you from doing it twice.
I know it can feel frustrating when a piece doesn’t behave the way you want it to, especially when you’ve spent hours in the shop. But that’s part of the trade. Every mistake is just a lesson etched into the iron. We live in a world that wants everything new, shiny, and replaceable, but there is a real, quiet pride in taking something broken and making it whole again. When you finish a repair, you aren’t just fixing a pan or a tool; you are preserving history. Keep your tools sharp, keep your eyes steady, and never stop learning.
Frequently Asked Questions
If I find a hairline crack in a pan I'm using for daily cooking, is it actually safe to keep using it after a weld, or am I just asking for trouble?
Look, I’ll give it to you straight: if that crack is in the cooking surface or near the rim, I wouldn’t trust it for daily use. A weld might hold the metal together, but cast iron is brittle; thermal shock from your stove can cause that repair to snap again when you least expect it. If it’s a structural crack in a handle, walk away. Better to lose a pan than to end up with hot oil on your floor.
Can I use a modern MIG welder on an old piece of antique iron, or am I going to shock the metal and cause more cracks?
You can use a MIG welder, but don’t go thinking it’s a “set it and forget it” job. If you just blast that old, brittle iron with a high-heat arc without thinking, you’re going to shock the metal and end up with a spiderweb of new cracks. You’ve got to preheat the piece slowly to manage the thermal expansion. If you don’t respect the metal’s temperament, you’ll just be making more scrap.
How do I know if a piece of cast iron is too far gone to save, or is there always a way to patch it up if you've got enough patience?
Look, I’ll give it to you straight: patience can fix a lot, but it can’t fix physics. If a pan is cracked clean through and the metal is pitted so deep it’s lost its structural integrity, you’re fighting a losing battle. If the iron is “honeycombed” or crumbling like old biscuit, let it go. I’ve seen folks spend weeks welding a piece that just snaps again the first time it hits heat. Know when to retire a tool.
