I remember standing in a fabrication shop back in ’84, watching a kid try to bridge a massive gap with a fillet weld just because he was too impatient to prep his edges. He thought he could hide a poor fit-up with a thick, ugly bead, but the second that piece took any real load, it snapped like a dry twig. People today seem to think that if you just crank up the amperage and spray enough filler, you can bypass the fundamentals of proper welding joints. They treat it like a science experiment instead of a discipline, forgetting that metal doesn’t care about your ego—it only cares about the integrity of the bond.
I’m not here to sell you on some fancy, high-tech gadgetry or complicated theories that don’t hold up under a grinder. What I want to do is sit you down and show you how to actually prepare your metal so your welding joints are something you can actually trust. We’re going to talk about the real-world mechanics of fit-up, heat control, and selecting the right configuration for the job. My goal is simple: I want to make sure that when you finish a project, you aren’t just looking at something that looks finished, but something that’s built to outlast us both.
Table of Contents
Mastering Metal Fabrication Joint Selection for Longevity
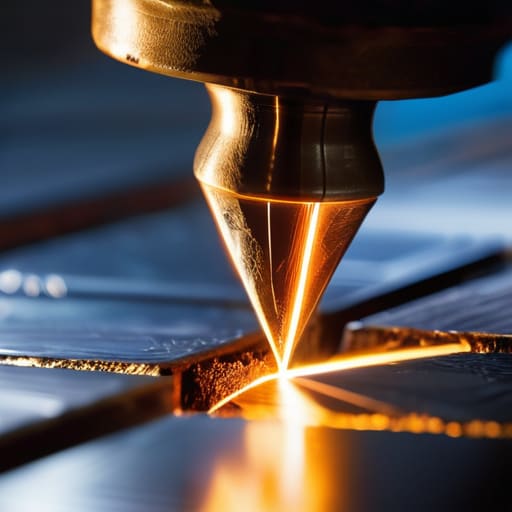
When you’re standing over a workbench, you can’t just slap two pieces of steel together and hope for the best. Choosing the right connection is about understanding how the load is going to travel through the metal once you walk away. If you’re working on heavy-duty frames, you need to be thinking about structural welding connections that can handle tension and shear without buckling. I’ve seen too many young lads pick a simple butt joint for a piece that clearly needed a V-groove preparation. If you don’t prep your edges properly, you’re just capping a problem with a thin layer of filler, and that’s a recipe for a crack down the line.
Good metal fabrication joint selection comes down to knowing your material and your end goal. A lap joint might be fine for a simple patch job on a garden gate, but it’s never going to replace the strength of a properly designed fillet weld on a load-bearing bracket. You have to respect the geometry of the metal. If the design is flawed from the start, no amount of fancy handwork is going to save it from failing when the real work begins.
Weld Joint Design Principles for Things That Last
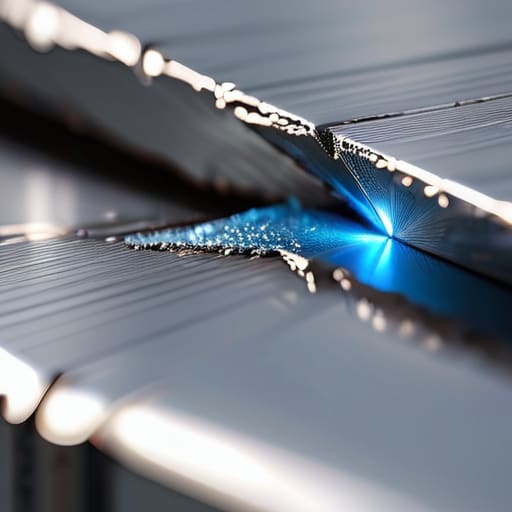
When you’re sitting down at the bench, don’t just start pulling the trigger on your welder. You need to think about how those pieces are actually going to fight against stress once they’re out in the world. Proper weld joint design principles aren’t just some textbook theory; they’re the difference between a frame that holds its shape and one that cracks the first time it takes a heavy load. If you’re joining two thick plates, a simple butt joint without any beveling is a recipe for disaster. You’ll end up with a shallow bead that sits on the surface like a scab, rather than a deep, penetrative weld that actually becomes part of the metal.
I’ve seen too many young fellas skip the prep work because they’re in a hurry. If you don’t clean your edges and get your bevels right, you’re just inviting common welding defects in joints like slag inclusions or porosity to ruin your hard work. Take the time to grind your edges clean and square. It’s a bit of extra elbow grease, sure, but it ensures the heat travels exactly where it needs to go. Remember, a good joint isn’t just about the bead you see; it’s about the strength you can’t see.
Five Rules to Keep Your Joints from Failing
- Clean your metal until it shines. I’ve seen too many young fellas try to weld through mill scale, rust, or old oil just to save a few minutes of scrubbing. If that surface isn’t bright and clean, you aren’t welding metal to metal—you’re just trapping junk inside your bead, and that’s a recipe for a crack down the road.
- Match your filler to the base metal, every single time. It sounds simple, but I still see people grabbing whatever rod is lying closest to the grinder. If you use a filler that’s weaker than the plate you’re working on, you haven’t built a joint; you’ve built a built-in failure point.
- Don’t be afraid of a proper bevel. If you’re working on anything thicker than a sheet of tin, you can’t just slap a bead on the surface and call it a day. You need to grind a V or a U shape into those edges so the weld gets deep into the heart of the metal. A surface-level weld is nothing more than a decorative scab.
- Watch your heat input like a hawk. It’s easy to get carried away and just crank the amperage to melt through a tough spot faster, but too much heat warps your work and ruins the grain of the steel. Slow down, steady your hand, and let the puddle do the work instead of forcing it with brute heat.
- Inspect your work with your eyes, not just your ego. Once you’ve finished a pass, stop and look at it. If you see undercut—where the weld has eaten a little notch into the base metal—or if your bead looks like a row of bird droppings, you need to grind it out and do it again. A bad weld is a waste of time and material, so do it right the first time.
The Bottom Line for Your Next Project
Don’t just pick the easiest joint because you’re tired; choose the one that matches the load the piece is actually going to carry.
Respect your preparation—a clean, square edge will do more for your weld than any expensive machine ever could.
Slow down and watch your heat; if you rush the process, you’re just creating a weak point that’ll fail the moment it’s put to work.
The Truth About a Good Weld
A joint isn’t just where two pieces of metal meet; it’s where your patience is tested. If you try to bridge a gap with nothing but speed and a prayer, you aren’t building something—you’re just making a mess that’ll fail the moment it’s put to real work.
Alistair Fenwick
The Long View on the Workbench
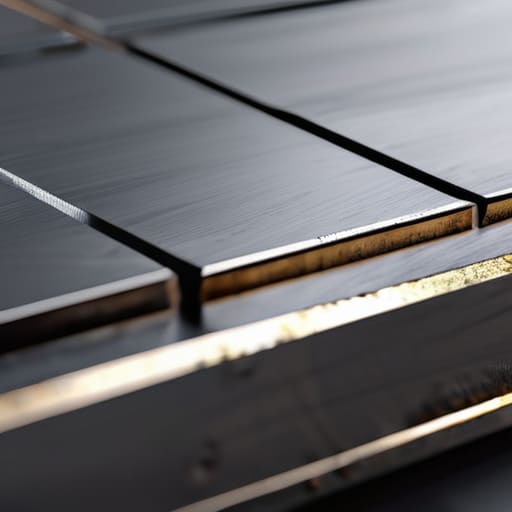
At the end of the day, choosing the right joint isn’t about picking the easiest way to get the pieces to stick together; it’s about understanding the stresses that piece of steel is going to face ten years down the line. Whether you’re running a simple fillet weld on a bracket or prepping a complex groove weld for a structural frame, you have to respect the geometry. If you ignore the fit-up or rush the bevel preparation, you’re essentially building in a failure point from the very start. Remember, a good joint is a marriage of proper design and disciplined execution. Don’t let a sloppy prep job or a poorly selected joint type turn a weekend project into a pile of scrap metal that’s more trouble than it’s worth.
I’ve spent more years than I care to admit looking at failed welds, and they almost always tell the same story: someone tried to take a shortcut. There is a deep, quiet satisfaction that comes from stepping back from a finished piece and knowing that the connections underneath the bead are just as solid as the surface looks. We aren’t just joining metal; we are building things that are meant to stand the test of time. So, take your time, check your measurements twice, and treat every bead like it’s the one that’s going to hold your legacy together. Put in the work now, and your tools—and your grandchildren—will thank you for it.
Frequently Asked Questions
How do I know when a joint is too thin to handle a proper fillet weld without blowing through the metal?
If you’re looking at a piece of metal and it feels more like a soda can than a structural component, you’ve got trouble. Before you even strike an arc, check the gauge. If that metal is thinner than the rod or wire you’re running, you’re asking for a hole. When you see the puddle start to sag or act like water instead of molten metal, stop. You’re about to blow through, and once that happens, there’s no fixing it.
If I'm working on an old piece of cast iron or vintage tool, should I be using a specific type of joint design to prevent cracking during cooling?
When you’re dealing with old cast iron, you aren’t just joining metal; you’re managing stress. Cast iron is brittle—it doesn’t forgive mistakes like mild steel does. Avoid complex, multi-directional joints that trap tension. Stick to simple, straight-line butt joints or shallow V-grooves. Most importantly, don’t even think about rushing the cooldown. You need a slow, controlled descent in a sand bath or ceramic wool. If you fight the thermal contraction, the metal will fight you right back with a crack.
When should I stop trying to make a butt joint look pretty and just accept that a heavy plug weld is what the job actually requires?
Stop fighting the metal and listen to the physics of the job. If you’re spending three hours grinding a butt joint to look seamless when the load demands more penetration, you’re just vanity-welding. When the thickness or the stress tells you a butt joint won’t hold, stop chasing aesthetics. A heavy, well-penetrated plug weld isn’t a failure; it’s an engineering decision. Build it to hold weight, not just to pass a visual inspection.
