I remember sitting at my bench back in ’84, staring at a piece of sterling silver that I’d just ruined because I thought I could manhandle the tool into submission. I was young, impatient, and convinced that if I just pushed harder, I’d finish the job faster. Instead, I snapped three blades in twenty minutes and ended up with a jagged, useless mess. Most folks think that using a jeweler’s saw is all about brute strength or having some magical, steady hand, but that’s a load of rubbish. It’s actually about listening to the metal and knowing when to back off before the tension snaps your patience—and your blade.
In this guide, I’m going to skip the fluff and tell you exactly how to handle these delicate tools without wasting good material. We’ll go over the proper way to tension your frame, how to pick the right blade for the job, and the specific rhythm you need to maintain to keep your cuts straight. I’m not here to give you a lecture; I’m here to make sure you stop snapping blades and start making cuts you can actually be proud of.
Table of Contents
- Step-by-Step Instructions
- A Saw Blade Selection Guide for Honest Work
- Maintaining Saw Blade Integrity Through Patient Practice
- Five Rules to Keep Your Saw from Quitting on You
- The Bottom Line on Using a Jeweler's Saw
- ## The Rhythm of the Cut
- Final Thoughts Before You Head to the Bench
- Frequently Asked Questions
Guide Overview
Tools & Supplies
- Jeweler's saw frame (holds the blade under tension)
- Saw blades (assorted sizes, typically 2/0 to 4/0)
- Bench pin (wooden attachment for a jeweler's bench)
- Ball-peen hammer (for tensioning or light shaping)
- Metal sheet (copper, silver, or brass)
- Beeswax or cutting lubricant (to coat the blade)
- Needle files (for smoothing edges)
Step-by-Step Instructions
- 1. First thing you need to do is pick your blade. Don’t just grab the first thin piece of steel you see in the tray. You need to match the tooth count to the thickness and the type of metal you’re working with. If you’re cutting something thin and delicate, go with a higher tooth count, but remember that a finer blade is much more prone to snapping if you aren’t careful.
- 2. Once you’ve got your blade, get it seated in the frame. Thread it through the posts and tighten the wing nut until the blade is under tension. You want it to feel like a guitar string when you pluck it—tight enough to stay straight, but not so tight that you’re about to snap the metal before you even start. If it’s slack, your cut will wander and you’ll end up with a mess.
- 3. Now, let’s talk about the direction. This is where most beginners trip up. When you tighten that wing nut, make sure the teeth are facing forward, away from you. The teeth should be pointing toward the direction of your stroke. If you set it up backward, you’ll just be polishing the metal instead of cutting it, and you’ll end up frustrated and wasting a perfectly good blade.
- 4. Secure your workpiece in a jeweler’s bench pin or a sturdy vice. You can’t hold the metal in your hand while you work; that’s a quick way to lose a finger or ruin your precision. Make sure the piece is rock solid. If the metal vibrates or moves while you’re sawing, the blade will jump and likely break, leaving you with a jagged edge that’ll take twice as long to file down later.
- 5. When you start the cut, don’t go at it like you’re trying to saw a log in half. Use short, light, and steady strokes. Let the blade do the heavy lifting. If you find yourself leaning hard on the saw, you’re doing it wrong. You want to maintain a consistent rhythm; it’s more about the finesse of the movement than the strength of your arm.
- 6. Keep a close eye on your line. As you move along, you’ll need to periodically rotate the piece to keep the cut straight. Don’t try to force a curve in one go; work the blade with small, controlled movements. If you feel the blade starting to bind or get stuck, stop immediately. Back the blade out slightly and clear the kerf before continuing, or you’ll snap the tip right off.
A Saw Blade Selection Guide for Honest Work
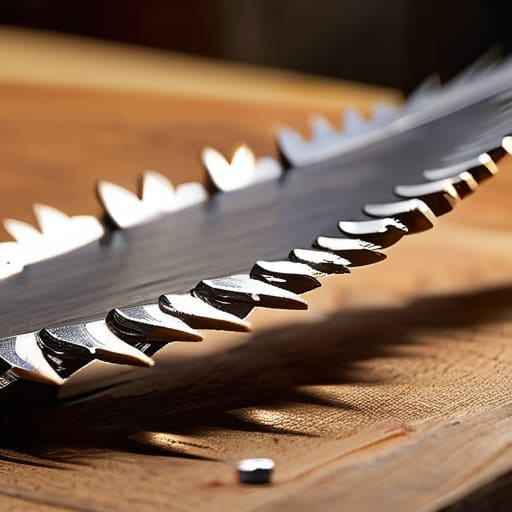
Now, don’t go thinking that every tiny piece of steel in a box is the same. If you walk into a shop and grab the first pack of blades you see, you’re asking for trouble. A proper saw blade selection guide starts with understanding the thickness of your material. If you’re working on thin silver, you want a fine count, but if you’re trying to cut through something beefier, you need a blade with enough teeth to actually bite into the metal without snapping under the pressure. I’ve seen too many young folks try to force a delicate blade through a thick sheet, and all they end up with is a handful of broken steel and a lot of frustration.
Once you’ve picked your blade, you have to respect the tension. This is where most beginners stumble. You need to get that jeweler’s saw tension adjustment just right—tight enough that the blade doesn’t wander or bow when you apply pressure, but not so tight that you’re stretching the metal to its breaking point. If the blade feels “mushy” when you pluck it, it’s too loose; if it feels like a guitar string, you’re pushing it too far. Get that tension dialed in, and the metal will cut like butter.
Maintaining Saw Blade Integrity Through Patient Practice
You’ll find that a saw blade doesn’t just snap because it’s cheap; it snaps because you weren’t paying attention to the machine. Proper jeweler’s saw tension adjustment is the difference between a clean, straight line and a jagged mess that ruins your workpiece. If the blade is too loose, it’ll wander and bow, and if it’s cranked too tight, you’re asking for a break before you’ve even finished your first pass. I always tell my apprentices to listen to the sound of the cut. A healthy blade has a steady, rhythmic hum. If it starts to chirp or stutter, stop what you’re doing and check your tension immediately.
Don’t go trying to force your way through a thick piece of copper just because you’re in a hurry. Real hand sawing metalwork tips come down to letting the tool do the heavy lifting. If you find yourself leaning your entire body weight into the frame, you’re doing it wrong. Instead, use light, consistent pressure and let the teeth bite. It’s about patience and steady hands, not brute strength. If you treat the metal with a bit of respect, it’ll reward you with a much cleaner edge.
Five Rules to Keep Your Saw from Quitting on You
- Tension your blade until it sings, not until it snaps. You want that high-pitched ping when you pluck it, but if you overdo it, you’re just asking for a break halfway through your cut.
- Watch your angle. If you’re tilting that saw too far away from the vertical, you’re going to bend the teeth or, worse, wander off your line and ruin the piece. Keep it steady.
- Don’t force the stroke. A jeweler’s saw is meant to glide, not plow. If you find yourself leaning your weight into it, you’re doing it wrong; let the teeth do the work and use a light, rhythmic motion.
- Keep your workpiece clamped tight. If that metal is vibrating or shifting even a hair while you’re cutting, you’ll snap a blade in a heartbeat. A steady base makes for a steady hand.
- Clear the dust often. Sawdust and metal filings love to clog up the teeth and create friction. Give it a quick blow or a brush every now and then so you aren’t fighting unnecessary heat.
The Bottom Line on Using a Jeweler's Saw
Don’t go hunting for speed; if you try to force a cut through thick or stubborn metal, you’re just going to snap a blade and waste your afternoon.
Treat your blade like a precision tool, not a disposable scrap—keep it tight in the frame and change it the second you feel it struggling.
Match your blade to the job at hand, because using the wrong teeth for the metal you’re working is a shortcut that’ll cost you more in ruined material than it’s worth.
## The Rhythm of the Cut
A jeweler’s saw isn’t a tool you force into submission; it’s more like a conversation between your hand and the metal. If you try to muscle your way through a cut, you’ll snap a blade and waste a perfectly good piece of stock. You’ve got to find that steady, rhythmic stroke and let the teeth do the work, because patience is the only thing that separates a craftsman from a hobbyist with a pile of scrap.
Alistair Fenwick
Final Thoughts Before You Head to the Bench
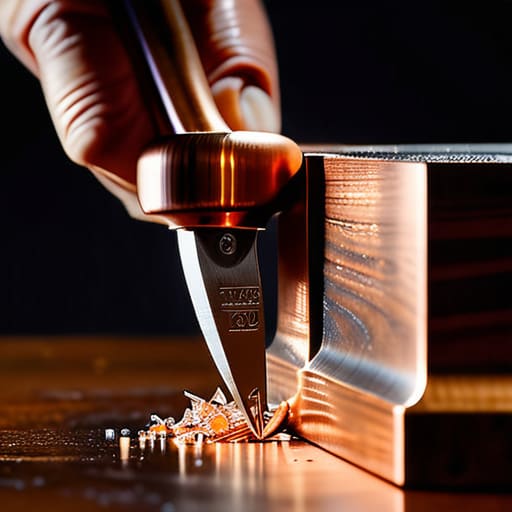
At the end of the day, using a jeweler’s saw isn’t about how fast you can get through a piece of sheet metal; it’s about the relationship between your hand, the blade, and the material. Remember that choosing the right teeth for the job and keeping that frame tensioned properly are the foundations of any decent cut. If you find yourself fighting the metal or noticing the blade starting to wander, don’t just push harder. Stop, check your tension, and re-evaluate your approach. It’s much easier to take a minute to reset than it is to spend an hour trying to grind away a botched cut that ruined a perfectly good workpiece.
I’ve seen plenty of folks walk into a shop with every fancy gadget imaginable, only to realize they lack the patience to master the basics. A jeweler’s saw is a simple tool, but it demands a certain kind of character from the person holding it. It asks you to slow down and pay attention to the small things that most people overlook. If you can learn to respect the rhythm of the saw and the limits of the steel, you’ll find that you aren’t just making cuts—you’re building a skill that stays with you for a lifetime. Now, get to your bench, keep your eyes sharp, and do it right the first time.
Frequently Asked Questions
How do I know if I'm applying too much pressure and risking a snap mid-cut?
If you feel the blade starting to fight you, you’re pushing too hard. A jeweler’s saw isn’t a hacksaw; it shouldn’t require any muscle. If you notice the frame vibrating or the blade bending slightly off its vertical axis, back off immediately. You’ll also feel a sudden increase in heat or a “stuttering” sensation in your hand. That’s the metal telling you to ease up. Let the teeth do the work, not your elbow.
Is there a trick to keeping the blade from wandering when I'm working on a tight curve?
That wandering is usually a sign you’re fighting the metal instead of guiding it. When you hit a tight radius, ease off the downward pressure. You aren’t trying to drive the saw through the plate; you’re letting the teeth do the work. Keep your frame tension high and use your non-dominant hand to steady the piece right where the blade enters the cut. If you lean too hard, the blade’s going to buckle and drift.
When a blade starts getting dull, is it worth trying to file it, or should I just toss it and grab a fresh one?
Don’t bother trying to file a jeweler’s saw blade. They’re far too thin and delicate for that kind of work; you’ll likely snap the steel or ruin the teeth before you even get a decent edge back. When that blade starts fighting you or the cuts feel sluggish, just toss it. It’s not being wasteful—it’s being smart. A fresh blade is cheap; a ruined piece of metal because of a dull saw is a real loss.
