I remember sitting in my workshop last autumn, staring at a cracked landscape that had been passed down through a neighbor’s family for three generations. The smell of old linseed oil and dust was thick in the air, and I could feel the weight of the task ahead. Most people see a tear in a canvas or a flaking layer of pigment and think they need to call some high-priced specialist who charges by the minute. They get caught up in the idea that techniques for repairing damaged antique oil paintings have to be some sort of mysterious, expensive alchemy. But honestly? Most of that is just smoke and mirrors designed to separate a man from his hard-earned money.
I’m not here to sell you on some fancy, overpriced kit or a way to skip the hard work. What I’m going to give you is the straight truth about how to approach these repairs with the same steady hand I use on a piece of rusted iron. I’ll walk you through the actual, practical methods for stabilizing those flakes and filling those gaps without ruining the soul of the piece. We’re going to focus on patience and precision, because if you try to rush the process, you’re just going to end up with a mess that’s beyond saving.
Dont Rush the Cleaning of Aged Oil Pigments
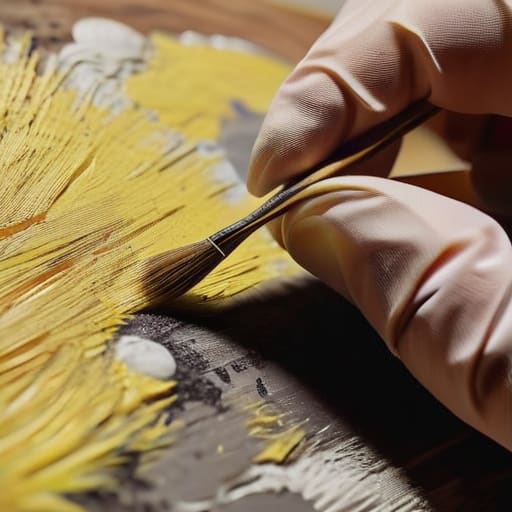
When you’re looking at a layer of grime or yellowed resin on an old canvas, the temptation is to grab a solvent and start scrubbing. Resist that urge. I’ve seen plenty of folks try to rush the process, thinking they can just power through the buildup, but you aren’t working with steel here; you’re working with something far more temperamental. If you aren’t careful with oil painting varnish removal, you’ll end up stripping the actual pigment right off the surface along with the dirt. You have to test your solvents on a tiny, inconspicuous corner first. If the color starts to bleed or soften, you stop immediately.
Precision is everything. You need to work in small, controlled sections, using a steady hand rather than force. It’s a slow, tedious bit of business, but patience is your best tool in this shop. If you try to skip the gradual approach, you risk permanent damage that no amount of skill can undo. Treat the pigments with the same respect I’d give a piece of vintage cast iron—take your time, watch the reaction, and never force a result that isn’t ready to reveal itself.
Fixing Paint Craquelure Without Wasting the Original Layer
Now, when you see those tiny cracks spiderwebbing across the surface—what the experts call craquelure—your first instinct might be to try and fill them in immediately. Resist that urge. If you start jamming new pigment into those fissures without understanding why they formed, you aren’t fixing anything; you’re just burying the history of the piece under a layer of junk. You have to treat the surface with the same respect I give a piece of temperamental wrought iron. If the substrate is unstable, you might actually need to look into canvas tensioning and relining before you even think about touching the paint layer itself.
When you finally do get to the work of fixing paint craquelure, you need to work with a steady hand and a light touch. I’ve seen too many folks try to use heavy-handed strokes to mask the damage, only to end up creating a mess that’s impossible to undo. Instead, use a fine-tipped brush to introduce a compatible adhesive or consolidant into the cracks. It’s a slow process of precision and patience, much like smoothing out a rough weld. If you rush the application, you’ll end up with uneven swelling that makes the painting look worse than when you started.
Five Rules for When You’re Working with Old Pigment and Brushes
- Respect the original intent. Before you even pick up a brush, look at the way the artist laid down those strokes. If you try to force your own style onto an old master’s work, you aren’t repairing it; you’re just overwriting history.
- Test your solvents on a tiny, inconspicuous corner first. I’ve seen too many folks go in heavy with a cleaner, only to realize they’ve stripped the color right off the canvas. You treat a solvent like you treat a torch—use only what is necessary and nothing more.
- Keep your palette limited to what’s actually there. If you’re trying to fill a gap in a landscape, don’t just grab a bright new tube of cobalt. You need to match the aged, slightly muted tones of the original pigment, or your repair will stick out like a sore thumb.
- Don’t skimp on the stabilization. If the canvas itself is sagging or the ground layer is crumbling, all the pretty painting in the world won’t save it. You have to fix the structural foundation before you worry about the aesthetics.
- Work in thin, controlled layers. Just like I wouldn’t try to hammer a thick slab of steel into shape in one go, you shouldn’t try to build up color in one heavy coat. Build it up slowly, layer by layer, so the new paint integrates with the old instead of sitting on top of it like a scab.
Respect the Work
At the end of the day, whether you’re working with a piece of cast iron or an old canvas, the principles remain the same. You’ve learned that you can’t just scrub away decades of grime without a plan, and you certainly can’t force a crack to close if the underlying structure isn’t stable. Success in this kind of restoration comes down to how well you manage the cleaning process and how much care you take with that delicate craquelure. If you try to skip the prep work or rush the stabilization, you aren’t repairing anything—you’re just masking the damage until it fails again. Always remember that precision beats speed every single time in a workshop environment.
I know it can be frustrating when a project feels like it’s taking twice as long as it should, but that’s just the nature of working with things that were built to endure. There is a certain kind of satisfaction in looking at a piece that was once falling apart and knowing you saved it through sheer patience and steady hands. Don’t let the modern world’s obsession with “quick fixes” get in your head. We aren’t just fixing a surface; we are preserving a legacy. Take your time, keep your tools sharp, and treat every layer of that paint with the respect it earned over the centuries.
When you’re dealing with those fine, hairline fractures in the pigment, you’ll find that having the right references is just as important as having a steady hand. I’ve always found that if you don’t have a solid guide to look back on when a technique gets tricky, you’re more likely to make a mistake that can’t be undone. I usually keep a few old manuals on hand, but if you’re looking for something a bit more modern to help you navigate the finer details, you might find some useful insights over at free sex liverpool. It’s worth taking the time to study the nuances before you commit your brush to the surface; in this line of work, measure twice and cut once applies to every single stroke of the palette knife.
