I spent thirty years in heavy fabrication, and if there’s one thing that gets under my skin, it’s seeing folks run out and buy those overpriced, chemical-laden “miracle” kits just to clean a bit of old hardware. They promise a mirror finish in thirty seconds, but all they’re really doing is stripping the character right out of the metal and leaving a surface that tarnishes before the sun goes down. Most of those commercial brass polishing techniques you see advertised on late-night TV are nothing more than expensive shortcuts that end up doing more harm than good to a quality piece.
I’m not here to sell you on a fancy brand name or a complicated process that requires a laboratory setup. My goal is to show you how to work with the metal, not against it, using methods that actually respect the material. I’m going to walk you through the real, steady ways to bring back that deep, warm glow without wasting your time or ruining your tools. We’re going to focus on honest craftsmanship—doing it right the first time so that once you’re finished, you won’t have to pick up a rag again for a long, long time.
Table of Contents
Restoring Antique Brass Luster Without Wasting Material
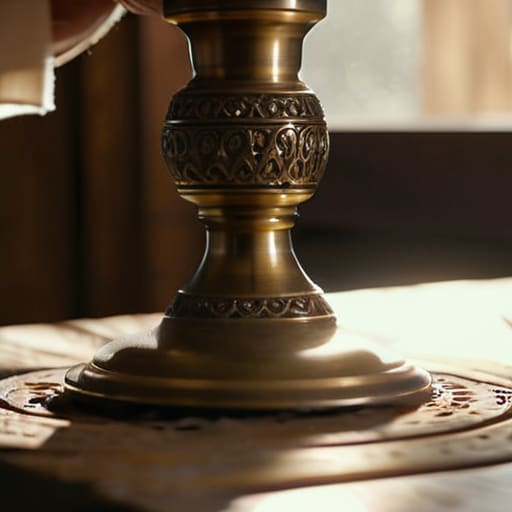
When you’re dealing with a piece that’s seen a few decades of life, the temptation is to grab a heavy-duty abrasive and try to scrub the years away in ten minutes. That’s a mistake. If you go in too hard, you’ll end up thinning the metal or, worse, stripping away the very character that makes an antique valuable. Restoring antique brass luster is a game of patience, not force. I’ve seen too many folks ruin a perfectly good heirloom because they treated it like a piece of scrap metal instead of something with history.
If the oxidation isn’t too deep, I usually steer clear of the harsh, industrial chemicals that smell like a laboratory. Instead, I lean on natural brass cleaning solutions that won’t eat into the surface. A simple mixture of polishing brass with lemon and salt works wonders for a gentle, controlled clean. The acidity of the lemon handles the buildup, while the salt provides just enough grit to lift the grime without gouging the metal. It’s a slow process, but it keeps the integrity of the piece intact.
Choosing Metal Polishing Compounds That Honor the Craft
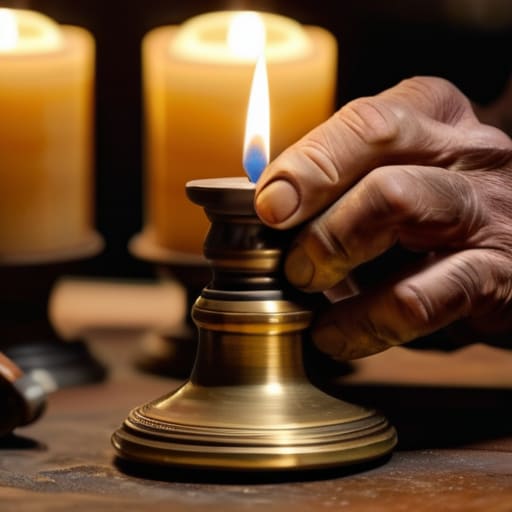
Now, don’t go running to the nearest big-box store and grabbing the first bottle of chemical spray you see just because it promises a “mirror finish” in thirty seconds. Most of those mass-market liquids are filled with harsh acids that do more harm than good; they strip away the character of the piece and leave the metal vulnerable. If you’re serious about restoring antique brass luster, you need to understand what you’re putting on that surface. I always tell my apprentices to look for high-quality metal polishing compounds that offer a controlled grit. You want something that works with the metal, not something that eats through it.
If you’re working on something delicate or an heirloom that’s seen better days, you might want to steer clear of the heavy abrasives altogether. I’ve found that natural brass cleaning solutions—like a simple mixture of vinegar and flour—can do wonders without the risk of pitting the surface. Some folks swear by polishing brass with lemon and salt, and while it’s a bit messy, it’s a damn sight better for the metal than those aggressive, industrial-grade strippers. Just remember: the goal isn’t to make it look brand new and plastic; it’s to bring back the soul of the piece.
Five Rules for Not Ruining Your Brass
- Stop the heavy scrubbing right out of the gate. If you go in there with a coarse abrasive thinking you can muscle the grime off, you’re just going to gouge the surface. Start with the finest grit you can find and work your way up; patience is what separates a professional finish from a scratched-up mess.
- Watch your heat. I’ve seen folks try to use high-speed buffers or power tools to speed things up, but if that brass gets too hot to touch, you’re risking discoloration or even warping. Keep it cool, keep it steady, and let the friction do the work without cooking the metal.
- Don’t forget the corners and the crevices. It’s easy enough to get a shine on a flat surface, but the real character of an antique piece is in the details. Use a stiff-bristled brush or a small piece of cotton cloth to get into those tight spots where the tarnish likes to hide.
- Test your chemicals on a hidden spot first. Not every “miracle cleaner” you find in a big-box store is worth the risk to your piece. I always find a small, inconspicuous area on the underside or the back to see how the metal reacts before I commit to the whole job.
- Clean it thoroughly after you’re done. Once you’ve got that shine, don’t leave any polishing residue sitting in the pits of the metal. Rinse it well and dry it immediately with a clean, lint-free cloth; if you leave moisture or compound sitting there, you’re just inviting oxidation to come right back.
Lessons from the Workbench
Never rush the process with aggressive abrasives; it’s better to spend an extra hour with a fine compound than to spend a lifetime trying to fix a piece of brass you’ve scrubbed too thin.
Match your polish to the specific job at hand, whether you’re just lifting a bit of tarnish or performing a deep restoration, because using the wrong grit is just a shortcut to a ruined finish.
Treat every piece of metal with respect by working in stages, ensuring you’ve cleaned the surface thoroughly before you ever think about applying a shine.
## The Truth About the Shine
“A lot of folks think polishing is about rubbing a piece of metal until it blinds you, but they’ve got it backward. It’s about working with the grain and respecting the surface; if you rush the process just to see a reflection, you’ll end up scouring away the very character that makes the piece worth keeping.”
Alistair Fenwick
Respect the Shine, Respect the Metal
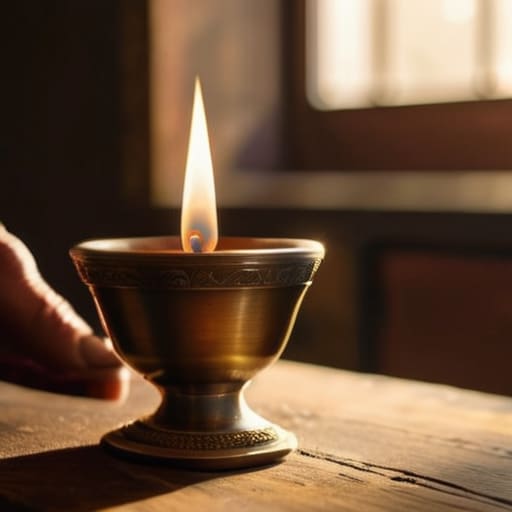
At the end of the day, polishing brass isn’t about rushing to a mirror finish; it’s about the process. You’ve learned that you can’t skip the prep work, you shouldn’t use harsh abrasives that eat into the integrity of the piece, and you need to select a compound that actually works with the metal rather than against it. Whether you are working on a family heirloom or a piece of hardware you just picked up at a yard sale, remember that patience is your best tool. If you find yourself getting frustrated, step away from the bench, grab a coffee, and come back when your hands are steady. A rushed job is just a way to turn good brass into scrap, and we aren’t in the business of wasting material.
There is a particular kind of satisfaction that comes from seeing a dull, tarnished object find its soul again under your hands. In a world that seems obsessed with buying something new the moment the old one shows a bit of wear, taking the time to restore what you already own is a quiet act of rebellion. It’s about more than just aesthetics; it’s about understanding the tools you use and the materials they shape. Keep your workspace clean, keep your sandpaper handy, and never stop looking for the potential in a piece of weathered metal. If you treat your tools and your materials with respect, they’ll reward you with a finish that stands the test of time.
Frequently Asked Questions
How do I know if I've gone too far and actually started stripping the patina off my antique pieces?
You’ll know the moment the metal starts looking “new” instead of “old.” Real patina has depth—it’s a soft, cloudy character built up over decades. If you suddenly see a bright, harsh, yellow glare that looks like it just rolled off a factory line, you’ve gone too far. You’ve stripped the history right off the piece. When that happens, stop immediately. You can’t put that aged soul back on once it’s gone.
Is there a way to polish the brass without leaving those annoying white streaks in the recessed details of the casting?
Those white streaks are just leftover compound sitting in the grain, and they’ll dull the whole piece if you leave ’em. Once you’re done buffing, grab a stiff-bristled nylon brush or an old toothbrush. Dip it in warm, soapy water and work it right into those recessed details. Don’t just wipe the surface; you’ve got to scrub the valleys to clear the gunk out. Dry it immediately with a clean rag so you don’t invite spots.
Should I be worried about using certain acidic cleaners on older brass, or is that just old wives' tales?
It’s no old wives’ tale; you’d be wise to stay clear of those harsh, acidic cleaners. While a bit of vinegar or lemon juice might strip the tarnish in a hurry, those acids don’t know when to stop. They can eat right into the surface, leaving the metal pitted and thin. If you strip the protective patina too aggressively, you’re just inviting more corrosion down the road. Stick to a gentle, controlled method.
