I remember standing in a fabrication shop back in ’84, watching a young apprentice try to muscle through a thick plate of mild steel with a brand-new unit he’d just pulled out of the box. He was treating that machine like a magic wand, thinking he could just pull the trigger and let the technology do the thinking for him. He didn’t realize that improper plasma cutter usage isn’t just about a messy edge; it’s about fighting the physics of the arc until you’ve wasted half your consumables and a perfectly good sheet of metal. You can buy the most expensive rig on the market, but if you don’t respect the steady hand and the right air pressure, you’re just burning money.
I’m not here to sell you on some high-tech gadgetry or give you a manual full of fluff you can find on a manufacturer’s website. What I want to do is pass on the practical, hard-earned lessons I’ve picked up over forty years in the shop. I’m going to show you how to actually control the heat and manage your settings so you get clean, repeatable cuts every single time. We’re going to do this the right way, focusing on the fundamentals that ensure your work stands the test of time.
Table of Contents
Respect the Arc Achieving True Precision and Stability
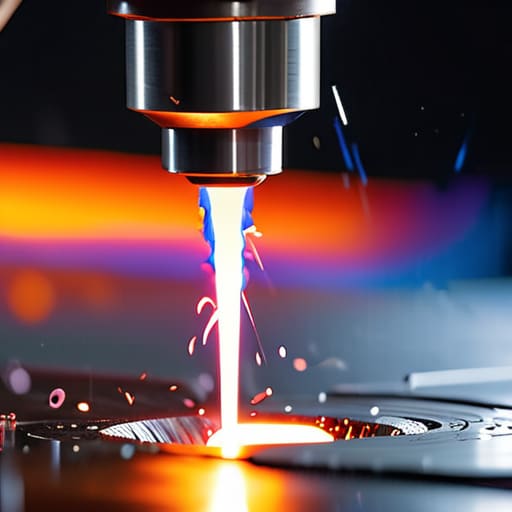
If you’re standing there staring at a piece of plate, thinking you can just blast through it like a hot knife through butter, you’re going to have a bad time. The secret to a clean cut isn’t how hard you can push the trigger; it’s about maintaining consistent arc stability and precision. If your hand is shaking or your travel speed is uneven, you’ll end up with a jagged, melted mess that’ll take me three hours of grinding just to make it look decent. You have to find that rhythm where the arc stays tight and the molten metal flows exactly where it’s supposed to go.
Another thing most folks overlook is the air going into the machine. You can have the most expensive torch in the shop, but if your air pressure settings for plasma are off, you’re just wasting expensive consumables. Too much pressure and you’ll blow the arc right out of the kerf; too little, and you’ll get slag buildup that ruins your edge quality. Check your lines, drain your moisture, and for heaven’s sake, don’t ignore the settings just because you’re in a hurry.
Dont Waste Material Managing Kerf Width and Edge Quality
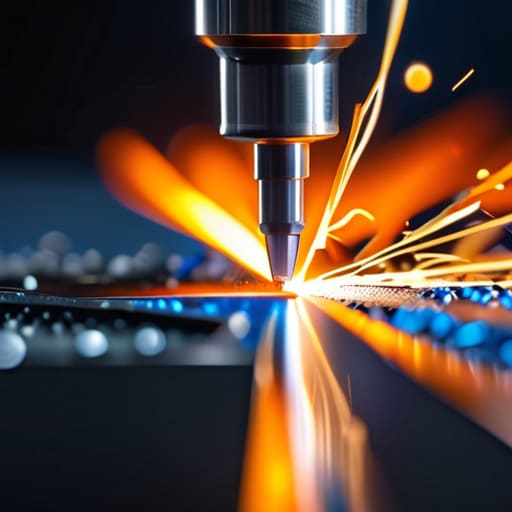
Now, if you aren’t paying attention to your kerf width and edge quality, you’re essentially just making expensive confetti out of your steel. I’ve seen too many young fellas walk into the shop thinking they can just blast through a plate and clean it up later with a grinder. That’s a fool’s errand. Every time that arc bites into the metal, it’s eating away a certain amount of material. If you’re moving too slow, you’ll get a wide, heavy bevel that’ll leave you fighting a losing battle against the grinder. You want to find that sweet spot where the cut is clean and the waste is minimal.
You also need to keep a sharp eye on your consumables. I always tell my apprentices that a worn-out nozzle is the quickest way to ruin a perfectly good workpiece. If your tip is pitted or the orifice is even slightly deformed, your arc will wander, and you’ll end up with a jagged, dross-heavy edge that’s a nightmare to clean. Check your air pressure settings for plasma regularly, too; if that air isn’t dry and steady, you’ll be fighting slag for the rest of the afternoon.
Five Things They Don't Tell You in the Manual
- Watch your consumables like a hawk. A worn-out nozzle or a pitted electrode isn’t just a nuisance; it’ll turn a clean cut into a jagged mess that’ll take you twice as long to grind down later. If the arc looks unstable, stop what you’re doing and check your tips.
- Keep your ground clamp tight and clean. I’ve seen too many youngsters struggle with a wandering arc only to realize they had a bit of rust or paint between the clamp and the workpiece. You need a solid, metal-on-metal connection if you want a steady stream of power.
- Mind your travel speed. It’s a delicate balance—move too slow and you’ll melt a hole right through the center of your plate, but move too fast and you’ll leave behind a heavy bead of dross that’s a nightmare to chip off. Find that sweet spot where the metal flows just right.
- Don’t ignore your air quality. If you’re running moisture or oil through those lines, you’re asking for trouble. It’ll foul up your torch head faster than you can say “wasted money,” and it leaves your cut edges looking cloudy and poor. Keep those filters clean.
- Always plan your sequence. Before you even pull the trigger, look at the piece and decide where you’re starting and where you’re finishing. If you just start cutting blindly, you’ll likely box yourself into a corner or end up with a piece that’s warped beyond recognition.
The Bottom Line Before You Strike the Arc
Slow down and listen to the machine; if your cut looks ragged or your speed is off, you aren’t saving time, you’re just creating more work for yourself at the grinder.
Treat your consumables like they cost more than they do, because a worn-out nozzle or a cheap tip will ruin a perfectly good sheet of steel in seconds.
Always plan your path before you pull the trigger, because once that plasma starts eating through the metal, there’s no such thing as an “undo” button.
## Listen to the Torch
A plasma cutter isn’t a magic wand that just deletes metal; it’s a tool that demands your attention. If you aren’t listening to the sound of the arc and watching how the puddle behaves, you aren’t cutting—you’re just making a mess that you’ll spend three hours grinding out later.
Alistair Fenwick
Making It Count
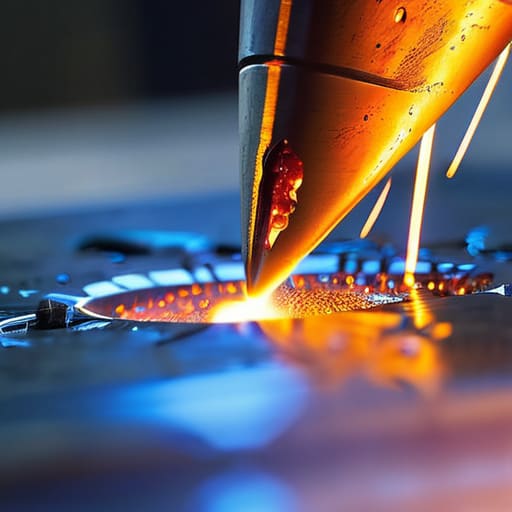
At the end of the day, mastering a plasma cutter isn’t about how fast you can zip through a sheet of mild steel; it’s about the discipline you show between the spark and the slag. You’ve got to keep a steady hand to maintain that arc stability, and you absolutely cannot afford to ignore your kerf width if you want a clean edge that doesn’t require hours of grinding later. If you rush the travel speed or neglect your consumables, you aren’t just wasting electricity—you’re wasting good material that someone worked hard to produce. Treat your machine with respect, watch your settings like a hawk, and always measure twice before you burn once.
I know there’s a lot of pressure these days to just get the job done and move on to the next thing, but that’s not how we build things that last. There is a real, quiet satisfaction in looking at a cut piece of metal and knowing the edge is true because you took the time to do it right the first time. Don’t let the modern urge for speed strip away the integrity of your craft. Put the torch down, take a breath, and remember that a well-executed cut is a mark of a maker who actually cares about the work. Build it to last.
Frequently Asked Questions
How do I know if my air supply is clean enough to keep the nozzle from clogging halfway through a job?
If you’re seeing spitting or your nozzle starts acting up mid-cut, your air is dirty. You can’t just rely on the compressor’s tank; moisture and oil are your enemies here. Check your lines for condensation and make sure you’ve got a decent water separator and a fine filter right before the machine. If I see oil residue on a clean piece of steel, I know the air supply is fouled. Fix the air, or you’ll just be buying consumables.
What’s the best way to tell if I’m running too much amperage for the thickness of the steel I’m working with?
Watch your slag and your edges. If you’re running too much juice for the gauge you’ve got on the table, you’ll see a massive, molten crater forming right under the arc instead of a clean, controlled cut. If the metal starts looking like it’s melting away into a puddle before the torch even passes through, back the amperage off. You want a sharp, narrow kerf, not a wide, messy canyon of wasted steel.
When I’m looking at a messy, slaggy edge, is it better to adjust my travel speed or should I be looking at my standoff distance?
If you’re looking at a mess of slag and uneven edges, you’re likely fighting yourself on both fronts, but start with your standoff distance. If you’re too far away, the arc loses its focus and the heat spreads out like a spilled drink; if you’re too close, you’re choking the stream. Get that torch steady at the right height first. Once your distance is dialed in, then you can fine-tune your travel speed to smooth things out.
