I remember sitting in my old fabrication shop back in the late eighties, staring at a joint that looked clean but snapped like a dry twig the second it took a load. I’d been rushing, thinking I could just blast the heat and force the filler to flow, but I learned the hard way that metal brazing isn’t about brute force. It’s about the quiet rhythm of the flame and knowing exactly when the base metal is ready to accept the bond. Most folks today think they can just buy a fancy new torch and skip the fundamentals, but you can’t automate the intuition that comes from feeling the heat through your gloves.
I’m not here to sell you on some expensive, high-tech gadgetry or give you a lecture filled with textbook jargon that doesn’t mean a lick in a real workshop. What I’m going to give you is the straight truth about how to get a clean, lasting bond every single time. We’re going to talk about the actual mechanics of heat control, surface prep, and why your choice of flux matters more than you think. If you’re willing to put in the patience, I’ll make sure you don’t end up wasting good material.
Table of Contents
Choosing the Right Brazing Alloy Selection for Longevity
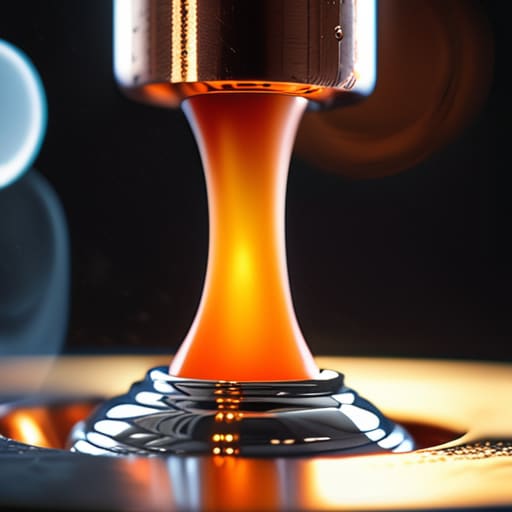
Before you even strike a match, you need to know what you’re feeding into that joint. I’ve seen too many young fellas grab the first spool of filler rod they find, only to realize halfway through that they’ve picked something that won’t bond with their base metal. Proper brazing alloy selection isn’t just about what’s cheap or easy to find at the local hardware store; it’s about matching the chemistry of your filler to the specific metal you’re working on. If you’re working with copper, you want something that plays nice with it, but if you’re jumping over to steel, you’ve got to account for how that heat travels.
You also have to consider how the metal is going to behave once it cools down. A common mistake is ignoring the thermal conductivity in joints, which can lead to uneven heating and a brittle mess. You aren’t just sticking two pieces together; you’re relying on capillary action to pull that molten alloy into every nook and cranny of the seam. If your alloy doesn’t flow right because you picked the wrong grade, you’ll end up with voids that’ll fail the moment the tool sees any real stress. Pick the right rod, or don’t bother starting at all.
Mastering Brazing Torch Flame Types for a Clean Melt
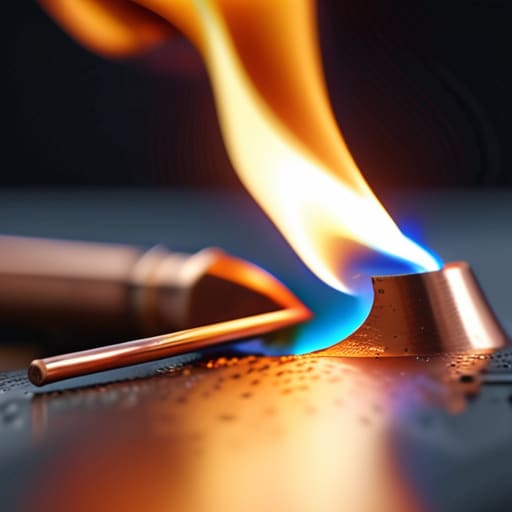
Once you’ve got your rods picked out, you need to stop thinking about the flame as just a source of heat and start seeing it as a precision tool. If you’re using an oxy-acetylene setup, you’ve got three main options, and picking the wrong one is a quick way to ruin a good piece of work. A neutral flame is your bread and butter for most jobs; it’s steady and won’t mess with the chemistry of the metal. However, if you’re working with certain copper alloys, you might need a slightly reducing flame to keep things clean.
The real trick is learning how to manipulate those brazing torch flame types to control the heat soak. You aren’t trying to melt the base metal like you would in a weld; you’re trying to get the joint hot enough to pull the filler in. If you don’t manage the heat correctly, you’ll lose that vital capillary action in brazing that draws the alloy into the seam. If the metal is too cold, the filler just sits on the surface like a bead of wax, and you’ll end up with a joint that looks alright but has no real strength behind it.
Five Rules to Keep Your Joints from Failing
- Clean your metal until it shines. I’ve seen too many young fellas try to braze over rust, oil, or even just old oxidation, thinking the heat will burn it off. It won’t. If that surface isn’t spotless, the alloy won’t bite, and you’ll end up with a joint that looks okay but snaps like a dry twig the moment it sees any real stress.
- Don’t chase the filler; chase the heat. A common mistake is trying to melt the rod directly with the flame. That’s a waste of time and a recipe for a messy, porous joint. You need to heat the base metal itself until it’s ready to accept the alloy. The metal should do the work of melting the rod, not the torch.
- Watch your flux like a hawk. Flux is your best friend, but it’s also a ticking clock. If you let it cook too long or get too hot, it’ll burn up and turn into a crusty mess that prevents the flow. Keep an eye on that color change; once the flux turns clear and liquid, you know you’re in the sweet spot.
- Slow down your movement. When you’re moving the torch, don’t jerk it around like you’re trying to win a race. You want a steady, controlled heat distribution. If you move too fast, you’ll get a cold joint; if you linger too long in one spot, you risk warping the piece or burning through your flux.
- Let it cool on its own. I know it’s tempting to dunk a hot piece into a bucket of water to get back to work faster, but don’t do it. Rapid quenching can leave the metal brittle or cause internal stresses that’ll crack your work later. Give it the time it needs to settle down naturally.
The Bottom Line Before You Strike a Match
Don’t go cheap on your filler rod; picking a high-quality alloy that matches your base metal is the difference between a joint that holds for decades and one that snaps the first time it sees any real stress.
Watch your flame like a hawk, because if you can’t control the heat distribution, you’re going to end up with a messy, porous bead that looks more like a bird’s nest than a professional repair.
Slow down and respect the process—if you try to rush the melt or force the metal to behave before it’s ready, you’re just going to waste good material and a whole lot of your own time.
## The Truth About a Good Joint
“A brazed joint isn’t just about getting the filler to flow; it’s about respecting the heat. If you try to force the metal to behave before it’s ready, you’ll end up with a brittle mess that’ll fail the moment it’s put to work. You have to wait for the metal to tell you it’s ready, not the other way around.”
Alistair Fenwick
Getting It Right for the Long Haul
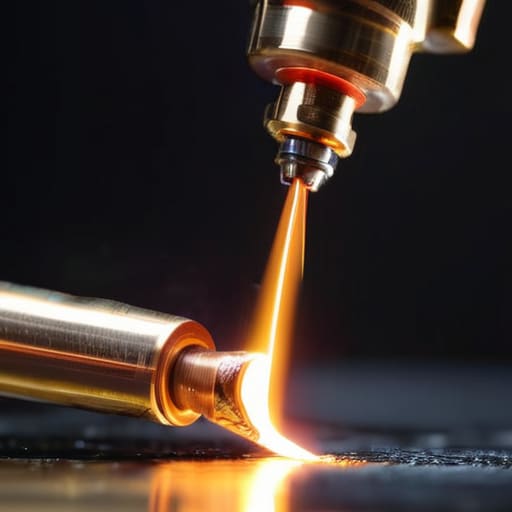
At the end of the day, a successful braze comes down to the basics we’ve discussed: picking an alloy that actually matches your base metal and controlling your flame so you aren’t just blasting heat blindly. If you don’t respect the relationship between your torch and the workpiece, you’re going to end up with a brittle joint or, worse, a ruined piece of material. It’s about the preparation and the patience you put in before the filler even touches the metal. Remember, once that alloy flows, there’s no undoing it, so make sure your cleaning is thorough and your heat distribution is even.
I know it can feel frustrating when a joint doesn’t flow quite right on the first try, but don’t go throwing your tools in the corner just yet. Metalwork isn’t about instant gratification; it’s about developing the steady hand and the keen eye that only comes from repetition. Every time you mess up a seam, you’re actually learning exactly where your limits are. Stick with it, keep your workspace organized, and treat your tools with respect. If you do that, you won’t just be fixing things—you’ll be building a legacy of work that stands the test of time.
Frequently Asked Questions
How do I know if I've overheated the base metal and ruined its temper before I even get the filler rod to melt?
You’ll see it in the color. If you’re working with tempered steel and you see those bright, flashing blues or even a dull, sickly grey before your rod even touches the joint, you’ve gone too far. Once that metal loses its luster and starts looking “cooked,” the internal structure is compromised. If the steel doesn’t snap back to its original hardness after cooling, you’ve ruined the temper. Slow down; watch the heat, not just the rod.
Is there a real difference between using a flux paste versus a flux liquid when I'm working on old, pitted cast iron?
When you’re dealing with old, pitted cast iron, you want the flux to stay exactly where you put it. I’ve always found that a thick flux paste is the way to go. Liquids tend to run off the uneven surfaces and pool in the pits, which can get messy and leave you with uneven cleaning. Paste clings to those rough edges, giving you the steady coverage you need to actually get the job done right.
What's the best way to clean up the leftover slag without scratching the surface of the piece I'm trying to restore?
Now, listen close, because this is where most folks ruin a good piece of work. If you go at it with a coarse abrasive right away, you’ll scar that metal forever. Start with a brass brush—it’s softer than your workpiece, so it’ll knock the slag loose without digging in. Once the heavy stuff is gone, use a fine-grade emery cloth or a bit of that sandpaper I always keep on me. Gentle strokes only.
