I remember sitting in a dimly lit workshop back in ’84, squinting through a cloud of grinding dust just to see the edge of a copper sconce I was trying to shape. The smell of hot ozone and scorched oil always stays with you, but what really sticks is the frustration of trying to work with hardware that feels like it was made by someone who never actually held a hammer. Most of the metalwork lighting you see in big-box stores today is nothing more than thin, stamped-out junk held together by cheap solder and a prayer. They call it “industrial style,” but if you try to repair a single seam or adjust a mounting bracket, the whole thing just crumbles in your hands.
I’m not here to sell you on some fancy showroom aesthetic or tell you which designer brand is trending this season. What I want to do is show you how to identify real, heavy-gauge material and, more importantly, how to build or maintain your own fixtures so they actually stand the test of time. We’re going to look at the practical side of things—from selecting the right alloys to ensuring your joints are as strong as they are beautiful. If you’re tired of disposable decor and want something that actually belongs in a home, you’re in the right place.
Table of Contents
Investing in High Cri Lighting for Metal Fabrication
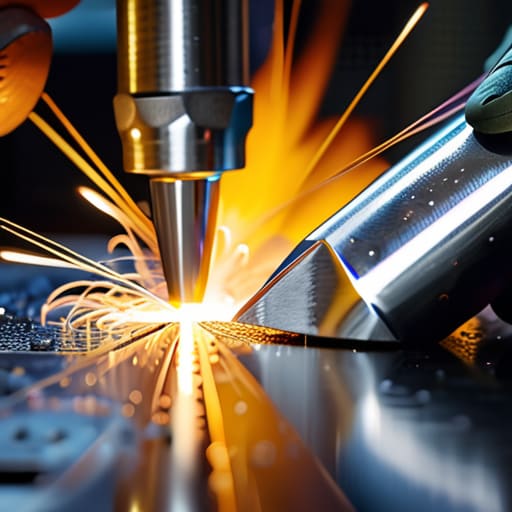
When you’re squinting at a seam or trying to judge the color of a heat-tinted surface, the quality of your light matters just as much as the quality of your electrodes. Most folks make the mistake of slapping up some cheap, flickering shop lights and calling it a day. But if you’re doing real work, you need to look into high CRI lighting for metal fabrication. CRI, or Color Rendering Index, is what tells you if that metal is actually turning that specific shade of straw yellow or if it’s already pushed into the blue-purple range where you’ve gone too far.
I’ve seen too many young apprentices ruin a good piece of stock because they couldn’t see the true color of the metal under poor light. It’s not just about brightness; it’s about accuracy. Using proper LED shop lights for metalworking that offer a high color rendering score helps you catch subtle shifts in the material before they become permanent mistakes. It’s an investment in your eyes and your scrap pile. If you can’t see the metal for what it truly is, you’re just guessing—and in my shop, we don’t build things based on guesses.
Choosing Led Shop Lights for Metalworking That Last
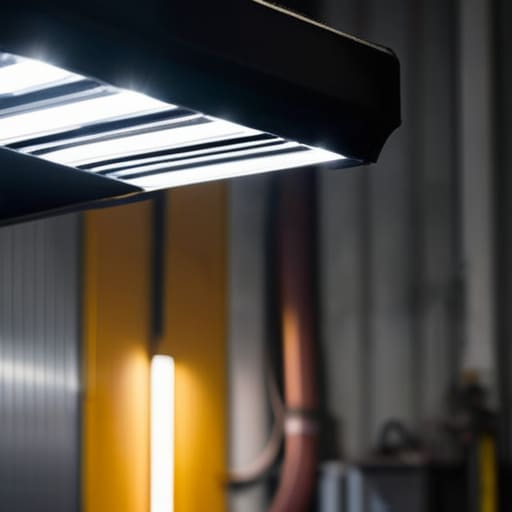
Now, when you’re looking at the actual fixtures, don’t get distracted by the fancy marketing fluff or the cheapest units you can find on a big-box website. Most of that junk is designed for a garage where you just park a lawnmower, not a workspace where you’re chasing a precise seam. If you want LED shop lights for metalworking that actually stand up to the environment, you need to look at the build quality. I’m talking about heavy-duty housings and decent heat sinks. Metalwork generates its own heat, and if your light fixture can’t dissipate its own thermal load, those diodes are going to burn out before you’ve even finished your first project.
You also need to think about placement to avoid the headache of constant shadow interference. There is nothing more frustrating than trying to do fine grinding or delicate assembly only to have your own body or a piece of stock block your view. I always tell folks to aim for a layout that prioritizes shadow reduction in welding and heavy fabrication by using multiple light sources rather than one single, blinding overhead unit. It’s about creating a steady, even wash of light that lets you see the metal, not just the glare.
Five Ways to Stop Working in the Dark
- Stop relying on a single overhead bulb; you need task lighting positioned exactly where your hands meet the metal to kill those deep shadows that hide cracks or bad welds.
- Get yourself a decent, heavy-duty magnetic base lamp that you can move around the workbench; if it’s too flimsy to stay put when you bump it, it’s garbage.
- Watch out for cheap, flickering shop lights that look fine from a distance but’ll give you a headache after twenty minutes of fine grinding.
- Protect your eyes with more than just safety glasses; if you’re working with high-intensity lighting or arc welding, ensure your workspace setup accounts for glare that can blind you mid-cut.
- Keep your light fixtures clean of metal dust and oil; a layer of grime on a lens might seem small, but it dulls the light and makes you work harder than you need to.
The Bottom Line for Your Shop
Don’t cheap out on the light quality; if you can’t see the true color of your metal or the fine details of a weld, you’re just inviting mistakes that’ll cost you more in wasted material later.
Look for fixtures built with heavy-duty housings and proper heat dissipation, because a light that dies after a year of shop dust and temperature swings is just more junk for the landfill.
Prioritize high-quality LEDs that offer steady, flicker-free output to protect your eyes during long hours of precision work—your vision is your most important tool, so treat it like one.
## Don't Work in the Shadows
“You can’t respect the grain of the metal or spot a hairline fracture if you’re squinting through a dim, flickering bulb; if your lighting is cheap, your finish will be cheap, too.”
Alistair Fenwick
Final Thoughts Before You Strike
At the end of the day, getting your lighting right isn’t about following some interior design trend; it’s about the practical reality of what happens when you’re staring at a weld or trying to spot a hairline fracture in a piece of steel. We’ve talked about why you can’t skimp on a high CRI to ensure your colors and metal finishes are true, and why choosing a rugged, long-lasting LED is better than buying a cheap fixture that’ll burn out the moment it gets hit with a bit of shop dust. If you invest in the right illumination now, you’re saving yourself the headache of dim, flickering shadows that lead to mistakes. Remember, you can’t fix what you can’t clearly see, and in this trade, visibility is your first line of defense against wasted material and ruined projects.
Don’t let the modern rush to buy everything pre-made and disposable infect your workspace. Whether you’re setting up a professional fabrication bay or just a small corner of your garage, treat your lighting setup with the same respect you give your anvil or your welder. Build your shop to be a place where precision is possible and where your eyes don’t have to fight the environment to get the job done. When you take the time to do things properly from the ground up, you aren’t just setting up a workspace; you are honoring the craft. Now, quit reading about it, get your bench organized, and start building something that actually lasts.
Frequently Asked Questions
How do I balance bright task lighting over my welding bench without creating a blinding glare off the polished metal?
The trick is to stop pointing your lights directly at your work. If you’ve got polished steel or fresh welds, a direct beam is just going to bounce right back into your eyes and leave you squinting. I always use indirect lighting—aim your fixtures at a matte-finished wall or a ceiling to bounce the light back down. It softens the glare and fills the shadows without turning your bench into a mirror.
What’s the best way to mount shop lights in a small garage so I’m not constantly hitting them with my tools or getting them covered in metal dust?
In a tight workspace, you can’t afford to have lights hanging low where a stray hammer swing or a heavy workpiece can take them out. I always recommend mounting your fixtures high, flush against the ceiling or tucked into the rafters using angled brackets. This keeps them out of your direct line of sight and prevents metal dust from settling on the lenses. If you can, seal the housing; it’ll save you a world of headache.
If I'm working with older, vintage fixtures, how do I safely rewire them for modern bulbs without compromising the integrity of the metal?
First thing’s first: don’t go hacking at old brass or iron like you’re clearing brush. You’ll ruin the patina and the structural integrity. Use a fine-tooth metal file to clear any corrosion around the mounting points before you start. When you’re threading new wire, use insulated braided cloth if you want to keep that vintage look, but make sure your connections are tight and heat-shrink tubing is used where it counts. Don’t rush the wiring; a loose connection is just a fire waiting to happen.
