I can still smell the burnt cutting oil and the heavy scent of shaved steel that used to hang in the air of the fabrication shop back in ’84. I remember a young apprentice—bright kid, but far too impatient—who thought he could breeze through his lathe operations by cranking the feed rate just to see the chips fly faster. He ended up with a piece of high-grade brass that looked more like a chewed-up piece of gum than a precision component. That’s the problem with the way things are taught nowadays; everyone wants the instant gratification of a finished part without respecting the rhythm of the machine.
I’m not here to sell you on some fancy, computerized nonsense or tell you that you need a six-figure setup to get decent results. What I’m going to give you is the plain truth about how to actually handle the tool, manage your speeds, and listen to what the metal is telling you. We’re going to focus on the fundamentals of steady work so you can stop wasting expensive stock and start making parts that actually hold their tolerances. If you’re willing to slow down and do it right, I’ll show you how to master the machine.
Table of Contents
Slow Down for Proper Turning Process Parameters

When you’re standing at the machine, there’s a temptation to crank the feed rate and see how much metal you can move in a single pass. I’ve seen plenty of young guys do that, thinking they’re being efficient, but they’re usually just begging for a broken tool or a ruined workpiece. You have to find the right balance with your turning process parameters before you ever touch the lever. If you push the material removal rates too hard without considering the toughness of the stock, you aren’t working smart—you’re just fighting the machine.
It’s all about how you respect the relationship between your lathe spindle speeds and the specific cutting tool geometry you’ve got clamped in the tool post. A sharp carbide tip behaves differently than an old-school high-speed steel bit, and if you treat them the same, you’re going to learn a hard lesson in wasted scrap. Slow down, listen to the chatter, and feel the vibration through the handwheel. If the sound changes from a steady hum to a rhythmic scream, you’ve gone too far. Take your time to get the settings dialed in; it’s better to spend ten minutes adjusting than an hour cleaning up a botched job.
Why Cutting Tool Geometry Defines Your Success
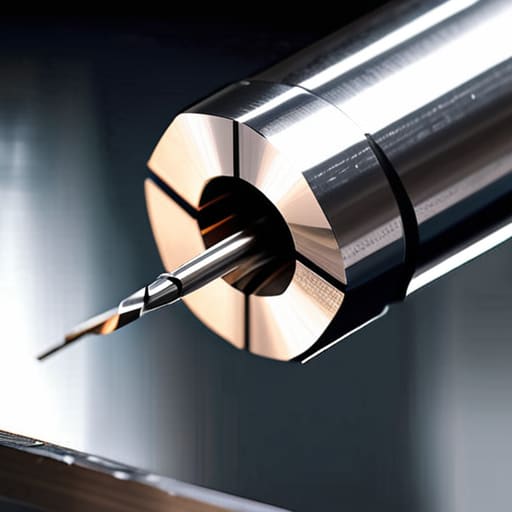
You can have the most expensive machine in the shop, but if you’re using a dull or incorrectly ground bit, you’re just fighting an uphill battle. Most folks think they can just slap a generic carbide insert into the tool holder and call it a day, but they forget that cutting tool geometry is what actually dictates how the chip flows. If your rake angle is too shallow, that metal is going to rub and heat up instead of slicing cleanly; if it’s too aggressive, you’ll end up chatter-marking your workpiece until it looks like a plowed field.
I’ve seen plenty of young apprentices try to compensate for a poor tool shape by cranking up the lathe spindle speeds or pushing harder on the cross-slide. That’s a recipe for a broken tool or, worse, a piece of scrap that’s gone past saving. Whether you’re handling delicate facing and parting operations or heavy roughing, the angle of that cutting edge is your primary line of defense. Get the geometry right first, and the metal will practically do the work for you.
Five Rules to Keep You From Scrapping Good Stock
- Check your tool height every single time you swap a bit. I’ve seen too many young lads think they’ve got it set, only to find out they’re cutting above or below the center line, and that’ll leave a finish so rough you might as well have used a file.
- Keep your eyes on the chips, not just the dial. The way the metal curls tells you more about your feed rate and tool sharpness than any digital readout ever will; if they’re coming out thin and stringy or clogging up, something’s wrong.
- Never, and I mean never, leave the chuck key in the machine. It sounds like a joke until you hear that heavy thud of the machine trying to spin a key halfway out of the chuck—it’s a mistake you only make once, and it’s a costly one.
- Clean your ways and the bed before you even think about turning the power on. A single stray bit of grit or a metal shaving caught under the carriage can gouge your precision surfaces, and once that metal is scarred, there’s no going back.
- Listen to the machine. A healthy cut has a steady, rhythmic hum to it, but the second you hear a chatter or a high-pitched squeal, you back off the feed or adjust your speed immediately before you chip the carbide right off your tool.
The Bottom Line on Turning Metal
Don’t let your ego drive the machine; if the sound of the cut changes or the tool starts to chatter, back off the feed and check your settings before you ruin a piece of stock.
A sharp tool isn’t a luxury, it’s a requirement—if you’re struggling to make a clean pass, stop trying to power through it and go regrind your edge or swap your insert.
Respect the physics of the metal by matching your speeds and feeds to the material in front of you, rather than relying on a “one size fits all” approach that’ll only lead to wasted time and heat-damaged parts.
## The Truth About the Machine
A lathe isn’t a magic box that spits out parts; it’s a conversation between you and the material. If you stop listening to the vibration in the handles and the sound of the chip, you’ve already lost the battle.
Alistair Fenwick
The Long View on the Lathe
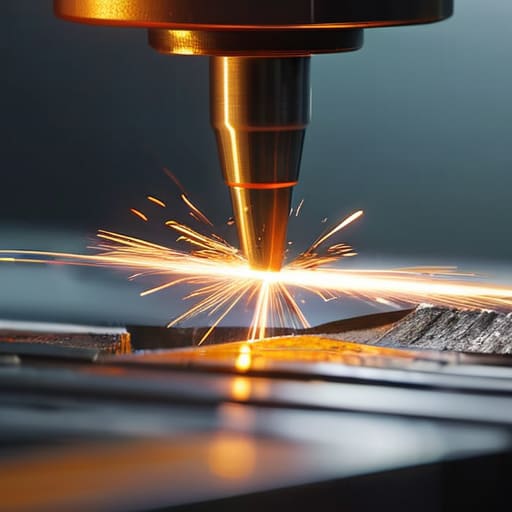
At the end of the day, mastering the lathe isn’t about how fast you can clear a piece of stock or how many parts you can churn out before lunch. It comes down to the fundamentals we’ve talked about: respecting your feed rates, understanding the heat, and ensuring your tool geometry is dialed in exactly right for the material in front of you. If you try to skip the setup or ignore the way the chip is curling, you aren’t just risking a bad finish—you’re risking your safety and wasting good metal. Take the time to listen to the machine; it’ll tell you exactly when you’re pushing too hard or running too fast. Precision is a habit, not a lucky accident.
I know it’s tempting to look for the quick fix or the automated shortcut, but there is a particular kind of satisfaction that only comes from a part you turned with your own two hands and a steady eye. When you finally step back and see that clean, mirror-like surface or a perfect thread, you’ll know it wasn’t luck—it was your patience paying off. Don’t be discouraged if your first few passes feel clumsy; even after forty years, I still find myself checking my measurements twice. Just keep your tools sharp, your workspace clean, and never stop learning from the metal. That is how you build something that actually lasts.
Frequently Asked Questions
How do I know if my cutting speed is too high for the specific grade of steel I'm working with?
Listen for the sound. If you’re hearing a high-pitched scream or a harsh chatter instead of a steady, rhythmic hum, you’re pushing it too hard. You’ll also see the telltale signs in the chips; if they’re turning blue or even black right at the tool tip, that heat is building up too fast for that steel grade. That’s not just a noise—that’s the sound of you burning up your edge and ruining a good workpiece.
What are the signs that my tool bit is dulling or has the wrong angle for the job?
You’ll know something’s wrong when the machine starts talking back to you. If you hear a high-pitched chatter or a rhythmic vibration instead of a clean, steady hum, your tool is likely dull. Watch the chips, too; they should come off in neat, consistent curls. If they’re coming out ragged, or if you see a build-up of melted metal sticking to the tip, you’ve either lost your edge or your clearance angle is all wrong.
If I'm getting a rough finish on my workpiece, is it a problem with my feed rate or my tool geometry?
It’s usually a bit of both, but you can’t blame one without looking at the other. If your feed rate is too high, you’re essentially leaving ridges behind like a plow in a field. But if your tool geometry is off—say, the nose radius is too small or the rake angle is wrong—even a perfect feed won’t save you. Check your tool tip first; if it’s blunt or shaped wrong, no amount of slowing down will fix it.
