I still remember the first time I stood in front of a heavy industrial lathe back in my apprenticeship, the air thick with the smell of cutting oil and the rhythmic, metallic shriek of steel meeting carbide. I was young, impatient, and thought I could muscle my way through any job if I just turned the handles a bit faster. That was my first lesson: if you treat metal lathe operations like a race against the clock, the machine will eventually find a way to teach you a lesson you won’t forget—usually in the form of a broken tool or a ruined workpiece.
I’m not here to sell you on some fancy, computerized nonsense or a thousand-dollar software package that claims to do the thinking for you. What I want to do is pass on the actual, hands-on grit of how things work when you’re standing at the bench. I’m going to walk you through the fundamental metal lathe operations with the kind of straight talk you only get from forty years of making mistakes so you don’t have to. We’re going to focus on precision, patience, and respect for the material, ensuring that whatever you turn is built to last a lifetime.
Table of Contents
Mastering Metalworking Lathe Safety Before You Touch the Steel
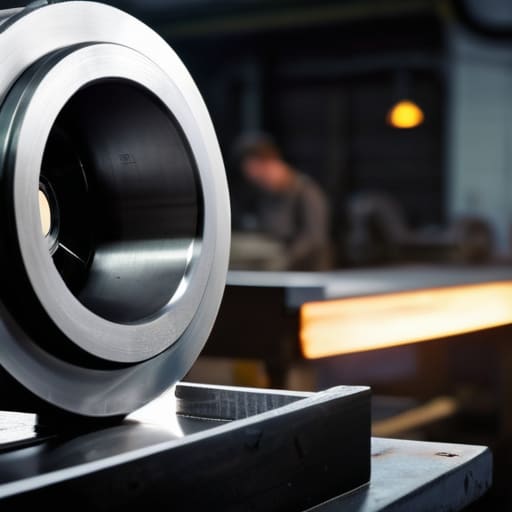
Before you even think about flipping that power switch, you need to understand that a lathe doesn’t care about your schedule, and it certainly doesn’t care about your fingers. I’ve seen too many young folks walk into a shop thinking they can muscle their way through a job, only to realize that metalworking lathe safety isn’t just a set of rules in a manual—it’s a way of life. You start by clearing the deck. No loose rags, no stray wrenches, and for heaven’s sake, keep your sleeves rolled up or tucked tight. If you leave a chuck key sitting in the machine because you were in a hurry, you aren’t just being careless; you’re asking for a trip to the emergency room.
Once the workspace is clear, your focus shifts to the machine itself. You need to double-check your lathe machine tool settings and ensure your workpiece is seated dead-center and clamped tight. If the stock wobbles even a fraction, that imbalance will shake the whole setup apart once you pick up the RPMs. Take a breath, check your guards, and remember: the moment you start rushing is the moment the machine wins.
Why Correct Lathe Machine Tool Settings Save Your Material
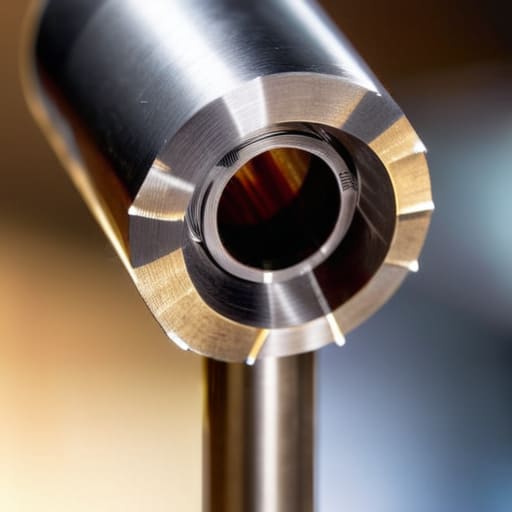
You can spend all day fighting a piece of steel, but if your lathe machine tool settings are off, you aren’t working—you’re just wasting time and money. I’ve seen too many young folks walk into a shop, grab a piece of expensive brass or tool steel, and start cranking handles without a second thought. They ignore the cutting tool geometry, using a dull or improperly angled bit that tears at the metal instead of slicing through it. When you don’t respect those basic physics, you end up with a surface finish that looks like a plowed field and a workpiece that’s been chewed up beyond repair.
It’s all about the math and the patience behind the machine. If you skip the proper spindle speed calculation and run too fast, you’ll burn the tip of your tool right off; run too slow, and you’ll get chatter that ruins the part’s dimensions. Getting those settings dialed in correctly is the difference between a clean, professional cut and a pile of expensive scrap. Don’t rush the setup. Taking ten minutes to ensure your tool is seated right and your speeds are set for the specific material will save you hours of frustration later.
Five Ways to Keep Your Cuts Clean and Your Tools Sharp
- Listen to the machine. A lathe talks to you through the vibration and the sound of the cut. If you hear a high-pitched chatter or a rhythmic thumping, you’re doing something wrong—either your speed is too high or your tool isn’t seated properly. Don’t just ignore it; stop and adjust before you ruin the finish.
- Stop treating tool bits like they’re indestructible. A dull cutting tool is a dangerous tool because it requires you to force the machine, and that’s when things snap or fly off. Keep your edges sharp and your angles precise; a clean cut is a fast cut, and it’ll save you a lot of headache in the long run.
- Check your work with more than just your eyes. I’ve seen plenty of young fellas assume a part is true just because it looks straight, only to find out it’s tapered halfway through. Use your calipers and micrometers frequently. It’s better to measure three times during the process than to realize you’ve cut too deep once the piece is already in the scrap bin.
- Manage your chips like you mean it. Those little curls of steel might look harmless, but they’re hot, sharp, and can wrap around your workpiece or your hands in a heartbeat. Use a brush or a hook to clear them away—never your bare hands—and keep an eye on the chip shape; if they’re getting too long and stringy, it’s time to change your feed rate.
- Slow down your approach. When you’re bringing a tool in for a finishing pass, don’t just plunge it in like you’re driving a nail. Take shallow, controlled cuts. I’ve learned the hard way that trying to take off too much material in one go just creates unnecessary heat, and heat is the enemy of both your tool and the integrity of your metal.
The Bottom Line for Your Workshop
Never treat safety as a checklist to get through; treat it as the foundation of the work, because a single moment of carelessness with a spinning chuck will cost you more than just time.
Learn to listen to the machine and the sound of the cut; if you start hearing a chatter or a scream from the tool, you’ve pushed too hard and you’re about to ruin a good piece of stock.
Set your speeds and feeds with intention rather than guesswork, because taking an extra five minutes to dial in your settings is a hell of a lot better than spending an hour grinding down a botched part.
## The Cost of a Rushed Cut
“A lathe isn’t a machine that works for you; it’s a machine you work with. If you try to bully the steel into shape by forcing the feed or ignoring the chatter, the machine will win every single time—and you’ll be left holding a piece of expensive scrap and a broken tool bit.”
Alistair Fenwick
The Long Game in the Workshop
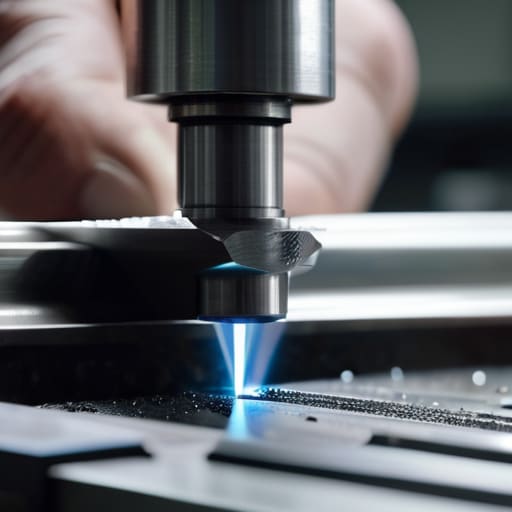
At the end of the day, running a lathe isn’t about how fast you can spin a workpiece or how many parts you can churn out before lunch. It’s about the discipline you show when you’re setting your tool height, checking your coolant flow, and making sure your speeds and feeds are dialed in just right. If you’ve paid attention to the safety protocols and took the time to set your machine correctly, you’ve already done the hardest part of the job. Remember, a machine is only as reliable as the person standing behind it, and skimping on the setup is the fastest way to turn a perfectly good piece of steel into a costly mistake. Precision isn’t an accident; it’s the result of following the steps you know are right, even when you’re in a hurry.
I know it can be tempting to rush when you’re eager to see the finished product, but I’ve spent forty years seeing what happens when people try to outrun the process. The metal will tell you when you’re pushing too hard, and it won’t forgive a lack of respect. My advice to you is simple: treat every cut like it’s the most important one you’ll make all week. When you stop viewing the lathe as just a tool and start seeing it as an extension of your own hands, that’s when you truly start crafting something of value. Take pride in the work, keep your tools sharp, and build things that actually last.
Frequently Asked Questions
How do I know if my cutting speed is too high for the specific type of steel I'm working with?
Listen, you’ll know it’s too fast when you start seeing blue or straw-colored discoloration on the chip or the workpiece itself. That’s heat, and heat is the enemy of a clean cut. If the chips are coming off in tiny, burnt-looking fragments instead of smooth, continuous curls, you’re pushing it too hard. Slow it down. If you keep forcing the speed, you aren’t just ruining the finish; you’re dulling your tool bit before you’ve even finished the job.
What are the signs that my tool bit is dulling or about to chatter during a pass?
Listen, you’ll feel it before you see it. If you start hearing a high-pitched scream or a rhythmic vibration—that’s chatter—your setup is likely unstable or your feed rate is off. But if the machine sounds steady and you just notice the surface finish turning from smooth to a torn, ragged mess, your bit is dull. If you have to push harder just to get the tool to bite, stop. You’re just burning up the edge.
If I'm working on a piece that's a bit uneven, how do I adjust my settings to avoid ruining the whole workpiece?
If you’re dealing with an uneven piece, the worst thing you can do is try to muscle through it with a heavy feed rate. You’ll just chatter the tool or snap a tip. Slow your feed down and take lighter, more frequent passes. I usually dial back the depth of cut and let the machine take the brunt of the irregularity bit by bit. It takes longer, sure, but it’s better than turning a good piece of steel into expensive scrap.
