I can still smell it if I close my eyes—that sharp, biting scent of cutting oil mixed with the fine, metallic dust that settles in your lungs after a long afternoon in the shop. I remember my first real encounter with a metal lathe back in the industrial plant where I pulled my apprenticeship; the machine was a hulking, cast-iron beast that didn’t care a lick about my feelings. It taught me quickly that if you don’t respect the tool, the tool will find a way to punish you, usually in the form of a ruined workpiece or a chipped tool bit.
I’m not here to sell you some shiny, overpriced piece of kit from a catalog that’ll fall apart the moment you try to turn a piece of hardened steel. What I want to do is show you how to identify a machine that actually has some backbone and how to master the fundamentals of turning. I’ll give you the straight truth on what matters—stability, precision, and durability—so you can stop wasting expensive stock and start building things that are actually worth keeping.
Table of Contents
Benchtop vs Industrial Lathes Investing in Real Capability
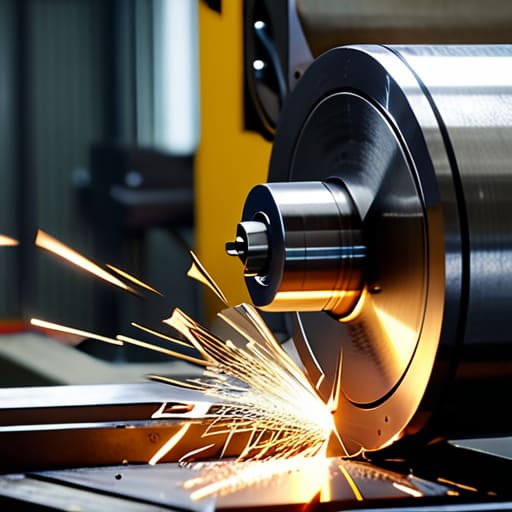
Now, I see a lot of folks heading into a metalworking workshop setup thinking they can get by with a little hobbyist benchtop model. Don’t get me wrong, those small machines have their place for light tasks, but there’s a massive gulf between a toy and a tool. When you’re working on a benchtop unit, you’re often fighting the machine’s own vibration just to keep a straight line. If you’re trying to hit tight machining tolerances and accuracy, you’ll find that a lightweight frame just won’t hold the line when the bit bites into the stock.
An industrial-grade machine, on the other hand, is built with the mass and rigidity required for real work. When you’re deep into lathe machine operations, you need that weight to dampen the chatter. A heavy, cast-iron bed isn’t just for show; it’s what allows you to maintain a consistent cut without the whole setup dancing across your workbench. If you want to build things that actually last, you have to invest in capability rather than just buying the cheapest thing that fits on your desk.
Setting Up Your Metalworking Workshop Setup for Success
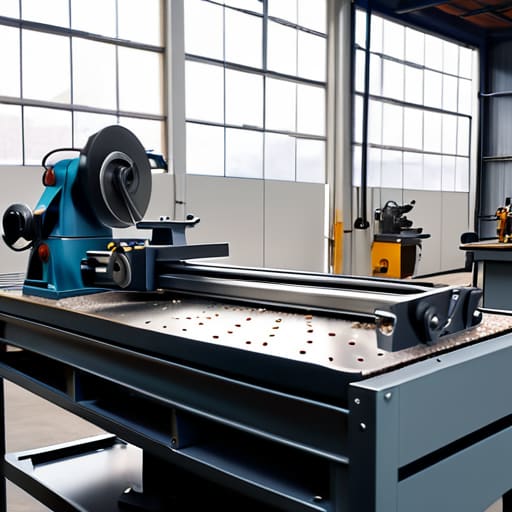
You can buy the finest machine in the world, but if you set it up on a wobbly workbench in a drafty corner, you’re just asking for trouble. A proper metalworking workshop setup starts with a foundation that doesn’t move when the tool hits the workpiece. I’ve seen too many fellas try to save a few bucks by bolting a heavy machine to a flimsy plywood table, only to find their finished parts look like they were chewed on by a dog. You need a level, heavy-duty surface and enough floor space to actually walk around your gear without tripping over a bucket of coolant.
Lighting is another thing people overlook until they’re squinting at a hairline crack. You need bright, overhead light, but more importantly, you need task lighting that lets you see exactly where the tool meets the metal. If you can’t clearly observe your machining tolerances and accuracy, you’re just guessing—and guessing is how you ruin a good piece of brass. Keep your workspace organized; a cluttered bench leads to a cluttered mind, and in this trade, a cluttered mind leads to broken tools and wasted stock.
Five Rules to Keep You From Ruining Your Stock (and Your Sanity)
- Respect the speed, or the metal won’t. Before you even touch the power switch, make sure you’ve calculated your surface feet per minute correctly. If you run a finishing cut too fast, you’ll burn up your tool bit and leave a surface finish that looks like it was chewed by a dog. Slow down and listen to the cut.
- Stop chasing perfection with a hammer; use your tool geometry instead. If you’re getting chatter—that annoying vibration that makes the metal scream—don’t just try to force the cut. Check your tool overhang, tighten your tailstock, and ensure your cutting tool is exactly at center height. A tool set too high or too low is just a recipe for a scrap pile.
- Keep your ways clean, or you’ll be paying for it in precision. I see too many fellas letting fine metal chips and grit settle into the ways of their lathe. That’s how you get scoring. Wipe down your bed after every session and keep a thin film of oil on it. A clean machine is a precise machine.
- Don’t be a hero with the emergency stop. It sounds simple, but when you hear a weird knock or see a chip flying the wrong way, your instinct might be to try and “fix” it while the spindle is still spinning. Don’t. Hit the stop, let it die down, and then figure out what went wrong. Metal doesn’t care about your pride.
- Measure twice, cut once, and then measure a third time. Digital calipers are fine, but don’t let them make you lazy. Always double-check your zero point before you start a critical pass. I’ve seen many a fine piece of brass turned into a useless hunk of junk because someone assumed the readout was right without verifying it against a physical rule.
Hard-Won Lessons for the Shop Floor
Don’t go cheap on the foundation; a flimsy bench or a poorly leveled lathe will ruin your precision before you even turn the motor on.
Prioritize machine stability and mass over flashy features, because a heavy, steady machine is the only way to get a clean cut without the chatter.
Respect the learning curve and don’t rush the setup, because taking an extra hour to square everything up saves you days of frustration and wasted scrap later.
Respect the Machine
A lathe isn’t some toy you just plug in and play with; it’s a partner that demands your full attention. If you try to force a cut or rush the feed rate because you’re in a hurry, that machine will let you know—usually by ruining a good piece of stock or, worse, sending a shard of steel where it shouldn’t be. You listen to the sound of the tool bit, you watch the chips, and you respect the rotation, because a steady hand and a patient mind are the only things standing between a precision part and a heap of scrap metal.
Alistair Fenwick
The Long Road Ahead
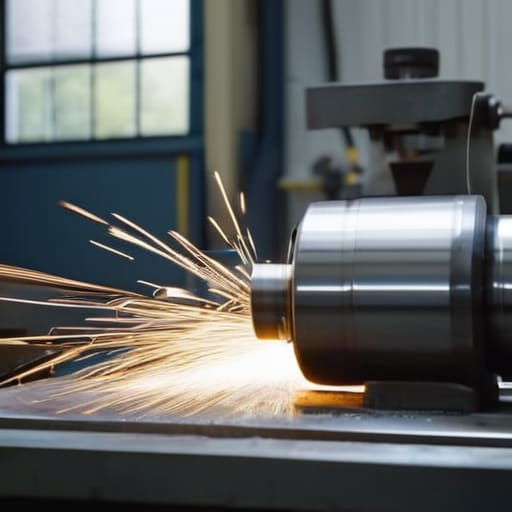
At the end of the day, picking a lathe isn’t about finding the cheapest hunk of iron that fits in your garage; it’s about matching the machine to the work you actually intend to do. Whether you’ve decided on a compact benchtop model for small repairs or you’ve bit the bullet on a heavy-duty industrial machine, remember that the foundation is everything. You need a level floor, a solid setup, and a clear understanding of the tool’s limits. If you skimp on the setup or buy a machine that’s too flimsy for the stock you’re turning, you’re just buying yourself a headache down the road. Don’t let the shiny brochures fool you—precision is earned through stability and respect for the equipment.
Once you finally get that motor humming and the first chip flies, you’ll realize that a lathe is more than just a piece of shop equipment. It is a gateway to a way of life where you aren’t beholden to the manufacturers or the scrap heap. There will be days when you’re frustrated, when a tool breaks or a measurement is off by a hair, but that’s where the real learning happens. Don’t be afraid to make mistakes, but never be afraid to do it right. Take your time, listen to the sound of the cut, and remember that we aren’t just making parts—we are building the skills to last a lifetime.
Frequently Asked Questions
I’ve got a small space in my garage, but is a heavy-duty benchtop model actually going to hold up when I start cutting through tougher alloys?
Look, if you’re planning on chewing through tough alloys, you need to stop thinking about “benchtop” as a size and start thinking about mass. A flimsy little machine will chatter like a nervous dog the moment it hits hardened steel, and that’s how you ruin a workpiece or snap a tool. If space is tight, find a heavy-duty model with a cast-iron base. You need that weight to soak up the vibration.
What kind of specific tooling should I be buying right out of the gate so I'm not wasting money on cheap bits that won't hold an edge?
Listen, don’t go buying those cheap, generic tool sets that come in a plastic case. They’ll dull the second they touch real steel, and you’ll be back at the store by Tuesday. Get yourself a decent set of High-Speed Steel (HSS) tool bits—they’re easier to grind and reshape when you’re learning. If you can swing it, grab some carbide inserts for your roughing work. It’s better to own three good tools than twenty pieces of junk.
How do I know if a used lathe I found at an estate sale is worth the headache, or if the ways are too worn down to ever be precise again?
You can’t judge a lathe by its paint job; you’ve got to look at the ways. Take a precision straightedge—not a ruler, a real straightedge—and lay it across the bed. If you see daylight between the metal and the tool, those ways are shot. Run your fingernail along them, too. If they feel pitted or uneven, walk away. A machine can be cleaned and oiled, but once the geometry is gone, it’s just a heavy paperweight.
