I remember sitting at my old workbench back in the late eighties, the air thick with the smell of cutting oil and the steady, rhythmic scritch-scritch of a hand graver biting into a brass plate. I was trying to mark a custom tool set, and I’d made the mistake of rushing the stroke, thinking I could just “eye it” and be done. One slip of the hand, and I’d ruined a week’s worth of prep work in a single heartbeat. Nowadays, you see people treating metal engraving like it’s some magic trick you can perform with a cheap, vibrating electric pen and a prayer. They think they can just scratch a name into a surface and call it craftsmanship, but if you don’t respect the grain and the temper of the material, you aren’t engraving—you’re just making a mess.
I’m not here to sell you on fancy, overpriced gadgets that’ll end up in a landfill by next Christmas. What I want to do is show you how to actually marry your intent to the metal. I’ll be sharing the honest, hard-earned methods I’ve used over forty years to ensure that every mark you make is built to last. We’re going to talk about steady hands, proper tool selection, and why patience is the most important tool in your kit.
Table of Contents
Laser Engraving vs Hand Engraving Choosing the Right Soul

Now, you’re going to see a lot of folks pushing the latest high-tech gadgets, and I get it—machines are efficient. When you look at laser engraving vs hand engraving, it really comes down to what you want that piece to say. A laser is a marvel of precision; it can burn a pattern into a stainless steel plate in seconds with a consistency that no human hand can mimic. It’s perfect for those high-volume industrial metal marking methods where every serial number has to be identical. But a laser doesn’t have a heartbeat. It’s a cold process.
If you’re working on something meant to be passed down through generations—like a heavy brass compass or a custom tool handle—you want the hand tool. When I pick up a graver, I’m not just removing material; I’m feeling the resistance of the grain. There is a certain soul in the imperfection that a machine simply cannot replicate. A hand-cut line has a depth and a character that tells you a person was actually standing there, breathing, working the metal. If you want a job that looks like it came off an assembly line, go digital. If you want a piece that carries a story, you pick up the hammer and the chisel.
Mastering Metal Surface Preparation Techniques Before You Strike
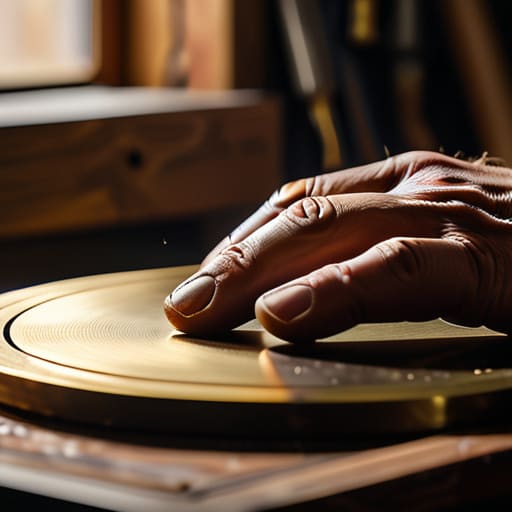
Before you even think about picking up a graver or powering up a machine, you need to look at the piece in front of you and ask if it’s actually ready for work. I’ve seen too many young folks rush straight into a job, only to find their design looks muddy or uneven because they skipped the basics. Proper metal surface preparation techniques aren’t just about making the piece shine; they are about creating a stable, predictable canvas. If there’s a microscopic layer of oil, oxidation, or even a fingerprint left on that surface, your tool or your beam is going to react to that contaminant instead of the metal itself.
Start by cleaning the workpiece with a degreaser or a bit of high-grade isopropyl alcohol. If you’re working with something older, like a piece of vintage brass I’ve pulled from a junk bin, you might need to lightly sand the surface to remove deep pitting. I always keep a small piece of fine-grit sandpaper in my pocket for a reason—sometimes a quick, gentle pass is all it takes to level out the playing field. Don’t mistake a polished surface for a clean one. You want the metal to be chemically neutral and physically smooth so that every stroke you make is intentional.
Five Hard-Won Rules for a Mark That Lasts
- Watch your depth, not just your design. It’s easy to get carried away making a pattern look pretty, but if you don’t bite deep enough into the grain, that engraving will be nothing more than a memory once the piece sees any real use.
- Keep your tools sharper than your wits. A dull graver doesn’t cut; it plows. If you find yourself fighting the metal or seeing ragged edges, stop what you’re doing and hone that tool immediately—forcing a dull blade is the quickest way to ruin a good workpiece.
- Control your breathing and your pulse. I’ve seen many a young apprentice ruin a fine piece because they were rushing to finish. You have to settle into the work; if your hand is shaking or your breath is shallow, the metal will tell on you.
- Don’t ignore the temper of the metal. Engraving a piece of hardened steel is a completely different beast than working on something soft like copper or brass. If you don’t respect the hardness you’re working against, you’ll snap a tip or find yourself spinning your wheels for nothing.
- Clean as you go, every single time. Metal shavings and fine dust aren’t just a mess; they’re grit that can scratch your work or clog your fine lines. Keep a clean rag handy and clear the workspace frequently so you can actually see the progress you’re making.
The Craftsman's Bottom Line
Don’t let a machine do the thinking for you; choose your method based on whether you want a quick mark or a permanent piece of history.
Never skip the prep work, because a clean surface isn’t just about looks—it’s the only way to ensure your tool doesn’t slip and ruin the metal.
Respect the material by working at its pace, because if you rush the stroke, you’ll end up with a mess that no amount of sanding can fix.
## The Mark of the Maker
A laser can trace a pattern with perfect math, but it doesn’t know the grain of the steel or the resistance of the temper; true engraving isn’t about following a line, it’s about feeling the metal push back and respecting that conversation.
Alistair Fenwick
Leaving Your Mark
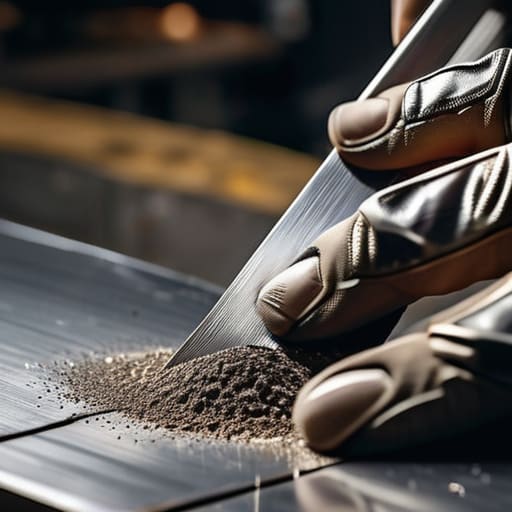
At the end of the day, whether you’ve opted for the precision of a laser or the steady, rhythmic bite of a hand tool, the success of your engraving rests entirely on the foundation you laid before the first mark was ever made. You can’t bypass the grit; if you skip the meticulous surface preparation or fail to choose the right method for the specific alloy in front of you, you’re just asking for a mess. Remember that the metal will always tell the truth about your work. If you rushed the prep or used a tool that wasn’t up to the task, the flaws will show through the finish, no matter how much you try to buff them out later.
I’ve spent a lifetime looking at pieces of metal that have survived decades because the person who worked them understood the value of patience. When you engrave something, you aren’t just decorating a surface; you are committing a permanent intention to the material. Don’t be in such a hurry to finish the job that you forget to respect the metal and the time it takes to do it right. Take a breath, check your edges, and make sure that when you finally step away from the bench, the mark you’ve left is one that’s built to endure long after we’re all gone.
Frequently Asked Questions
How do I stop my hand from shaking when I'm trying to follow a fine line with a graver?
It’s nothing to be ashamed of; even after forty years, my hands aren’t as steady as they used to be. The trick isn’t to fight the shake, but to anchor yourself. Don’t try to float your hand in mid-air. Rest your pinky or the side of your palm firmly against the workpiece or a steady bench block. Create a tripod with your fingers. If you’re braced, a little tremor won’t ruin the line.
What's the best way to prevent the metal from discoloring or warping if I'm using heat during the process?
If you’re working with heat, you have to respect the temper of the metal. To stop warping, don’t let one spot get too hot; keep the piece moving or use heat sinks to draw the energy away. As for discoloration, that’s just oxidation fighting you. Keep a clean, damp cloth nearby to wipe away scale immediately, or better yet, use a flux to keep the oxygen out. Slow and steady prevents the burn.
If I'm working on an old piece of cast iron or a vintage tool, how do I know if the engraving will actually hold or if I'm just ruining the patina?
That’s the million-dollar question. Before you even pick up a graver, you need to know if you’re cutting through a layer of oxidation or the metal itself. Take a small, inconspicuous spot—maybe under a handle—and test it. If the tool bites deep and the color stays consistent, you’re in the metal. If it skips or pulls up flakes of dark crust, you’re just scarring the patina. Respect that history; if the surface is too brittle, walk away.
