I remember sitting in a cramped workshop back in ’84, the smell of rosin flux thick in the air and my eyes stinging from a cheap, finicky heating element that just wouldn’t hold a steady temperature. I had a delicate copper repair in front of me, and every time I thought I had the heat right, that low-grade soldering iron would flicker or drop its thermal mass, leaving me with a cold, “blobby” joint that looked more like a mistake than a connection. It’s frustrating as hell when you’re trying to do honest work and your tools are the very thing holding you back from doing it right.
I’m not here to sell you some flashy, computerized gadget that promises the moon but breaks the moment it hits a real workload. I’ve spent forty years learning which tools actually earn their keep on a workbench and which ones are just expensive paperweights. In this guide, I’m going to show you exactly what to look for in a reliable soldering iron so you can stop fighting your equipment and start mastering the heat. We’re going to focus on steady temperature, proper tip maintenance, and the kind of gear that actually lasts.
Table of Contents
Mastering Soldering Station Temperature Control for Lasting Bonds
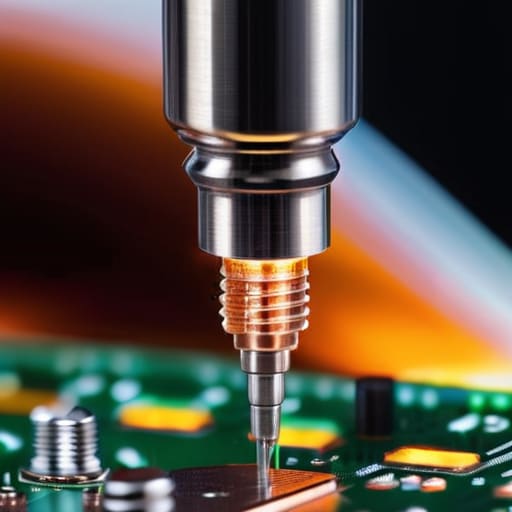
If you’re still using one of those cheap, plug-in sticks that just gets hotter the longer it sits, you’re asking for trouble. A real professional knows that heat is something you manage, not something you just endure. Using a proper unit with soldering station temperature control is the difference between a clean, flowing joint and a scorched mess that ruins your workpiece. If you can’t dial in the heat to match the thermal mass of what you’re working on, you’re just guessing—and in my shop, guessing leads to wasted material.
Once you have the heat steady, you need to focus on the tip itself. I can’t stress this enough: never let a tip sit dry and blackened. You need to be tinning a soldering tip every single time you pick it up. A thin, shiny coating of fresh solder helps the heat transfer instantly from the element to the metal you’re joining. If that tip looks like a burnt piece of coal, you might as well be trying to weld with a popsicle stick. Keep it clean, keep it coated, and respect the temperature.
The Art of Tinning a Soldering Tip to Prevent Waste
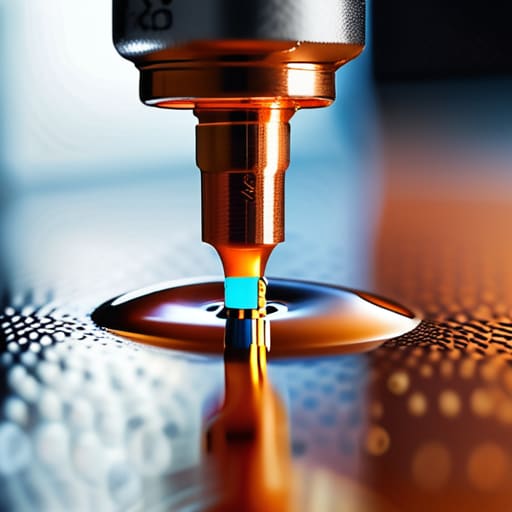
Now, if you want your work to hold up, you can’t just heat the tip and dive straight into the job. You need to understand the importance of tinning a soldering tip before you ever touch a component. Think of it like prepping a surface for paint; if the metal is dry and oxidized, the heat won’t transfer where it needs to go, and you’ll end up fighting the tool instead of the metal. A fresh, shiny layer of solder on the tip acts as a bridge, pulling the heat from the element directly into your workpiece.
Don’t let that tip turn black and crusty. If you neglect this step, you’ll find yourself cranking up the heat unnecessarily, which is a quick way to ruin a delicate piece of equipment. I’ve seen plenty of youngsters burn through expensive parts because they were too impatient to prep their iron. By keeping a thin, even coat of solder on the end, you ensure a clean bond every single time. It’s about working smarter, not harder, and making sure you aren’t wasting good material by struggling with a dull, oxidized tip.
Five Rules to Keep Your Work from Turning into a Mess
- Clean your tip before you even think about applying heat; if there’s old, burnt flux sitting on that metal, you’re just sealing in a bad connection.
- Stop hovering over the joint like you’re waiting for a pot to boil—apply the heat to the workpiece itself, not just the solder, so the metal does the work for you.
- Watch your breathing and your workspace; one stray puff of smoke or a greasy thumbprint on a clean surface is enough to ruin a perfect bond.
- Don’t go chasing the highest temperature setting just because you’re in a hurry; too much heat cooks the flux and leaves you with a brittle, ugly mess.
- Treat your iron like a precision tool, not a hammer; when you’re done, don’t just yank the plug, let it cool down properly so the heating element doesn’t crack under the stress.
The Bottom Line on Doing It Right
Don’t treat your temperature settings like a suggestion; find the sweet spot for your metal and stay there, because chasing the heat is how you end up with a cold, brittle joint.
Keep that tip tinned like your life depends on it, because a clean, coated tip isn’t just about ease of use—it’s about protecting your equipment from the scrap heap.
Stop rushing the process and respect the thermal soak; a bond that’s been given the proper time to settle will outlast any shortcut you try to take.
## Respect the Heat
A soldering iron isn’t just a tool for melting metal; it’s an instrument of patience. If you try to force a connection with a tip that’s too cold or a temperature that’s too high, you aren’t fixing anything—you’re just making a mess that’ll fail the moment you put it to work.
Alistair Fenwick
Putting the Work Together
At the end of the day, a soldering iron is only as good as the person holding it. We’ve covered the essentials: you can’t expect a clean bond if you’re fighting an inconsistent temperature, and you’ll find yourself constantly replacing expensive tips if you neglect the simple habit of tinning. It’s about understanding the relationship between the heat you apply and the metal you’re working with. If you take the time to control your station and respect the life of your tools, you aren’t just fixing a gadget; you’re ensuring that the repair holds up long after you’ve cleared your workbench. Don’t rush the process, because a rushed joint is just a failure waiting to happen.
I know it feels easier to just head down to the hardware store and buy a replacement when something breaks, but there is a real, quiet satisfaction in knowing you have the skills to mend it yourself. When you master these fundamentals, you stop being a consumer and start being a maker. It’s about more than just metal and solder; it’s about a mindset of stewardship and self-reliance. So, keep your tips clean, watch your heat, and remember that true craftsmanship is built one steady connection at a time. Now, get back to the bench and get to work.
Frequently Asked Questions
How do I know if I'm actually using enough heat, or if I'm just cooking the solder and ruining the joint?
It’s a fine line to walk. If the solder flows like water and settles into the joint instantly, you’ve hit the sweet spot. But if you see the solder turning dull, grainy, or looking like it’s “boiling” with tiny bubbles, you’re cooking it. That’s a sign you’ve overheated the metal and oxidized the flux. Slow down. Let the workpiece do the heating, not the iron itself. If it looks scorched, back off the heat.
Is there a real difference between a cheap hobbyist iron and a professional station when it comes to the actual strength of the bond?
Look, if you’re just joining dots on a toy, a cheap iron might get you by. But if you’re looking for a bond that won’t crack under pressure, there’s a world of difference. A hobbyist iron fluctuates like a nervous apprentice; it loses heat the second it touches the metal. A proper station holds steady. That consistent heat ensures the solder actually flows into the joint rather than just sitting on top like a scab.
What's the best way to clean a tip that's gone black and won't take tin anymore?
If your tip has gone black and the solder just beads up and rolls off, you’ve got oxidation buildup. Don’t go hacking at it with a file; you’ll ruin the plating. Grab some brass wool—the kind that looks like a gold sponge—and scrub it while it’s still hot. If that fails, a bit of specialized tip tinner might do the trick. Once it’s bright again, tin it immediately. Don’t let it sit dry.
