I remember standing in a massive industrial shop back in the eighties, watching a young apprentice blow a perfectly good piece of structural steel because he’d grabbed the wrong cutting disc. He thought that as long as the tool was spinning, the job was getting done, but he didn’t realize that using subpar angle grinder accessories is the fastest way to turn a precision project into a pile of wasted scrap. Most folks today think they can just head down to the big-box store, grab the cheapest pack of discs they see, and call it a day. That’s a mistake that’ll cost you more in ruined material and frustration than you’ll ever save in pennies.
I’m not here to sell you on some fancy, overpriced brand name just because it has a shiny label. My goal is to cut through the marketing nonsense and tell you exactly what works when you’re actually under the hood doing real work. I’ll walk you through the grit and the grime of selecting the right wheels, brushes, and flaps so you can stop fighting your tools and start mastering them. We’re going to do this the right way—with patience and precision—so the things you build actually stand the test of time.
Table of Contents
Mastering Abrasive Disc Types for a Precise Cut
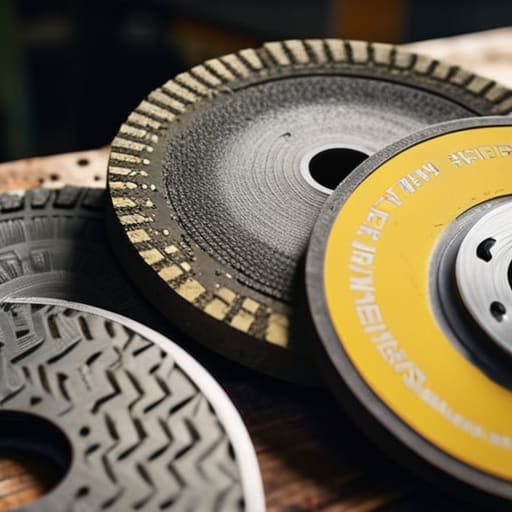
Now, don’t go thinking that every disc in the bin is going to do the same job. If you try to use a heavy-duty grinding disc for fine finishing, you’re going to leave gouges in your workpiece that’ll take you twice as long to fix. You need to understand the different abrasive disc types before you even pull the trigger. For heavy stock removal, you want something thick and aggressive that can handle the heat without crumbling. But if you’re working on something delicate, like restoring an old piece of cast iron, you’ll want to switch over to something much finer.
Once you’ve done the heavy lifting, you shouldn’t just stop there. I always tell my apprentices that the real skill shows in the finish. That’s where you’ll need to reach for your polishing pads for angle grinders to smooth out those transition marks. It’s easy to get impatient and try to skip this step, but if you want a professional result, you have to respect the process. Taking the time to move from coarse to fine is the only way to ensure you aren’t just making a mess of your metal.
Diamond Cutting Blades Built to Endure the Heat
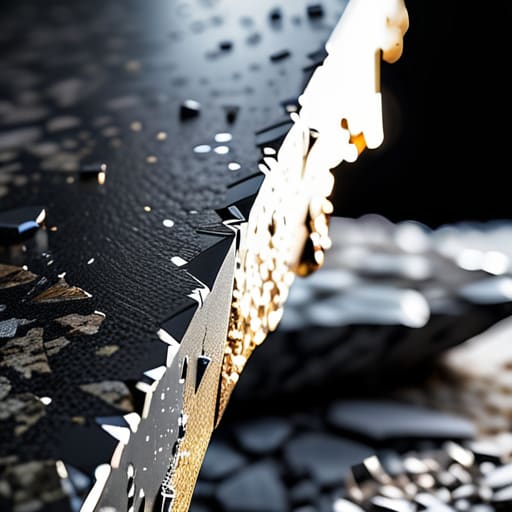
Now, if you’re moving away from standard abrasive disc types and looking to tackle stone, tile, or even some of the tougher masonry, you’re going to need diamond cutting blades. I’ve seen plenty of fellas try to force a standard metal-cutting disc through a piece of granite, and let me tell you, it’s a recipe for a ruined blade and a lot of frustration. Diamond blades aren’t just fancy; they use industrial diamond grit embedded in a metal bond to chew through materials that would turn a regular disc into nothing but dust and sparks.
When you’re selecting one, pay close attention to the segment design. A continuous rim blade is great for a smooth, clean finish on tiles, but if you’re out in the yard cutting through heavy concrete or brick, you want a segmented blade. The gaps between the segments help clear out the debris and keep the heat from building up too fast. Just remember, no matter how high-quality the blade is, you’ve still got to respect your angle grinder safety equipment. A diamond blade can grab a piece of stone and kick back harder than you expect if you aren’t holding steady.
Five Rules of Thumb Before You Pull the Trigger
- Check your RPM ratings every single time. I’ve seen too many young fellas grab a disc meant for a slow drill and slap it on a high-speed grinder; if that disc isn’t rated for the tool’s max speed, it won’t just fail, it’ll shatter like glass and send shards flying toward your face.
- Stop using grinding discs for sanding. A grinding disc is meant to remove heavy material, not to smooth out a surface. If you try to use a coarse grit disc to finish a piece, you’re just going to leave deep gouges that you’ll spend three hours trying to buff out later.
- Invest in a decent flange and nut set. Don’t go reusing those cheap, pitted flanges you find in those bargain-bin accessory kits. A warped or worn-out flange will cause your disc to wobble, and a wobbling disc is a dangerous disc that’ll ruin your precision and your patience.
- Listen to the machine. If you hear the motor bogging down or the pitch of the grind changes to a high-pitched scream, you’re pressing too hard. You aren’t trying to force the metal to move; you’re letting the abrasive do the work. Let the tool do its job, or you’ll burn the motor and the workpiece.
- Keep your accessories dry and clean. If you’re working in a damp shop, make sure your discs aren’t sitting in a puddle of condensation. Moisture can compromise the bonding agents in a disc, and I’d rather not spend my afternoon cleaning up a mess caused by a disc that disintegrated because it was stored improperly.
A Few Things to Remember Before You Pull the Trigger
Stop reaching for the cheapest disc in the bin just to save a couple of dollars; a bad accessory will ruin your workpiece and leave you with more scrap than progress.
Respect the heat, whether you’re using abrasive or diamond blades, because rushing a cut or pushing too hard is the quickest way to warp your metal or crack a blade.
Always match your accessory to the specific material you’re working on, because using the wrong tool for the job isn’t just inefficient—it’s a waste of good steel and your own time.
## The Cost of a Cheap Disc
“A lot of folks think they’re saving money by grabbing the cheapest, most generic disc on the shelf, but they don’t realize they’re actually paying for it in ruined workpiece and wasted afternoon. If you don’t respect the tool and match the accessory to the metal, you aren’t working—you’re just making a mess.”
Alistair Fenwick
Getting It Right the First Time
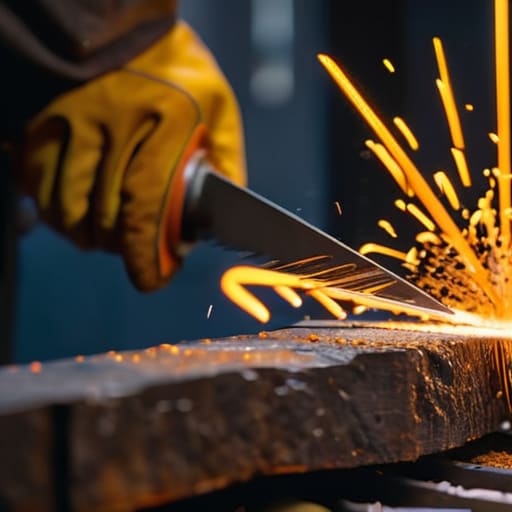
At the end of the day, your angle grinder is only as good as the hardware you bolt onto it. We’ve walked through the grit of abrasive discs and the heavy-duty endurance of diamond blades, but the lesson remains the same: you can’t expect a professional finish if you’re using subpar tools. Whether you’re grinding down a weld or slicing through a thick slab of steel, matching the accessory to the specific material is what separates a clean job from a ruined piece of metal. Don’t be tempted to grab the first cheap disc you see just to get the job done faster. If you take the time to select the right tool for the specific task, you’ll save yourself the headache of wasted material and the frustration of a botched project.
I know it’s tempting to rush through a job when you’re tired or in a hurry, but that’s exactly when mistakes happen. Real craftsmanship isn’t about how fast you can spin a motor; it’s about the patience and precision you bring to the workbench. Treat your tools with respect, keep your accessories sharp, and never settle for “good enough” when you know you can do better. When you stop treating your workshop like a place for quick fixes and start treating it like a place for building things that last, you’ll find a level of satisfaction that no store-bought, disposable item could ever provide. Now, get back to it and do it right.
Frequently Asked Questions
How can I tell if a grinding disc is about to fail or crack before it actually shatters in my hand?
Listen close, because a shattering disc is more than a nuisance—it’s a trip to the emergency room. Before you even pull the trigger, give the disc a proper tap with a wooden handle; if it sounds dull or “thuddy” instead of a clear ring, it’s got internal fractures. Watch for hairline cracks or any chips along the edge, and if the disc looks warped or uneven, toss it. Don’t gamble with your safety.
Is it worth spending the extra money on high-end flap discs, or will a cheap set get the job done just as well?
Look, I’ve seen plenty of fellas try to save a few bucks by buying those bulk packs of cheap flap discs, and they always end up paying for it in frustration. Cheap discs clog up almost immediately, they don’t hold their shape, and you’ll spend twice as much time fighting the metal. Spend the extra money on the high-end stuff. They wear down evenly and actually do the work you’re paying them to do.
When I'm working on thinner sheet metal, how do I pick an accessory that won't warp the piece from too much heat?
When you’re working with thin sheet metal, heat is your biggest enemy. If you use a thick grinding disc, you’re just dumping energy into the metal, and that’s how you get those nasty warps. Stick to ultra-thin cutting discs—the ones around 1mm. They cut faster with less friction. And for heaven’s sake, don’t linger in one spot. Keep the tool moving and let the air cool the piece as you go.
