I remember sitting in my first apprenticeship, staring at a piece of expensive mild steel and feeling that knot in my stomach because my freehand measurements were off by a fraction of an inch. I’d spent three hours prepping the metal, only to realize my cut was crooked, turning a potential bracket into a heap of scrap. Most folks today will tell you that you need to drop a fortune on some fancy, laser-etched digital kit to get things right, but that’s just more noise. The truth is, decent metal-working templates aren’t about how much you spend; they’re about having the discipline to lay down a solid guide before you ever touch a saw or a torch.
I’m not here to sell you on any high-tech gadgets that’ll end up in a junk drawer by next Tuesday. Instead, I’m going to show you how to make your own reliable guides using nothing but scrap material and a bit of common sense. We’re going to focus on the real-world methods that ensure your cuts are clean and your measurements are true every single time. If you’re willing to slow down and do it right, you’ll stop wasting material and start building things that actually last.
Table of Contents
Mastering Accurate Metal Marking Methods Without Rushing
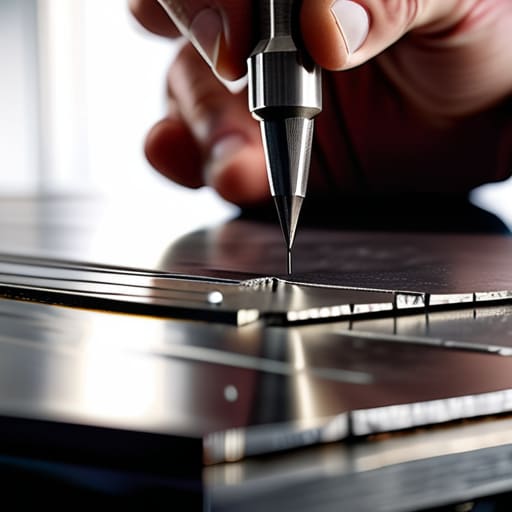
Before you even think about picking up a torch or a shear, you need to get your lines right. I’ve seen too many young lads rush straight into a cut because they think they have a “feel” for it, only to realize ten minutes later they’ve ruined a perfectly good sheet of steel. You can’t eyeball a layout and expect professional results. To get it right, you need to invest in a proper metalworking scribe and dividers. A scribe gives you a line that’s actually part of the metal, not just some faint pencil mark that disappears the moment you get a bit of heat near it.
When you’re working on more complex pieces, your accurate metal marking methods will determine whether the final assembly fits like a glove or requires a hammer to force it together. If you’re doing repetitive work, don’t try to reinvent the wheel every single time; that’s where a well-made physical guide saves your sanity. Take your time to check your measurements twice. I always say, measure twice and cut once, but in my shop, we measure three times just to be sure we aren’t wasting material.
The True Value of Precision Metal Layout Tools
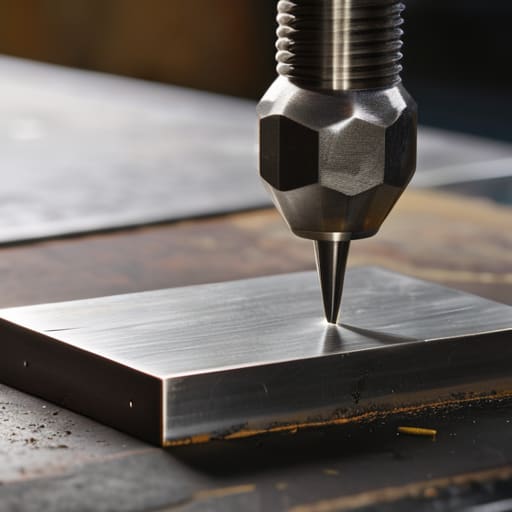
Now, I’ve seen plenty of young fellas walk into a shop thinking they can just eyeball a measurement or use a cheap carpenter’s pencil to mark out a job. That’s a quick way to turn a perfectly good sheet of steel into expensive scrap. When you’re working on serious projects, you need to invest in proper precision metal layout tools. There’s a world of difference between a scratch made by a dull pencil and a clean, etched line from a high-quality metalworking scribe and dividers. A scribe doesn’t just mark the surface; it gives you a physical track to follow, ensuring your cuts stay true even when the material gets heavy or awkward to handle.
Using the right gear isn’t about being fussy; it’s about respect for the material. Whether you’re working on complex sheet metal fabrication techniques or just a simple bracket, your layout is the foundation of the entire build. If your initial marks are off by even a hair, that error is going to travel through every bend, notch, and weld you make. You can’t “fix” a bad layout once the torch is lit. Take the time to set your tools up right from the start.
Five Ways to Make Your Templates Work for You, Not Against You
- Stop using paper for everything. A piece of thin cardstock might work for a quick sketch, but if you’re cutting heavy-gauge steel, you need something substantial like thin sheet metal or even a piece of hard plastic. Paper tears, it warps with the humidity, and it’ll leave you chasing a line that isn’t actually there.
- Check your template against the actual workpiece before you ever touch a torch or a saw. I’ve seen too many young lads trust their layout blindly, only to find out their template was off by a sixteenth because they didn’t account for the thickness of the metal itself. Measure twice, cut once, and verify that template against the raw stock.
- Secure your template properly. A template is useless if it’s sliding around while you’re trying to scribe your lines. Use a bit of blue painter’s tape or even a few small magnets to keep it dead-still. If that template shifts even a hair while you’re marking, you’ve just turned a precision job into a scrap heap.
- Account for the kerf. This is where most folks trip up. Your template shows where the metal should be, but it doesn’t account for the width of the blade or the flame that’s going to eat away at the material. Always leave yourself a little breathing room on the waste side of your line so you aren’t trying to file down a piece that’s already too small.
- Build your templates to be repeatable. If you find yourself making the same bracket or gusset more than twice, don’t just scribble it out on a scrap of wood. Take the time to make a proper, permanent template out of something durable. It saves your eyes, saves your time, and ensures that the tenth piece looks exactly like the first one.
The Bottom Line on Layout and Precision
Never eyeball a cut when a template can do the work; a few minutes spent setting up a proper guide saves you from the headache of wasting expensive stock.
Precision isn’t about being fancy, it’s about being right the first time so you aren’t fighting the metal once the heat or the saw gets involved.
Respect your tools and take your time with the layout, because once you strike that first arc or make that first cut, there’s no undoing a rushed mistake.
## The Cost of a Guess
A template isn’t just a piece of scrap or a drawing; it’s your insurance policy against a wasted afternoon and a pile of ruined steel. If you try to eyeball a layout to save five minutes now, you’ll spend five hours later trying to grind out the mistakes you shouldn’t have made in the first place.
Alistair Fenwick
Putting the Template to Work
At the end of the day, using a template isn’t about being afraid of a mistake; it’s about respecting the material you’ve paid for. We’ve talked about why you can’t skip the marking stage and why having the right layout tools in your hand makes all the difference between a clean cut and a pile of scrap. If you take the time to set your lines correctly and use a solid template to guide your hand, you’re doing half the work before you even pick up the torch or the saw. Remember, precision starts on the layout, not during the cutting. If your foundation is crooked, no amount of grinding or polishing is ever going to make that piece sit true.
I’ve seen plenty of young fellas try to rush through a project just to see the finished product, but they always end up back at the workbench starting over because they skipped these fundamentals. Don’t be one of them. There is a quiet kind of satisfaction that comes from looking at a piece of metal and knowing it’s accurate to a hair because you had the patience to do it right the first time. Build your skills with the same steady hand you use to guide your tools. If you treat your templates with respect, they’ll reward you with work that stands the test of time.
Frequently Asked Questions
If I’m working with thicker gauge steel, should I be using a rigid template or is a flexible one enough to keep my lines true?
When you’re dealing with thicker gauge steel, you’d better stick to a rigid template. A flexible one might seem easier to handle, but once that metal has some real heft to it, any slight deviation in your line is going to cost you. A flimsy template will bow or shift under the weight, and you’ll end up fighting a crooked cut. Use something solid that won’t budge; it saves you the headache later.
How do I stop my template from shifting or sliding right when I'm about to make my first cut?
Listen, that’s a frustration I’ve seen a thousand times. You get your line perfect, you pick up the saw, and suddenly the template’s gone wandering. Don’t just rely on gravity. Use some heavy-duty painter’s tape or even a few small C-clamps to pin it down tight. If you’re working with thinner material, a bit of blue tack can work, too. Just make sure you aren’t clamping so hard you bend the metal itself.
Is it worth the time to hand-draw my own templates for one-off repairs, or should I just invest in a standard set of pre-made guides?
If you’re doing a one-off repair, don’t go throwing money at a pre-made kit you’ll only use once. For a single fix, hand-drawing your own template is the way to go. It forces you to actually look at the piece you’re working on and understand its geometry. Just take your time with the pencil and a steady hand; a custom template built for the specific job at hand will always beat a generic guide.
