I remember a job back in ’84, working on a heavy-duty structural frame for a local mill. Some kid, fresh out of a course and eager to prove himself, decided to run a fillet weld on a butt joint just because he thought it looked “beefier.” He didn’t even bother to prep the edges or account for the gap. When that frame went under load two weeks later, it didn’t just bend; it shattered. That’s the problem with people treating welding joint types like they’re just picking a flavor at an ice cream shop. If you don’t understand how those pieces of metal are actually going to sit against one another, you aren’t building anything—you’re just making a mess that’s destined to fail.
I’m not here to give you some textbook lecture or show you fancy, color-coded diagrams that don’t mean a lick in a real workshop. I’m going to show you how to look at a pile of steel and know exactly which joint is going to hold its ground when the pressure is on. We’re going to strip away the fluff and talk about the real-world application of these joints, so you can stop wasting good material and start building things that actually last.
Table of Contents
- The Truth About Welding Joint Configurations
- Why Proper Metal Fabrication Joint Preparation Matters
- Five Rules to Keep Your Joints from Failing When the Pressure Is On
- The Bottom Line: Don't Let Your Work Fail Before It Even Starts
- ## The Cost of a Lazy Joint
- Final Thoughts Before You Strike an Arc
- Frequently Asked Questions
The Truth About Welding Joint Configurations
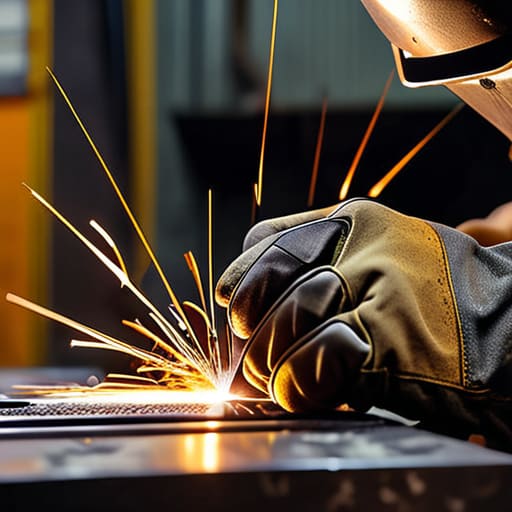
When you sit down at the bench, you need to understand that the way two pieces of steel meet is just as important as the arc you strike. Most folks think they can just butt two edges together and call it a day, but they’re ignoring the fundamental welding joint geometry that keeps a piece from cracking under stress. If your angles are off or your fit-up is sloppy, you aren’t just making a bad weld; you’re creating a failure point that’ll show up the second the load gets heavy.
I’ve seen too many young apprentices try to rush through their metal fabrication joint preparation just to get to the fun part. They leave gaps too wide or edges too blunt, thinking the filler metal will make up the difference. It won’t. You have to respect the physics of how the heat moves through the metal. Getting your welding joint configurations right from the start means you’re building something that can actually withstand the real world, rather than something that just looks decent in a photo.
Why Proper Metal Fabrication Joint Preparation Matters
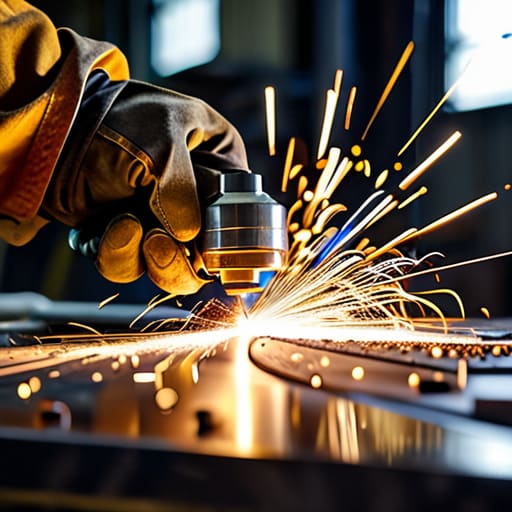
You can have the most expensive welder in the shop and a steady hand, but if you haven’t spent the time on your metal fabrication joint preparation, you’re just making a mess. I’ve seen plenty of young fellas try to rush straight into the arc because they’re eager to see a bead, only to find out later that the weld didn’t penetrate more than a hair deep. When you skip the cleaning, the grinding, or the beveling, you aren’t saving time; you’re just building a failure that’s waiting to happen.
The real secret to a lasting build lies in the welding joint geometry. You need to ensure the edges are shaped in a way that allows the puddle to flow where it’s supposed to go. If your angles are off or your gaps are inconsistent, you’ll struggle with slag inclusions or uneven cooling that compromises the entire piece. It’s about more than just sticking two pieces together; it’s about understanding how those pieces will behave under stress. Do the prep work right the first time, or you’ll be cutting it out and starting over tomorrow.
Five Rules to Keep Your Joints from Failing When the Pressure Is On
- Stop guessing and start prepping. If you’re running a butt joint on thick plate and you haven’t ground a proper bevel into that edge, you aren’t actually welding; you’re just slapping metal on top of metal. You need penetration, or you’ve got nothing.
- Mind the gap, but don’t leave it wide enough to swallow your electrode. A little bit of root opening is necessary for a good bead to sit, but if you leave a massive cavern between your pieces, you’ll spend more time fighting slag and undercut than actually making progress.
- Don’t be lazy with your fit-up. I’ve seen too many young fellas try to use a massive bead to “fill in” a gap where the pieces didn’t meet right. That’s a recipe for internal stress and cracks later on. Get your clamps on and make sure those edges are tight before you even strike an arc.
- Think about the direction of the load before you pick your joint. If you’re building something that’s going to take a heavy shear force, a simple lap joint might look fine on the surface, but it’ll peel apart like a tin can. Match the joint to the job, not to your level of effort.
- Watch your heat input on T-joints. It’s easy to get a decent looking bead on the vertical part, but if you don’t manage the heat properly, you’ll end up warping the base plate or creating a brittle zone right at the corner. Steady hands and a steady heat make for a joint that actually lasts.
The Bottom Line: Don't Let Your Work Fail Before It Even Starts
Stop looking for the easiest way to join two pieces; look for the way that actually handles the stress. A joint that’s easy to weld but weak under load isn’t a success—it’s a mistake you’ll have to grind out and redo.
Respect your prep work. If you’re lazy with the grinder or skip the cleaning, you’re just burying impurities inside your weld, and those inclusions will find their way to the surface when you least expect it.
Slow down and match the joint to the job. Whether it’s a butt weld or a lap joint, every configuration has its purpose, and trying to force a one-size-fits-all approach is the fastest way to waste good steel and your own damn time.
## The Cost of a Lazy Joint
“You can spend an extra ten minutes prepping a proper butt joint or a fillet, or you can spend three hours cutting out a failed weld later because you were too impatient to do it right the first time. In my shop, we don’t weld for the sake of seeing sparks; we weld to make sure the metal stays where we put it.”
Alistair Fenwick
Final Thoughts Before You Strike an Arc
At the end of the day, picking the right joint isn’t some academic exercise you do to pass a test; it’s about knowing how the metal is going to behave once you pull that trigger. We’ve talked about why the preparation matters and how the configuration dictates the strength of the whole piece. If you skimp on the beveling or choose a butt joint where a fillet was needed, you aren’t just saving time—you’re building in a failure point that’ll show up the moment the piece is put under load. Remember, a weld is only as good as the fit-up and the logic behind the design. Don’t let a lack of planning turn a good piece of steel into scrap metal.
I know it can feel overwhelming when you’re staring at a pile of raw stock and a stack of technical manuals, but don’t let the complexity shake you. Real craftsmanship comes from that steady, patient rhythm of measuring twice and cutting once. Every time you take the extra ten minutes to grind a proper edge or clean a joint properly, you’re honoring the material. It’s about more than just sticking two pieces together; it’s about the pride of knowing that what you built today will still be standing strong long after the modern, disposable junk has rusted away. Now, get your hood down and do the job right.
Frequently Asked Questions
How do I know when a butt joint is actually strong enough, or am I just guessing with the bevel?
If you’re guessing with the bevel, you’ve already lost the battle. A butt joint isn’t just about the surface; it’s about penetration. You need to see that weld metal flowing deep into the root of the joint, not just sitting on top like a bead of wax. If you aren’t grinding a proper V-groove to ensure the arc reaches the bottom, you’re just skinning the metal. Don’t trust a shallow weld—it’ll snap the moment it sees real stress.
If I'm working with thinner sheet metal, is there a way to avoid blowing holes through the joint while still getting a decent bead?
When you’re working with thin stuff, you have to stop thinking like a heavy-gauge welder. If you’re just sitting there melting away, you’re going to blow a hole through it every time. Slow your travel speed down, but more importantly, use a “stitch” technique—short, controlled beads with plenty of time to let the heat dissipate. Keep your arc tight and don’t get greedy with the amperage. Patience prevents holes.
When should I stop trying to fix a poorly prepared joint and just cut the piece out and start over?
Listen, I’ve been there—staring at a mess of slag and undercut, praying the bead will cover it. But here’s the truth: if you’ve already ground back to bright metal and you’re still seeing deep pitting or inclusions, stop. You’re just burying mistakes under more metal, and that’s a recipe for a structural failure later. If the base material is compromised or the prep is too far gone, cut it out. Better to lose ten minutes now than a whole project later.
