I remember standing in a fabrication shop back in ’84, watching a young kid try to burn through a thick plate of mild steel with a machine that cost more than his truck. He was convinced that if he just cranked up the amperage and followed some fancy manual, the weld would take. He didn’t realize that most of those modern, high-tech shortcuts are just a way to mask a lack of fundamental skill. People today think they can buy their way into mastery, but no amount of expensive gear is going to substitute for the actual rhythm and feel required to master proper welding techniques.
I’m not here to sell you on some magic gadget or a complicated theory that only works in a textbook. What I’m going to give you is the straight truth, forged from forty years of seeing what holds together and what snaps under pressure. We’re going to talk about the grit and the patience needed to lay a bead that actually means something. My goal is to help you build things that last a lifetime, focusing on the practical habits that separate a real craftsman from someone just playing with sparks.
Table of Contents
Welding Metallurgy Basics Respecting the Soul of the Metal
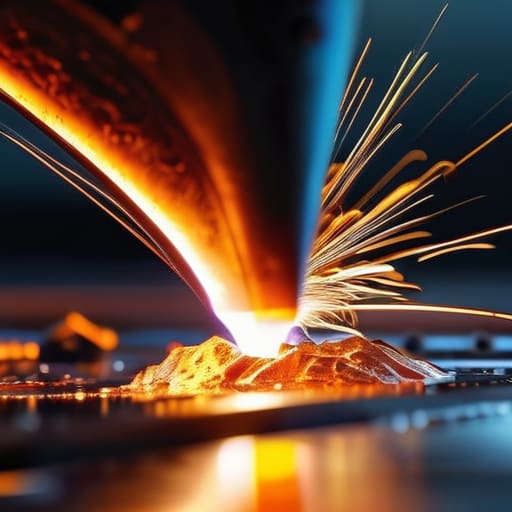
Before you even strike an arc, you need to understand that you aren’t just melting two pieces of scrap together; you’re changing the very nature of the material. When we talk about welding metallurgy basics, we’re talking about how heat alters the grain structure of the steel. If you crank the amperage too high without considering the thickness or the specific alloy, you’ll end up with a brittle, heat-affected zone that’s prone to cracking the moment it cools. I’ve seen many young fellas ruin a perfectly good workpiece because they treated every piece of metal like it was the same.
Every piece of metal has its own temperament. Understanding different welding metal types—whether you’re working with low-carbon mild steel or a finicky stainless—is the difference between a structural bond and a disaster waiting to happen. You have to respect how the metal reacts to the thermal cycle. If you don’t account for the chemistry of the base metal, you’re just fighting against the physics of the shop, and the physics will win every single time. Take your time to identify what’s on your bench before you start pulling the trigger.
The Right Welding Equipment Essentials for a Lasting Build
You don’t need a shop full of every shiny gadget the catalog throws at you, but you can’t build anything worthwhile with bottom-shelf gear that quits when the job gets serious. When I’m setting up a new project, I start with the fundamentals: a stable power source and a reliable ground clamp. If your connection is weak, you’ll spend more time fighting arc instability than actually laying down a bead. Part of your welding equipment essentials is knowing that your machine has to match the job at hand; trying to force a small stick welder to handle heavy plate is a quick way to burn out a transformer and ruin a good piece of steel.
Once the power is sorted, you have to focus on your consumables. I tell my apprentices that welding electrode selection is where the real thinking happens. You wouldn’t pick a tool without looking at the grain of the wood, so don’t pick a rod without understanding the chemistry of your base material. Whether you’re working with mild steel or something more temperamental, the right rod ensures that your fusion is deep and your welding bead appearance stays clean. Get the right match, and the metal will do half the work for you.
Five Rules for a Clean Bead and a Solid Joint
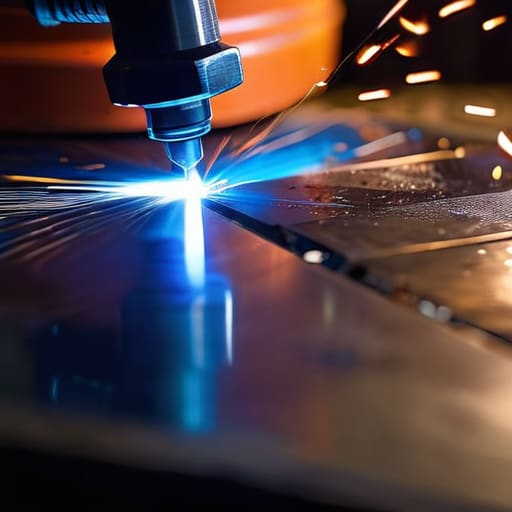
- Watch your travel speed like a hawk. If you move too fast, you’re going to end up with a porous, weak mess that won’t hold a load; if you’re too slow, you’ll burn right through the base material. Find that steady rhythm and stick to it.
- Clean your metal until it shines. I don’t care how much you want to get started—if there’s rust, mill scale, or even a hint of oil on that surface, you’re just inviting slag inclusions and cracks into your weld. A little extra scrubbing now saves a lot of grinding later.
- Respect the puddle, not the arc. Beginners always get mesmerized by the bright light, but the real work is happening in that molten pool of metal. Keep your eyes on where the liquid is flowing, and you’ll find you have much better control over your penetration.
- Don’t skimp on your tack welds. If your fit-up is wonky and you haven’t tacked it down properly, the heat from your main pass is going to pull that metal out of alignment faster than you can blink. Set your pieces true, tack them firm, and then get to work.
- Listen to the sound of your arc. When you’re dialed in correctly, a good stick or MIG weld should have a consistent, steady hum—almost like frying bacon. If it’s popping, sputtering, or sounding erratic, stop what you’re doing and check your settings or your ground.
The Fundamentals to Carry into Your Shop
Never treat the metal like it’s just a piece of scrap; understand its heat properties and metallurgy before you strike an arc, or you’ll end up with cracks you can’t fix.
Invest in quality tools that you can actually maintain, because a cheap machine or a worn-out electrode will only teach you bad habits and ruin a good weld.
Slow down and respect the process—shortcuts in your setup or your technique might save you ten minutes now, but they’ll cost you the entire project in the long run.
## The Truth About a Good Bead
A weld isn’t just a way to stick two pieces of steel together; it’s a conversation between your hand and the heat. If you try to force it or rush through the arc, the metal will tell you immediately by failing where you least expect it. Respect the puddle, watch your travel speed, and remember: a clean, steady bead is worth more than a mountain of filler metal slapped on by someone in a hurry.
Alistair Fenwick
Putting the Torch Down
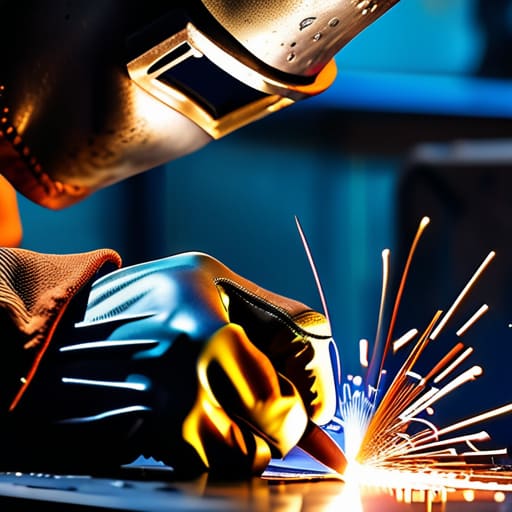
At the end of the day, mastering these techniques isn’t about memorizing a manual or owning the most expensive rig in the shop. It comes down to the basics we’ve talked about: understanding how the heat affects the grain of your steel, choosing the right rod for the job, and setting up your workspace so you aren’t fighting your tools while you’re trying to focus. If you respect the metallurgy and take the time to dial in your equipment, the metal will tell you exactly what it needs. Remember, a clean joint and a steady hand are worth more than any fancy gadget. Don’t try to outrun the process; if the puddle isn’t behaving, stop, adjust, and start again. Precision beats speed every single time.
I know it can feel overwhelming when you’re staring at a pile of scrap and a bright arc, but that’s just part of the learning curve. Every veteran welder you see has spent countless hours burning through bad beads and ruining good material before they finally got it right. Don’t get discouraged by a messy weld or a warped plate; treat every mistake as a lesson written in iron. My advice is to keep your eyes sharp, your hands steady, and your mind on the long haul. We aren’t just joining two pieces of metal together; we are building things that will outlive us. Now, get back to the bench and make something that lasts.
Frequently Asked Questions
How do I know if I'm running too hot and actually changing the properties of the metal instead of just joining it?
Watch your puddle, not just the arc. If the metal starts to look like liquid butter and begins to sag or pull away from the joint, you’re cooking it too hard. You’ll see a wide, washed-out Heat Affected Zone (HAZ) around the bead—that’s where the grain structure is getting cooked and brittle. If the metal changes color drastically or starts to warp under its own weight, back off. You want to join it, not melt it into nothing.
What's the best way to prep my workpieces so I'm not just welding over dirt and mill scale?
If you’re welding over mill scale or grime, you aren’t building; you’re just burying junk under a bead. You’ve got to get down to bright, shiny metal. Grab a flap disc on an angle grinder to strip that scale back, or use a wire wheel if you’re being careful. I always keep a bit of sandpaper handy to smooth out the edges afterward. If it isn’t clean, the weld won’t bite, and you’ll be fixing it tomorrow.
When should I stick to a simple fillet weld versus needing to learn how to lay a proper groove weld for a real structural joint?
If you’re just tacking a bracket onto a non-load-bearing frame, a fillet weld will do the job just fine. But if you’re joining two thick plates that are actually going to carry weight or face tension, you can’t be lazy. You need to prep a groove. A fillet only sits on the surface; a groove weld penetrates deep into the heart of the metal. If the joint is structural, don’t skimp—grind that bevel and get the penetration right.
