I remember sitting in my old shop back in ’84, staring at a heavy-duty vise that had been left out in the rain for a season. I’d spent half my paycheck on some fancy, store-bought chemical spray that promised to make the corrosion vanish like magic, but all it did was turn the mess into a sticky, useless sludge. It’s the same nonsense I see today—folks buying expensive, overpriced gadgets and miracle liquids, thinking they can skip the hard work. Most of these modern “quick-fix” rust removal methods are nothing more than a way to separate a man from his money without actually respecting the metal underneath.
I’m not here to sell you a dream or a bottle of magic juice. What I’m going to give you is the truth, straight from forty years of working with my hands. We’re going to walk through the actual, proven rust removal methods that have stood the test of time, from simple vinegar soaks to the proper way to use a wire brush without gouging your workpiece. I’ll show you how to do it right the first time, so you can stop buying disposable junk and start fixing things that are actually worth keeping.
Table of Contents
Mechanical vs Chemical Rust Removal Respect the Material
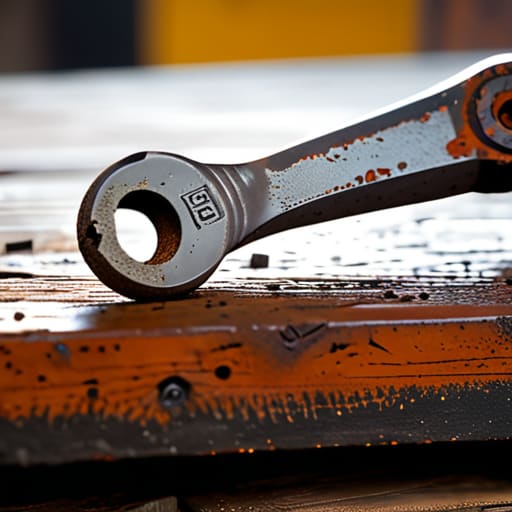
Now, you’re going to run into a fork in the road pretty quickly: do you go at it with muscle, or do you let a liquid do the heavy lifting? When I’m restoring rusted iron tools that have been sitting in a damp shed for decades, I have to decide if the piece can handle the grit. Mechanical removal—using wire brushes, sandpaper, or even a little bit of a flap disc on a grinder—is straightforward. It’s honest work. You can see exactly what you’re doing, and you aren’t introducing any new mess to your shop floor. But you have to be careful; if you’re too aggressive, you’ll strip away the good metal right along with the oxidation.
On the other hand, you’ve got your mechanical vs chemical rust removal debate. Using acidic rust removers can be a godsend for those intricate, pitted areas where a brush just can’t reach. It’s a cleaner way to get into the nooks and crannies, but it’s not a magic wand. If you don’t neutralize the acid properly afterward, you’re just setting yourself up for a fresh coat of orange flakes by next Tuesday. Respect the chemistry as much as you respect the steel, or you’ll end up wasting more time than you saved.
The Truth About Acidic Rust Removers and Wasted Metal
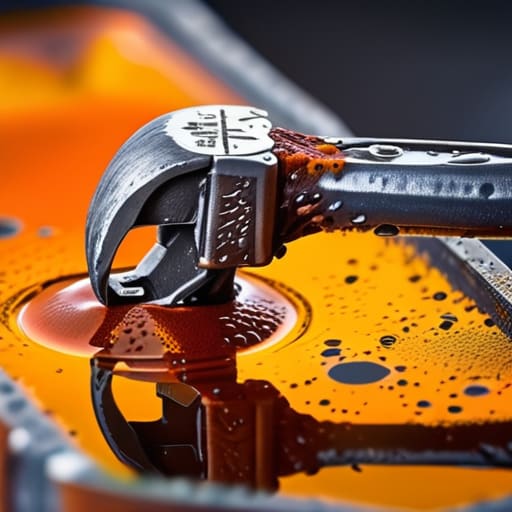
Now, I’ve seen plenty of folks reach for those bottles of acidic rust removers sitting on the shelf at the local hardware store, thinking they’ve found a shortcut. It’s tempting, I get it. You want to dunk a tool in a bath and have it look brand new in twenty minutes. But here’s the trouble: those acids don’t just eat the oxidation; they’re hungry for the good metal underneath, too. If you aren’t careful with your timing, you’ll end up with a piece that’s pitted and structurally compromised. You aren’t just cleaning the tool; you’re thinning the very soul of the steel.
When you’re restoring rusted iron tools, you have to remember that once that acid eats into the grain, there’s no putting it back. It’s a one-way street. If you do decide to go the chemical route, you’d better have a plan for neutralization immediately afterward, or you’ll find yourself fighting a new layer of flash rust before you’ve even wiped it dry. Personally, I’d rather spend an extra hour with a wire brush and some elbow grease than risk turning a family heirloom into a piece of Swiss cheese.
Five Rules to Live By Before You Start Scrubbing
- Test your surface first. I’ve seen too many folks pour a bucket of vinegar or a harsh chemical over a piece of metal only to realize they’ve just etched the finish they were trying to save. Dip a small, inconspicuous corner first to see how the metal reacts before you commit the whole piece.
- Don’t go hunting for the deepest pits with a heavy grinder. If you’re working on something vintage or cast iron, a high-speed grinder is going to eat through your good metal faster than the rust ever did. Use a fine wire brush or a soft abrasive if you want to keep the integrity of the original surface intact.
- Neutralize everything. If you decide to use a chemical soak, you can’t just rinse it with water and call it a day. You have to stop the reaction. Whether it’s baking soda for an acid soak or a specific neutralizer, if you leave even a trace of that stuff behind, the rust will come crawling back by next Tuesday.
- Dry it like your life depends on it. Moisture is the enemy. After you’ve cleaned the metal, don’t just let it air dry on the workbench. Use a rag, a heat gun, or even a hair dryer to make sure every single microscopic crevice is bone dry before you even think about applying an oil or a primer.
- Seal it immediately. The second you get that metal clean and dry, it’s vulnerable. I always keep a tin of paste wax or a decent quality oil within arm’s reach. You want to coat that surface while it’s still “naked” to prevent the oxygen in the air from starting the whole cycle all over again.
The Bottom Line on Keeping Your Metal Clean
Stop looking for the fastest way out; whether you’re using a wire brush or a soak, the goal is to preserve the healthy metal underneath, not just strip the surface down to nothing.
Treat acids with respect—they’re tools, not magic potions—and if you don’t neutralize them properly, you’re just setting yourself up for a deeper, nastier layer of rust next week.
Always match your method to the piece in front of you, because what works for a heavy-duty wrench is going to ruin a delicate piece of antique cast iron every single time.
## The Cost of a Shortcut
“You can either spend an afternoon respecting the metal with a wire brush and some patience, or you can spend a week trying to fix the pitting and surface damage caused by a cheap chemical soak you rushed through. In this shop, we don’t trade integrity for speed.”
Alistair Fenwick
Respect the Process, Protect the Metal
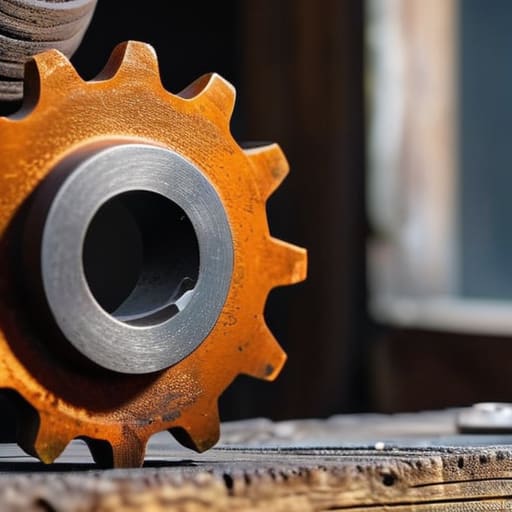
At the end of the day, there isn’t one magic solution that works for every piece of iron sitting on your workbench. If you’re working on a delicate antique, you’ll want to stay far away from those harsh, aggressive acids that eat through the good metal along with the rot. Stick to the mechanical methods or mild, controlled chemicals when you need to be surgical. But remember, the most important tool in your shop isn’t your grinder or your soak tank—it’s your judgment. If you can tell the difference between surface oxidation and deep pitting before you start, you’ve already won half the battle. Don’t let a desire for speed turn a simple restoration into a permanent mistake.
I know it’s tempting to just throw a piece of junk in a bucket of something strong and call it a day, but that’s not how we do things here. Real craftsmanship is about understanding the relationship between the tool and the material. When you take the time to strip that rust properly and seal the surface correctly, you aren’t just cleaning a tool; you’re preserving a legacy. There is a profound kind of satisfaction in taking something the world deemed scrap and making it whole again. So, keep your workspace clean, keep your eyes sharp, and never rush the work.
Frequently Asked Questions
If I use a wire brush on my antique cast iron, am I going to strip away too much of the seasoned surface?
Now, slow down a second. If you take a stiff wire brush to that antique cast iron, you’re playing a dangerous game. You might get the rust off, but you’ll likely tear right through that hard-earned seasoning along with it. If you’re determined to use one, stick to a soft brass brush and keep it light. Honestly, I’d rather see you use some coarse salt and a bit of elbow grease. Respect the patina.
How can I tell if the rust has actually been removed or if I've just covered it up with a layer of grime?
You can’t trust a quick glance or a wipe with a greasy rag; that’s how mistakes happen. The real test is the touch and the light. Run your fingers over the surface—if it feels pitted or uneven, you’ve still got work to do. I always use a bright shop light to check for shadows in the grain. If you see any dark spots or orange tinting under a clean cloth, that rust is still biting.
Once the metal is clean and bare, what's the best way to seal it so the oxidation doesn't just crawl right back on tomorrow?
Once you’ve got that metal clean and bare, you’re in a race against the air itself. If you leave it sitting, it’ll flash rust before you can even finish your coffee. For cast iron, I swear by a thin, even coat of oil—flaxseed or even plain mineral oil—and a bit of heat to drive it in. For steel tools, a good paste wax works wonders. Just seal it tight and don’t let it breathe.
