I remember standing in a drafty fabrication shop back in ’84, watching a young apprentice try to force a bend in a thick piece of mild steel by cranking up the torch way past what the material could take. He thought more heat meant faster results, but all he did was ruin the grain and waste a perfectly good sheet. That’s the problem with how people talk about metalworking techniques these days; they make it sound like you just need a fancy, computerized welder or a pile of expensive gadgets to get the job done. The truth is, most of those high-priced shortcuts are just ways to hide a lack of fundamental understanding.
I’m not here to sell you on some shiny new tool that promises to do the thinking for you. What I’m going to do is walk you through the actual, honest-to-god methods that have kept my hands busy for forty years. We’re going to focus on the kind of metalworking techniques that rely on patience and precision rather than brute force or expensive mistakes. If you’re willing to put in the work and respect the material, I’ll show you how to build things that actually stay built.
Table of Contents
Forging Character Through Metal Forming and Shaping
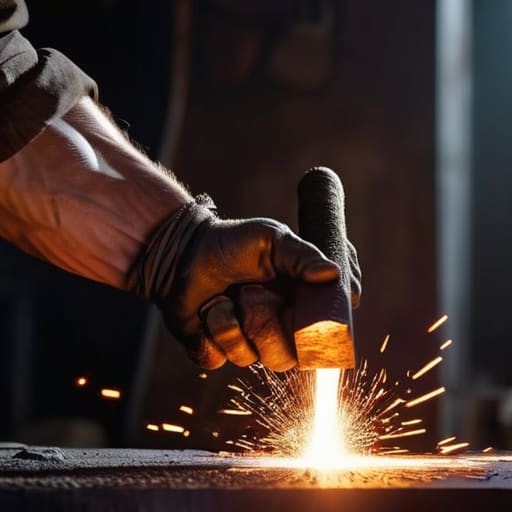
When you step up to the anvil, you aren’t just changing the shape of a piece of steel; you’re learning how to listen to it. Metal forming and shaping isn’t about brute force or swinging a hammer like you’re trying to kill a pest. It’s about heat management and rhythm. If you get the temperature wrong, the metal will fight you, or worse, it’ll crack right under your nose. I’ve seen plenty of young fellas try to force a bend when the steel is too cold, and all they end up with is a ruined workpiece and a bruised ego.
You have to understand that every strike is a conversation. You’re moving mass from one place to another, and if you don’t respect the grain of the material, you’ll lose control. It takes patience and a steady hand to coax a flat bar into a curve that looks intentional rather than accidental. It’s a slow process, and it’s easy to get impatient when you just want to see the finished product, but you can’t skip the middle steps. If you don’t get the form right at the forge, no amount of grinding later will save the soul of the piece.
Welding and Brazing Methods That Never Quit
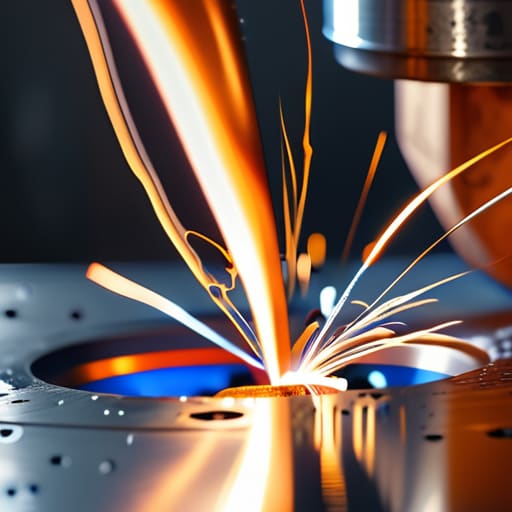
Now, when we talk about joining pieces together, you have to understand that a weld isn’t just a bead of metal slapped onto a seam; it’s a marriage of two parts. I’ve seen too many young fellas try to rush through their welding and brazing methods just to get to the finish line, only to have the joint crack the first time it sees any real stress. If you’re doing a structural repair, you need deep penetration and a clean base. I always tell my apprentices: clean your metal twice as much as you think you need to. If there’s oil, rust, or scale in that puddle, you aren’t building something that lasts; you’re just making a mess.
Brazing is a different animal entirely, requiring a bit more finesse and a steady hand with the torch. It’s less about melting the base metal and more about using capillary action to pull that filler into the joint. It’s a slower process, sure, but when you do it right, it creates a bond that respects the integrity of the original piece. Whether you’re working within complex industrial metal fabrication workflows or just fixing a garden gate in your shed, patience is your most important tool. Don’t let the heat dictate your pace; you dictate the heat.
Five Rules to Keep Your Work From Ending Up in the Scrap Bin
- Listen to the metal. When you’re at the anvil or working a torch, the material talks to you through vibration and color. If the ring of the hammer changes or the glow looks off, stop. You’re either pushing too hard or your heat is wrong, and forcing it is the quickest way to crack a piece you’ve spent hours on.
- Clean your joints like your reputation depends on it. I’ve seen too many young folks try to weld over mill scale or old oil just to get the job done faster. It doesn’t work. If that surface isn’t bright and clean, you aren’t making a bond; you’re just making a mess that’ll fail the first time it sees any real stress.
- Respect the cooling process. Just because you’re finished shaping doesn’t mean the job is done. If you take a piece straight out of the forge and dunk it in a bucket of cold water without thinking, you’re asking for internal stresses and brittle metal. Let it cool naturally or follow a proper tempering cycle; patience is a tool just like any hammer.
- Measure twice, but check a third time. There’s an old saying in the shop that a minute spent verifying a measurement saves an hour of grinding away mistakes. Don’t trust your eyes or your first mark—grab your calipers and make sure that layout is dead-on before you ever lay a bead or strike a blow.
- Maintain your tools better than you maintain yourself. A dull chisel or a chipped hammer face isn’t just an inconvenience; it’s a safety hazard and a precision killer. I keep a small bit of sandpaper in my pocket for quick fixes, but if a tool isn’t performing, don’t fight it. Sharpen it, fix it, or get a better one.
The Shop Floor Essentials
Don’t let the tools do the thinking for you; whether you’re striking an anvil or pulling a trigger on a welder, you need to feel the metal’s reaction to every move you make.
Respect your materials by preparing them properly, because trying to force a fix on dirty or poorly prepped metal is just a fast way to ruin a good piece of stock.
Invest your time in learning the fundamentals of heat control and structural integrity, because a job done right the first time is always cheaper than doing it twice.
The Soul of the Shop
A machine can follow a program, but it can’t feel when the steel is getting tired or when the heat is just right; that’s where the craft lives—in the space between your eyes and your hands.
Alistair Fenwick
The Long View from the Workbench
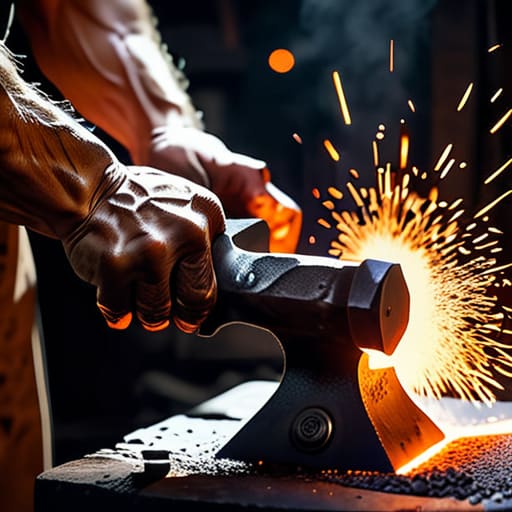
At the end of the day, whether you’re shaping a piece of hot steel on the anvil or fusing two plates together with a steady weld, it all comes down to the same thing: respect for the material. We’ve covered a lot of ground, from the heavy-handed work of forming and shaping to the delicate, precise science of welding and brazing. If you try to bypass the fundamentals or rush through a cooling cycle because you’re in a hurry, you’ll see it in the finished piece—a crack, a warp, or a joint that won’t hold. Remember, precision isn’t something you do once at the end; it’s something you practice with every single strike of the hammer and every inch of the bead.
I know the world outside my garage is moving toward things that are meant to be thrown in a landfill the moment they break, but that doesn’t have to be your way. When you pick up a tool, you aren’t just making an object; you’re reclaiming a bit of lost competence. It takes patience, and your hands might ache more than they used to, but there is a deep, quiet satisfaction in knowing that what you’ve built can stand the test of time. So, keep your tools sharp, keep your eyes on the heat, and never settle for “good enough” when you could be making something that lasts.
Frequently Asked Questions
How do I know when the metal is actually at the right temperature for forging versus just looking hot?
You can’t just rely on your eyes; color is a liar once you get used to the glow. A bright cherry red might look ready, but it’s often too cold for heavy moving. You’re looking for that bright, lemon-yellow heat that seems to vibrate. If you aren’t sure, tap it with a hammer. If it rings clear, it’s too cold. If it thuds or feels “mushy,” you’re getting close.
If I'm working on a vintage piece, how can I tell if a weld is going to compromise the integrity of the original material?
You have to look at the grain and the history of the metal. If you’re dealing with old wrought iron or high-carbon steel, a modern, high-heat MIG weld is like bringing a sledgehammer to a glass house. Check for pitting, scale, or signs of previous repairs. If the metal feels brittle or looks unevenly weathered, you’re better off using a brazing method or a low-heat TIG setup. Don’t cook the life out of it.
What's the best way to clean up a rough weld without grinding away all the strength of the joint?
You’ve got to be careful there. If you go at it with a heavy grinding wheel, you’ll strip the meat right off the joint and leave you with nothing but a weak, thin bead. Instead, grab some flap discs or a fine-grit sanding belt. Work slowly, following the contour of the weld rather than trying to flatten it into the base metal. You want a smooth finish, not a structural compromise.
