I remember sitting in my first apprenticeship, staring at a pile of ruined iron and wondering why my mentor looked more disappointed in me than the metal itself. I had tried to force a bend before the steel was even ready, thinking I could outwork the physics of the forge. That’s the first mistake most folks make when they start looking into blacksmithing basics; they think it’s about brute strength or owning the most expensive power hammer on the market. Truth is, if you don’t learn to listen to the color of the heat, you’re just making expensive scrap metal.
I’m not here to sell you a shiny, pre-packaged kit or some complicated theory you can’t use when your hands are covered in soot. What I’m going to give you is the straight talk I wish someone had handed me forty years ago. We’re going to strip away the nonsense and focus on the actual fundamentals of the craft—the kind of knowledge that stays with you long after the coals go cold. I promise to show you how to work with the material, not against it, so you can build things that actually last.
Table of Contents
Choosing Your Types of Forge Fuel Without Wasting Time
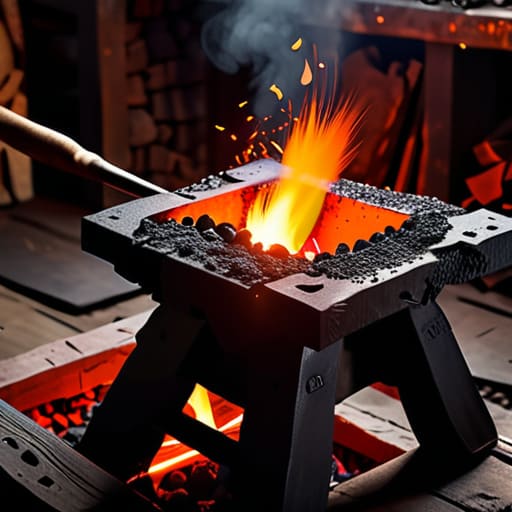
When you’re first setting up your corner of the world, you’ll realize pretty quickly that what you burn matters just as much as what you strike. Most folks think you can just throw any old scrap in the fire and get to work, but that’s a fast way to ruin a good piece of steel. If you’re looking into different types of forge fuel, you’ve really only got two real paths: coal or coke. Now, coal is the old-school way, and it’ll give you a hell of a lot of heat, but it’s messy and produces a lot of sulfur. If you aren’t careful, that sulfur can get into your metal and make it brittle.
Coke is a bit cleaner and more predictable for a beginner blacksmithing workshop setup, but it’s getting harder to find these days. Some of the newer crowd are even moving toward propane, which is clean and easy to control, but you lose that traditional “feel” of managing a coal bed. Regardless of what you pick, remember that controlling your heat is the difference between a clean bend and a piece of scrap. Don’t go buying cheap, dirty fuel just to save a few bucks; you’ll pay for it in wasted material every single time.
A Beginner Blacksmithing Workshop Setup Built for Real Work
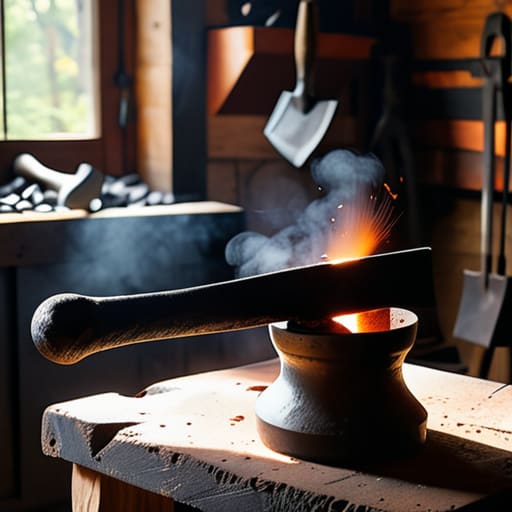
Now, don’t go thinking you need a massive industrial shed to get started. I’ve seen plenty of fellas spend a fortune on fancy machinery before they’ve even struck a single spark, and it’s a crying shame. A proper beginner blacksmithing workshop setup is really about layout and logic. You need a solid, heavy anvil bolted down or resting on a stump that won’t budge when you’re working, a reliable forge, and enough ventilation so you aren’t breathing in every bit of coal dust and scale. Keep your workspace organized; if you’re tripping over your tongs or searching for your hammer in the middle of a heat cycle, you’re asking for trouble.
Safety isn’t just a suggestion—it’s the foundation of everything we do. Before you even think about heating up your first piece of stock, make sure you’ve got your blacksmithing safety precautions sorted. I’m talking about a clear fire extinguisher, proper eye protection, and heavy-duty leather aprons. You want to be focused on the rhythm of the hammer and the color of the metal, not worrying about a stray spark catching your sleeve. Build your shop to be a place of precision, not a chaotic mess.
Five Rules to Keep You From Ruining Good Steel
- Listen to the color of the heat. You can’t just rely on your eyes, but you’ve got to learn the difference between a dull cherry red and that bright, glowing orange that tells you the metal is ready to move. If you start hammering when it’s too cold, you aren’t shaping it—you’re just cracking it.
- Don’t get too attached to your first strike. A lot of beginners go at it like they’re trying to kill a wasp, swinging heavy and fast. You need a controlled, rhythmic strike. It’s about precision, not brute force. If you’re sweating more from frustration than from the heat, you’re swinging too hard.
- Keep your tools clean, or they’ll make your work a mess. I’ve seen too many young lads leave scale buildup on their tongs or their anvils. If you don’t brush that oxidation off, you’ll end up embedding grit into your workpiece, and then you’re spending more time grinding than you should have spent forging.
- Respect the anvil, but don’t treat it like a magic wand. An anvil is a tool, not a substitute for skill. Learn where your sweet spots are—the face for flat work and the hardy hole for specialized tasks. If you just bash everything on the flat, you’re going to end up with a piece of metal that’s more crooked than a country road.
- Always have a bucket of water and a quench tank ready. It sounds simple, but if you get caught mid-process without a way to manage your temperatures, you’ll end up with a piece of steel that’s either too brittle to use or too soft to hold an edge. Work prepared, or don’t bother starting at all.
The Bottom Line Before You Strike the Iron
Don’t go buying every fancy gadget you see in a catalog; focus on getting a solid fuel source and a workspace that actually lets you move without tripping over your own feet.
Respect the tools you’ve got by setting them up right the first time, because a disorganized shop is just a fast track to making expensive mistakes.
Remember that real craftsmanship isn’t about speed, it’s about having the right foundation so you aren’t fighting your equipment every time you light the forge.
The Truth About the Hammer
You can buy the most expensive anvil in the shop, but it won’t teach you a damn thing; real blacksmithing isn’t about the tools you own, it’s about the patience you have to listen to the steel tell you when it’s ready to move.
Alistair Fenwick
Getting Your Hands Dirty
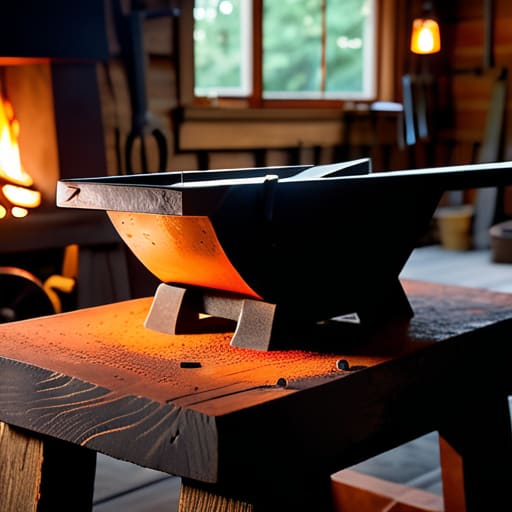
Now, don’t go thinking that just because you’ve picked out your fuel and cleared a corner of the garage, you’re ready to forge a masterpiece. We’ve covered the ground you need to stand on—getting the right heat from your fuel and setting up a shop that actually works for you instead of against you. But remember, all that equipment is just dead weight if you don’t approach it with the right mindset. You’ve got to respect the tools, keep your workspace organized, and most importantly, never rush the process. If you try to skip the fundamentals of a proper setup, you’ll spend more time fixing your mistakes than you ever would have spent doing it right the first time. Build your foundation solid, or you’ll find yourself fighting your own anvil more than the steel.
At the end of the day, blacksmithing isn’t about how fast you can swing a hammer or how much smoke you can kick up in the shop. It’s about the quiet satisfaction of taking a raw, stubborn piece of iron and coaxing it into something useful through sheer patience and steady hands. There’s a certain kind of peace you find in the rhythm of the work, a way of thinking that stays with you long after you’ve quenched the metal and wiped down your tools. So, grab your apron, check your airflow, and get to work. Stop reading about it and start feeling the heat; that’s the only way you’re ever going to truly learn the craft.
Frequently Asked Questions
How do I know if I'm getting the steel too hot and about to burn it?
Watch the color closely. You’re looking for that bright cherry red or orange glow, but the moment you see tiny sparks dancing off the surface, stop. Those sparks are actually bits of the steel oxidizing and literally burning away. If the metal starts looking “sparkly” or starts thinning out like it’s dissolving, you’ve pushed it too far. Once you burn the carbon out of that steel, it’s dead to you. Don’t let it happen.
What’s the difference between using mild steel and something more specialized like tool steel for my first projects?
Look, if you’re just starting out, stick to mild steel. It’s forgiving, it’s cheap, and it won’t punish you every time your hammer strike is a bit off. It’s great for learning how the metal moves. Tool steel is a different beast entirely—it’s harder, more temperamental, and if you mess up the heat treatment, you’ve just turned expensive scrap into a paperweight. Master the basics on mild steel before you start playing with the heavy hitters.
Do I really need a heavy anvil to start, or can I get by with something lighter while I'm still learning the swing?
Look, I’ve seen folks try to make do with a piece of railroad track or a heavy hunk of scrap, and it’s a recipe for frustration. You can get by with something lighter while you’re finding your rhythm, but don’t go buying some cheap, hollow novelty from a big-box store. You need mass to absorb the shock. If the anvil doesn’t stay put when you swing, you’re just fighting the tool instead of the steel.
