I can still smell the burnt oil and ozone from that old fabrication shop in ’84, the kind of place where the floor was permanently slick and the air felt heavy. I remember a young apprentice—bright kid, but far too impatient—trying to force a notched piece of steel into a cheap, cast-aluminum bench vise he’d bought online. I watched in slow motion as the jaws groaned, the mounting bolts started to stretch, and then, with a sickening crack, the whole thing gave way, sending his workpiece flying across the room like a projectile. That’s the danger of treating your tools like disposable junk; when it comes to using a metal vise, you aren’t just holding a piece of metal, you’re anchoring your safety.
I’m not here to sell you on some fancy, over-engineered setup that costs more than your first truck. What I want to do is teach you how to respect the tool you actually have in your hands. I’m going to walk you through the real-world mechanics of using a metal vise properly, from selecting the right jaw protectors to knowing exactly when to stop turning that handle. We’re going to focus on precision and stability, ensuring that when you put your weight behind a cut or a file, the metal stays exactly where it belongs.
Table of Contents
- Achieving Bench Vise Stability for a Lasting Foundation
- Vise Pressure Adjustment Dont Crush What You Mean to Shape
- Five Rules of Thumb to Keep Your Work (and Your Fingers) Intact
- The Bottom Line on Working with Your Vise
- ## The Vise is Your Anchor
- Respect the Tool, Respect the Work
- Frequently Asked Questions
Achieving Bench Vise Stability for a Lasting Foundation
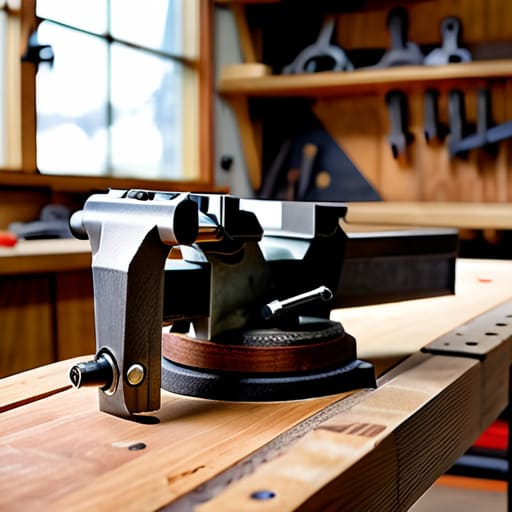
If your workbench is rocking every time you strike a blow, you aren’t working; you’re just fighting your own setup. True bench vise stability starts long before you ever tighten a screw. I’ve seen too many young fellas bolt a heavy vise onto a flimsy, hollow-core table, only to wonder why their measurements are off by a fraction. You need a solid, heavy timber bench—something that has the mass to absorb the vibration. If the foundation is soft, the metal will move, and once the metal moves, you’ve already lost the battle for precision.
Once you’ve got a steady base, you have to think about how you’re actually holding the material. If you’re working on something delicate, don’t just clamp down with the raw steel teeth. I always keep a set of soft jaws for precision work nearby—usually made of aluminum or hard rubber—to prevent marring the surface. When you’re securing workpieces for grinding, you need that extra layer of defense. It’s not just about keeping the part from flying across the shop; it’s about making sure the tool you’re working on stays true to its original shape.
Vise Pressure Adjustment Dont Crush What You Mean to Shape
One of the biggest mistakes I see young fellas make is treating the handle like a way to win a strength contest. You aren’t trying to squeeze the life out of the metal; you’re just trying to hold it steady. If you crank that screw down until your knuckles turn white, you’re asking for trouble. You’ll end up marring the surface of your material or, even worse, warping a thin piece of stock through sheer force. Learning proper vise pressure adjustment is about finding that sweet spot where the piece stays put, but isn’t being strangled.
If you’re working with something delicate—maybe a piece of brass or a polished aluminum component—you shouldn’t be relying on those raw steel teeth alone. That’s where you need to get smart with soft jaws for precision work. I always keep a set of aluminum or copper jaw inserts in my drawer. They take the brunt of the force so your workpiece doesn’t have to. It’s a simple bit of foresight that saves you from a lot of frustration and wasted scrap later on. Measure twice, tighten once.
Five Rules of Thumb to Keep Your Work (and Your Fingers) Intact
- Watch your jaw alignment. If you’re clamping something unevenly, you’re going to twist the workpiece or, worse, bend the vise’s internal screw. Make sure those jaws are meeting square and true before you start putting any real muscle into the handle.
- Use soft jaws when the job calls for it. I don’t care how much you love the look of raw steel; if you’re working on a finished piece or something delicate, wrap it in a bit of scrap leather or use aluminum jaw inserts. Don’t leave your mark on something that’s supposed to be finished.
- Keep the throat clear. It’s easy to let metal shavings and grit pile up in the bottom of the vise, but that’s a recipe for a scratched surface or a jammed mechanism. Give it a quick brush out with a stiff brush every now and then to keep the movement smooth.
- Don’t use a pipe for extra leverage. I’ve seen plenty of young fellas try to cheat the physics of a stuck screw by sliding a steel pipe over the handle. You’ll end up snapping the screw or stripping the threads, and then you’re left with a very expensive paperweight.
- Check your mounting bolts regularly. A vise is only as steady as what it’s bolted to. If you feel the whole bench shuddering when you strike a piece, your mounting isn’t tight enough. A loose vise is just a waste of energy and a hazard to your precision.
The Bottom Line on Working with Your Vise
A vise is only as good enough as the bench it’s bolted to; if your foundation wobbles, your precision goes right out the window.
Learn the difference between a firm grip and a crushed workpiece—you’re there to shape the metal, not destroy it.
Take the time to clean your screw and grease the tracks regularly, because a seized vise is just a heavy, useless hunk of iron.
## The Vise is Your Anchor
“A vise isn’t just a tool you clamp things in; it’s the steady hand you don’t have. If your foundation is wobbling or your grip is loose, you aren’t fabricating—you’re just fighting the metal, and the metal always wins that fight.”
Alistair Fenwick
Respect the Tool, Respect the Work
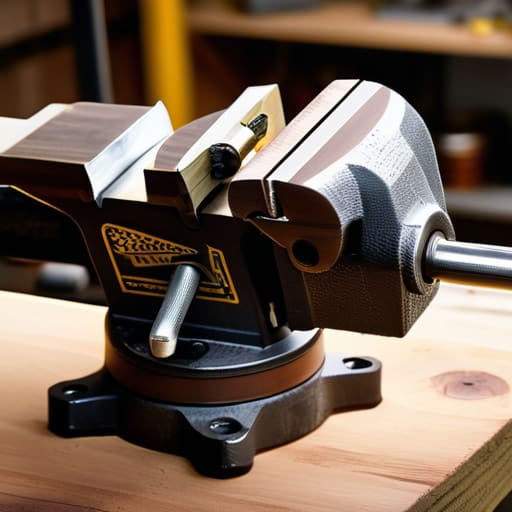
At the end of the day, using a metal vise isn’t just about clamping something down so it doesn’t move; it’s about setting the stage for everything else you do. If you’ve taken the time to ensure your bench is rock-solid and you’ve learned the delicate balance of applying enough pressure to hold without crushing the workpiece, you’ve already done more than most. A vise is the foundation of your shop, and if that foundation is shaky or your technique is sloppy, your precision will suffer every single time you pick up a hammer or a file. Don’t let a cheap setup or a rushed job undermine the hours you put into your craft.
I’ve seen plenty of young folks come into the shop thinking they can bypass the fundamentals with fancy power tools, but they always end up coming back to me when their work warps or their parts slip. Real skill is built on the basics—the steady grip, the controlled pressure, and the patience to do it right the first time. Treat your tools with respect, and they’ll reward you with a lifetime of reliable service. Remember, we aren’t just moving metal around; we are building things that last. Now, get back to your bench and make sure your grip is true.
Frequently Asked Questions
How do I know if my vise jaws are getting too worn down to hold a workpiece securely?
You’ll know when you see the teeth losing their bite. Take a close look at the serrations on those jaw faces. If they look rounded off—like they’ve been smoothed over by years of hard work—or if the workpiece starts sliding even when you’ve got it clamped tight, they’re shot. If you can feel the metal slipping under pressure, don’t just tighten it harder; that’ll only mar your stock. It’s time to swap in some fresh jaw plates.
Is it worth investing in a heavy-duty swivel vise, or will a standard fixed bench vise do the job for most repairs?
Look, if you’re just tightening a bolt on a lawnmower, a fixed vise is fine. But if you’re planning on doing any real shaping or heavy-duty repair, get the swivel model. Being able to rotate your workpiece without wrestling the whole bench or losing your footing is worth every extra cent. A fixed vise limits your angles, and when you’re fighting a piece of stubborn steel, you don’t want to be fighting your setup, too.
What's the best way to clean and grease the screw mechanism so it doesn't seize up after sitting in the shop for a while?
Don’t just slap a glob of grease on there and call it a day; that’s a quick way to turn your screw into a gritty mess. First, get a stiff wire brush and some solvent to scrub out all that old, dried-up gunk and metal shavings. Once it’s clean, wipe it dry. I use a decent lithium grease or a heavy cutting oil. Apply it thin, work the handle until it moves smooth, and wipe off the excess.
