I remember my first real day in the shop, standing before a massive, soot-stained anvil that looked more like a mountain than a tool. The air was thick with the scent of coal smoke and hot iron, and every time my hammer struck, the vibration rattled my teeth right down to my jawbone. I spent hours that afternoon just trying to find the rhythm, realizing quickly that using an anvil isn’t about how hard you can swing; it’s about listening to the steel. If you aren’t tuned into that ring, you’re just making noise and wasting your energy.
I’m not here to sell you on some fancy, high-tech forging setup or a thousand-dollar hammer that promises magic results. What I’m going to give you is the straight truth, built from forty years of bruised knuckles and scorched aprons. I’ll show you how to master the basic fundamentals so you can stop fighting your metal and start commanding it. We’re going to focus on the proper technique and the patience required to do things right the first time, because if you don’t respect the tool, the tool won’t respect you.
Table of Contents
Understanding Anvil Anatomy and Parts to Avoid Wasted Steel
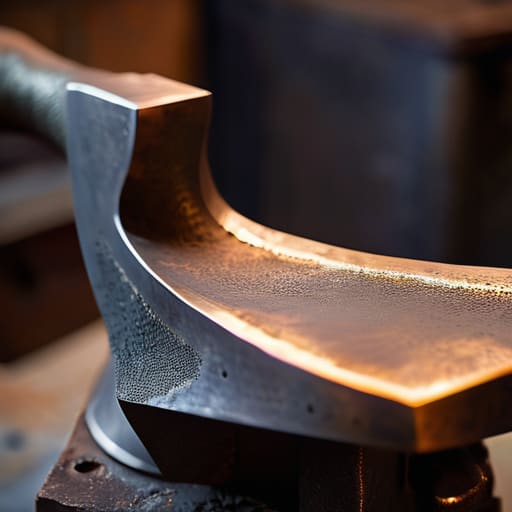
Before you even pick up a hammer, you need to know what you’re standing in front of. Most folks look at an anvil and just see a heavy hunk of iron, but if you don’t understand anvil anatomy and parts, you’re going to fight the tool instead of working with it. The flat top, or the face, is where the real work happens. It’s designed to be level and hard so your steel doesn’t get dented by the tool itself. If you start trying to flatten a piece on the horn, you’re going to have a bad time; that tapered end is meant for curves and bends, not for your primary striking surface.
Then you’ve got the heel and the hardy hole. The heel is that rear corner, useful for quick, small taps, while the hardy hole is a lifesaver for holding specialized tools steady. I’ve seen too many beginners try to force a shape by swinging wildly, but true hot metal manipulation requires you to respect these specific zones. If you treat the anvil like a generic workbench, you’ll end up with uneven metal and a lot of wasted effort. Learn the layout, and the steel will follow.
Mastering Anvil Face vs Horn Usage for Lasting Results
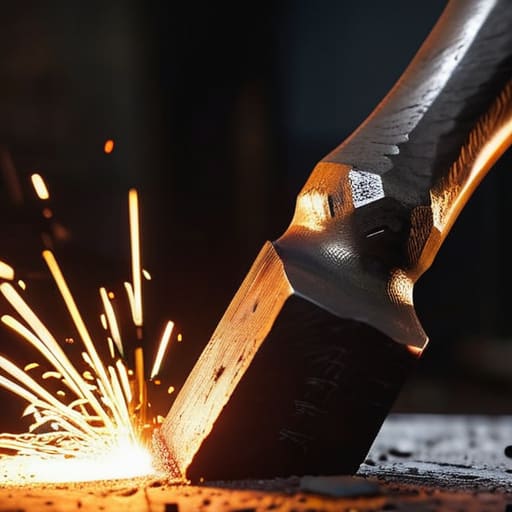
Now, once you’ve got a handle on the anatomy, you need to know where to actually land your blows. The flat, top surface—the face—is your bread and butter. This is where you do your heavy lifting, flattening out edges and shaping the bulk of your work. When you’re practicing your blacksmithing hammer techniques, you want to aim for the center of that face to keep the vibrations even. If you start drifting toward the edges, you’re going to get a messy, uneven finish that’ll take twice as long to grind down later. Don’t fight the steel by hitting the edge; stay centered and let the weight of the hammer do the work.
The horn, on the other hand, is a completely different beast. It’s there for your curves, your bends, and those tight radii that a flat face just can’t manage. When you’re working on hot metal manipulation, you’ll find yourself wrapping a piece around that horn to create a taper or a ring. Just remember: the horn isn’t a substitute for a proper die. If you try to force a shape that’s too large for the curve, you’ll just end up with a distorted mess. Use the horn for intention, not out of laziness.
Five Rules to Keep Your Work Honest and Your Steel True
- Watch your striking point. If you start banging on the edge of the face instead of the center, you’re going to nick that steel or, worse, you’ll start working the anvil itself. Keep your blows centered to maintain a flat, reliable surface for the long haul.
- Don’t ignore the sound. A good anvil should sing when you hit it. If you strike it and hear a dull thud instead of a clear ring, you’ve either got a crack in the metal or you’re hitting it with a lazy, sloppy stroke. Listen to what the steel is telling you.
- Mind your anvil height. I’ve seen too many young fellas hunching over like they’re trying to hide from the sun. Set your anvil so your elbow is at a right angle when your arm is hanging naturally. If you’re fighting your own posture, you’re going to tire out before the metal is even shaped.
- Respect the pritchel hole. It’s there for a reason—usually for punching holes or supporting certain shapes—but don’t go treating it like a secondary work surface. Using it improperly is a quick way to ruin the integrity of the anvil’s center.
- Clean your surface regularly. I keep a bit of sandpaper in my pocket for a reason. A bit of scale or rust on the face might seem minor, but it’ll leave marks on your workpiece that you’ll spend hours trying to grind out later. A clean face makes for a clean job.
The Bottom Line on Working the Steel
Treat your anvil like a partner, not a block of iron; if you don’t respect its anatomy, you’ll end up fighting the metal instead of shaping it.
Stop trying to force every bend on the horn; use the flat face for your heavy work to keep your edges true and your material from thinning out prematurely.
Patience beats speed every single time—watch your heat levels closely, because once you’ve ruined a piece by striking it too cold, you’ve wasted more than just your time.
## The Rhythm of the Metal
An anvil isn’t just a heavy block of iron to beat things on; it’s a partner that tells you exactly how much heat you’ve got left and how hard you’re pushing. If you stop listening to the ring of the hammer, you’ve already lost the battle with the steel.
Alistair Fenwick
Respect the Iron
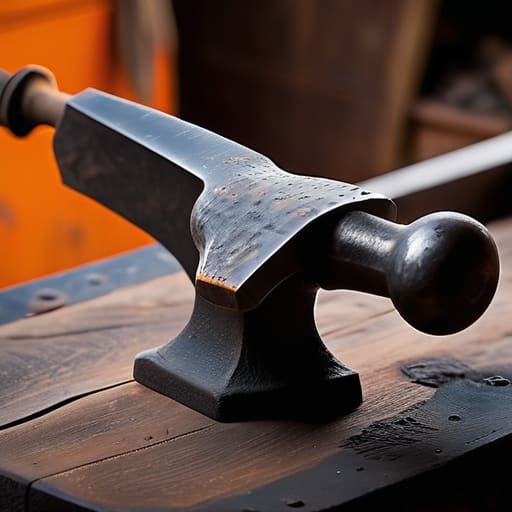
At the end of the day, using an anvil isn’t just about hitting metal; it’s about understanding the tool beneath your hammer. You’ve learned that the face is your primary workspace for precision, the horn is for your curves, and the hardy hole is where the real specialized work happens. If you try to force a shape using the wrong part of the anvil, you aren’t just making a mess of the piece—you’re putting unnecessary stress on the steel and potentially damaging your equipment. Remember, every strike should be intentional. If you aren’t sure where the blow should land, stop, step back, and look at the geometry again. Don’t rush the hammer, because a single misplaced strike can undo an hour of careful heating.
I’ve spent forty years in shops filled with the ring of steel, and if there is one thing I’ve learned, it’s that the anvil is a partner, not an enemy. It requires patience, a steady hand, and a respect for the physics of the craft. When you finally get that rhythm down—that perfect marriage between the heat of the forge and the weight of the hammer—you’ll feel it. It’s a connection to every blacksmith who came before us. So, get out into your shop, clear off the scale, and start practicing. Build something that can stand the test of time, and remember that true craftsmanship is earned one strike at a time.
Frequently Asked Questions
How do I know if my anvil is actually sound, or if I'm working on a piece of scrap with hidden cracks?
You don’t want to find out your anvil is cracked when you’re halfway through a critical bend. First, give it a good, sharp ring with a hammer. A healthy anvil sings; a cracked one thuds or sounds dead. If you’re still unsure, grab a can of soapy water and a bright light. Work your way along the face and horn looking for hairline fractures. If it looks like a spiderweb under the soap, it’s scrap.
What’s the right way to secure an anvil so it doesn't jump or chatter every time I strike it?
If your anvil is jumping or chattering, you’re losing energy that should be going into the steel. Stop fighting the tool and start securing it. The best way is a heavy, solid stump—oak or maple works well—and you need to drive wedges between the anvil and the wood to lock it tight. If you’re working in a smaller shop, a heavy-duty steel stand bolted to the floor is your next best bet.
Is there a specific way to clean and protect the face of the anvil so I don't ruin my finish or get rust on my workpiece?
Listen, don’t go reaching for those harsh chemical strippers or abrasive grinders; you’ll ruin the flatness of the face faster than you can say “wasted steel.” If you’ve got surface rust, a bit of fine emery cloth or a wire brush is plenty. Once it’s clean, wipe it down with a thin coat of boiled linseed oil or a dedicated tool wax. It keeps the moisture off without leaving a greasy mess on your workpiece.
