I remember sitting in a cramped fabrication shop back in ’84, watching a young apprentice toss a perfectly serviceable tungsten electrode into the scrap bin just because the tip wasn’t shaped exactly like the picture in some glossy manual. He was convinced that buying the most expensive, color-coded variety was the only way to get a clean arc, but he was just throwing money away on hype. Most folks today treat these little rods like they’re some kind of magic wand that’ll fix a bad technique, when the truth is, a fancy electrode won’t save a welder who doesn’t respect the metal.
I’m not here to sell you on the latest high-priced gimmick or some complicated theory that doesn’t hold up under a real arc. What I want to do is show you how to actually read your tungsten and understand why it’s behaving the way it is. I’ll walk you through the practical side of selecting, grinding, and maintaining your tungsten electrode so you can stop wasting material and start building things that actually last.
Table of Contents
- A Proper Tungsten Electrode Color Coding Guide
- Understanding Essential Non Consumable Electrode Properties
- Five Ways to Stop Wasting Your Tungsten and Your Time
- Bottom Line: Don't Let a Bad Electrode Ruin a Good Weld
- ## The Cost of a Shortcut
- Getting It Right the First Time
- Frequently Asked Questions
A Proper Tungsten Electrode Color Coding Guide
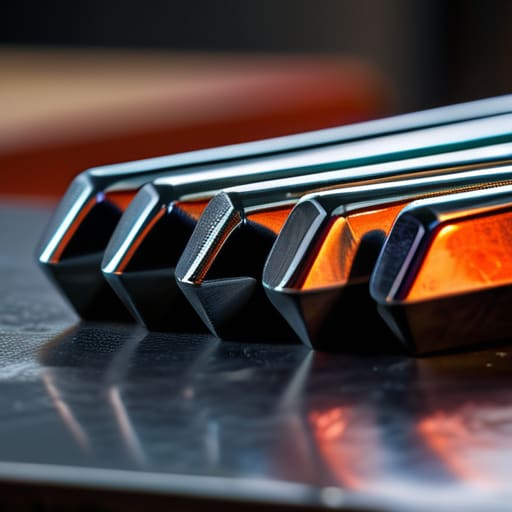
Now, don’t go thinking those colors on the end of your rods are just for show or to make the box look pretty. In a real shop, that color tells you exactly what you’re working with before you even strike an arc. If you’re grabbing a rod off the shelf, you need to know if you’re looking at pure tungsten for AC welding on aluminum, or something with additives for DC work on steel. Using the wrong one isn’t just a minor mistake; it’ll mess with your arc stability and electrode selection, leaving you fighting a wandering arc instead of focusing on your puddle.
Most folks I see starting out get tripped up when choosing between thoriated vs lanthanated tungsten. The red-tipped thoriated rods have been the old reliable for DC welding for decades, but they do have a bit of radioactivity to them that I’m not a fan of grinding down in my small studio. That’s why I’ve leaned more toward the lanthanated options lately. They give you a similar performance on steel and stainless without the headache, and they play much nicer when you need to switch over to AC. Just make sure you know your metals before you start grinding, or you’ll be wasting good material faster than you can burn through it.
Understanding Essential Non Consumable Electrode Properties
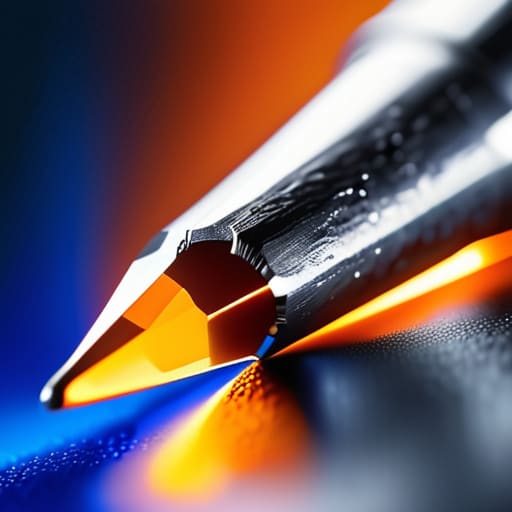
Now, once you’ve got your colors sorted, you need to look past the label and understand the actual physics of what’s happening at the tip. It isn’t just about picking a color from a chart; it’s about how that metal reacts when the current starts flowing. When we talk about non-consumable electrode properties, we’re really talking about how well that tip can handle the heat without melting into your weld pool. If you choose a material that can’t withstand the amperage you’re pulling, you’ll face nothing but frustration and a mess of inclusions.
A huge part of this comes down to arc stability and electrode selection. A good electrode should give you a tight, predictable arc that doesn’t wander like a lost dog. If your arc is jumping or sputtering, you’re likely fighting a mismatch between your machine settings and your tungsten type. I’ve seen many young lads ruin a perfectly good piece of stainless because they didn’t realize their electrode was going to soften too quickly under high load. Take the time to match your material to your task; it’s the only way to ensure a clean, professional bead every single time.
Five Ways to Stop Wasting Your Tungsten and Your Time
- Stop treating your grinder like a blunt instrument. When you’re prepping a new tip, you need to grind that taper long and smooth, not just a short, jagged nub. If you leave those concentric grind marks uneven, your arc is going to wander all over the place, and you’ll spend the next twenty minutes fighting the puddle instead of making a clean bead.
- Don’t go chasing the “perfect” color code if you don’t actually know what the metal in front of you is. I’ve seen plenty of young lads grab a green 2% lanthanated because it’s “versatile,” only to realize they’re trying to weld something that needs a much heavier thoriated tip. Know your base metal first, then pick your tool.
- Keep a close eye on your tungsten’s tip during a long run. The second you see that tip start to ball up or get contaminated by a bit of stray metal, stop what you’re doing. You can try to power through it, but you’ll just end up with a messy, unstable arc that’ll ruin the integrity of the weld. It’s better to take a thirty-second break to regrind than to spend an hour grinding out a bad joint.
- Watch your heat management like a hawk. If you’re running high amperage and you let that tungsten get way too hot, you’re going to change its crystalline structure. Once that happens, it won’t hold a point like it should, and you’ll find yourself constantly re-sharpening. It’s a waste of good material and a waste of your patience.
- Clean your tungsten every single time you switch between different metals. If you just finished welding some stainless and you jump straight into aluminum without cleaning that electrode, you’re going to carry those contaminants right into your next weld. It only takes a second to wipe it down or give it a quick pass on the grinder, so don’t be lazy about it.
Bottom Line: Don't Let a Bad Electrode Ruin a Good Weld
Stop treating tungsten like it’s disposable; take the time to grind a clean, consistent point because a poorly prepared electrode will contaminate your weld puddle and waste good metal.
Match your electrode type to your current and material every single time, because guessing on the color coding is a shortcut that leads to nothing but arc instability and frustration.
Keep a close eye on your electrode’s tip during the job, as a rounded or contaminated end is your first sign that you’re pushing your settings too hard or using the wrong material for the task.
## The Cost of a Shortcut
“You can buy the cheapest tungsten in the shop to save a few cents, but you’ll pay for it ten times over in contaminated welds and wasted time. A good electrode isn’t an expense; it’s the foundation of a clean bead, and if you don’t respect the tip, the metal won’t respect your work.”
Alistair Fenwick
Getting It Right the First Time
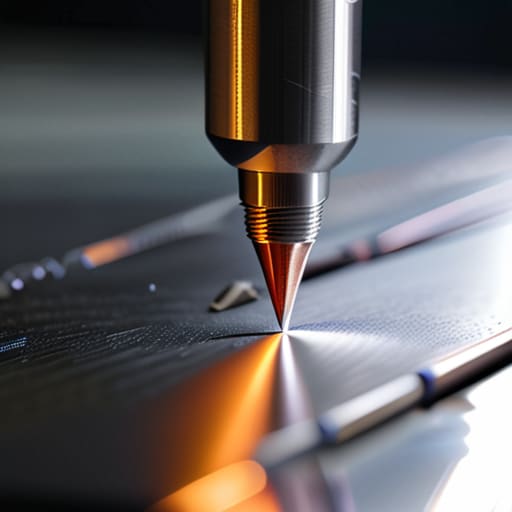
At the end of the day, choosing your tungsten isn’t just about picking a color from a chart or grabbing the first rod in the bin. It’s about understanding how that specific alloy is going to react when you pull the trigger. You’ve got to match the material to the current, respect the color coding, and keep a sharp eye on those electrode properties we talked about. If you ignore the small details—like using a heavy-duty thoriated rod for a delicate TIG job—you aren’t just making your life harder; you’re sacrificing the integrity of the weld. Take the time to prep your tungsten properly, keep your grind consistent, and treat your consumables with the same respect you give your workpiece.
I know it can feel like a lot of technical fuss for something that’s basically just a piece of metal, but that’s where the difference between a hack and a craftsman lies. Real skill isn’t found in how fast you can finish a job, but in the patience you show during the setup. When you master these fundamentals, you stop fighting your machine and start working with it. Don’t settle for “good enough” just to save five minutes. Build your skills, respect the metal, and aim to create something that stands the test of time. That’s how you turn a simple repair into a piece of work you can actually be proud of.
Frequently Asked Questions
How often should I actually stop what I'm doing to regrind my tungsten instead of just pushing through with a dull tip?
Look, I’ve seen enough ruined welds to know that “pushing through” is just a fancy way of saying you’re making a mess. Don’t wait until your arc starts wandering or your penetration looks like Swiss cheese. If you notice the arc getting unstable or the tip looking rounded and blackened, stop. Take five minutes to regrind it properly. It’s better to lose five minutes now than to waste a whole sheet of expensive alloy later.
If I'm working on a thin piece of stainless steel, am I going to run into trouble if I use a heavy-duty electrode meant for thicker plate?
You’re asking the right questions, but you’re headed for a headache if you don’t adjust. If you try to run a beefy, heavy-duty electrode on thin stainless, you’re going to struggle to control that arc. It’s like trying to paint a fine miniature with a house brush; you’ll end up blowing holes straight through your workpiece before you can even get a bead started. Scale back the diameter and match the electrode to the metal’s thickness.
What's the best way to tell if I've contaminated my electrode mid-weld without wasting a whole new piece of material?
Stop the arc immediately. Don’t try to “power through” a bad weld; you’ll just bury the filth deeper into your workpiece. Take the torch off and look at the tip. If you see black soot, tiny beads of metal stuck to the point, or if the arc starts dancing erratically like it’s lost its mind, you’re contaminated. Pull it out, grab your grinder, and regrind that tip back to clean metal. It’s better to spend two minutes grinding than ten minutes fighting a mess.
