I remember sitting in a cramped fabrication shop back in ’84, watching a kid try to hide a massive pocket of porosity by just running another bead right over the top of it. He thought he was saving time, but he was really just building a ticking time bomb. That’s the problem with the way things are done lately; people see metal welding defects and think they can just mask them with more filler or a quick pass with the grinder. They treat the metal like it’s something disposable, forgetting that if a joint fails, it’s not just the project that’s ruined—it’s the integrity of the work itself.
I’m not here to give you some sanitized, textbook lecture that sounds like it was written by someone who’s never even struck an arc. I want to talk about what actually happens when things go sideways in the real world. I’m going to show you how to spot the difference between a bead that looks pretty and one that’s actually sound, and more importantly, how to fix it properly the first time. We aren’t going to cut corners here; we’re going to learn how to build things that actually stay together.
Table of Contents
The Hidden Costs of Common Welding Flaws and Causes
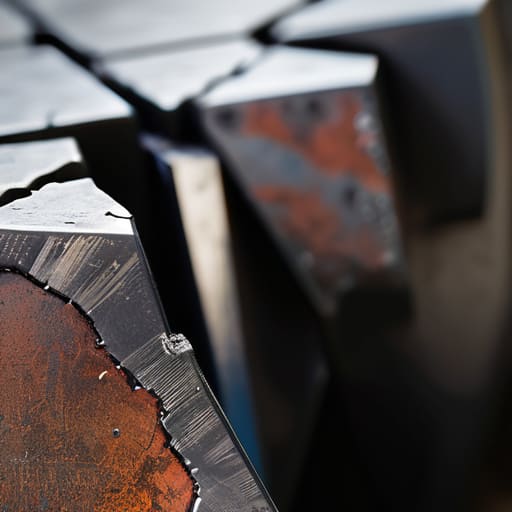
Most folks think the real cost of a bad weld is just the time spent grinding it back down, but they’ve got it backwards. The true expense shows up later, when a piece of equipment fails in the field or a structural joint snaps under a load it should have handled easily. When you ignore common welding flaws and causes like porosity or lack of fusion, you aren’t just saving time; you’re gambling with the weld joint integrity of the entire project. I’ve seen enough cracked frames and snapped brackets to know that a “good enough” bead today is just a liability waiting to happen tomorrow.
If you want to avoid these headaches, you have to treat your setup with respect. A lot of these issues stem from poor preparation—dirty metal, improper gas flow, or even just a shaky hand. Instead of waiting for a failure to tell you something is wrong, you need to implement some basic arc welding troubleshooting right at the bench. Check your settings, clean your base metal until it shines, and don’t be afraid to stop and reset if the puddle isn’t behaving. Doing it right the first time is always cheaper than fixing a disaster.
Ensuring Weld Joint Integrity Before It Is Too Late
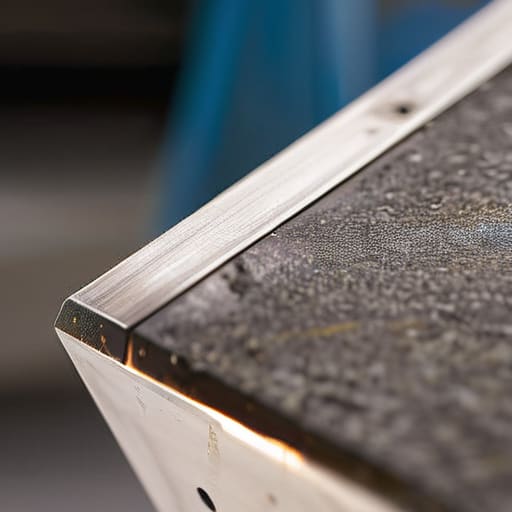
Before you even strike an arc, you need to be looking at your prep work with a critical eye. Most folks think the job starts when the machine hums, but that’s where the real trouble begins. If your bevels aren’t clean or your fit-up is sloppy, you’re essentially inviting failure into your joint. I’ve seen too many apprentices try to bridge a gap that’s too wide with sheer volume of filler, but that’s a fool’s errand. You have to ensure your weld joint integrity starts with a surface free of mill scale, rust, and grease. Take the extra ten minutes to grind and clean; it’s much easier than trying to fix a porous mess later.
Once you’re actually running beads, you can’t just rely on your eyes alone. You need to implement some basic welding quality control measures right at the bench. This means watching your travel speed like a hawk and listening to the arc. If the sound changes or the puddle behaves erratically, stop. Don’t just keep pushing through a bad run hoping it’ll blend in. If you’re working on something critical, don’t be afraid to use a dye penetrant or other simple non-destructive testing welding methods to check for surface-level issues before the metal cools and the cracks set in.
Five Ways to Keep Your Welds from Becoming Scrap Metal
- Watch your heat like a hawk. If you’re running too hot, you’ll burn through the base metal or cause excessive distortion; if you’re too cold, you’ll end up with lack of fusion. It’s a fine line, and you won’t find it by rushing.
- Clean your work twice before you even strike an arc. I don’t care how shiny the metal looks; if there’s a hint of oil, rust, or mill scale in that joint, you’re begging for porosity. A clean start is the only way to get a clean bead.
- Don’t be lazy with your travel speed. If you move too fast, your bead will be thin and weak, often leading to undercut where the metal is eaten away at the edges. Slow down and let the puddle do the work it’s supposed to do.
- Mind your angle and your technique. If you aren’t maintaining a consistent electrode angle, you’re going to get uneven penetration or slag inclusions trapped inside the weld. If the puddle isn’t behaving, stop, reset, and check your position.
- Listen to the arc. A good weld has a steady, predictable sound—like frying bacon. If it starts popping, sputtering, or sounding erratic, something is wrong with your settings or your gas coverage. Don’t just push through it; stop and fix the cause.
The Bottom Line on Doing It Right
Don’t try to hide a bad weld under more filler; if the bead is porous or cracked, grind it back to clean metal and start over, or you’re just building a failure.
Respect your prep work as much as the weld itself—clean surfaces and proper fit-up are what actually keep a joint from failing down the road.
Slow down and watch your heat; rushing through a job to save ten minutes is the fastest way to warp your material and waste a perfectly good piece of steel.
## The Price of a Shortcut
“A bad weld isn’t just a mistake on a piece of steel; it’s a lie you’re telling yourself about the strength of your work. You can try to bury a flaw under a fresh bead of metal, but gravity and time don’t care about your ego—they’ll find that weakness every single time.”
Alistair Fenwick
Doing It Right the First Time
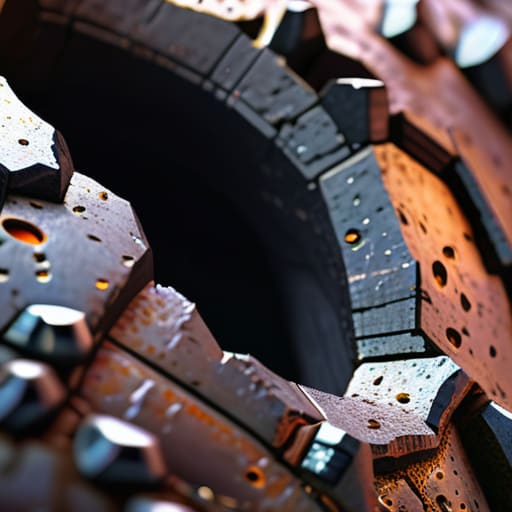
At the end of the day, spotting a bit of porosity or a weak penetration isn’t just about checking off a box on a technical sheet; it’s about understanding that every flaw is a sign of a process gone wrong. Whether you’re dealing with slag inclusions because you rushed the cleaning or undercut because your travel speed was too high, the lesson is always the same: the metal doesn’t lie. You can try to hide a bad bead under a layer of grinding, but you haven’t actually fixed the problem, and you’ve certainly compromised the structural integrity of whatever you’re building. Take the time to grind it out, find the root cause, and start fresh.
I’ve spent more years than I care to admit staring at welds, and if there’s one thing I’ve learned, it’s that patience is just as important as your amperage settings. We live in a world that wants everything done yesterday, but a weld that holds for fifty years wasn’t built in a hurry. When you step up to the bench, don’t just aim to finish the job; aim to master the craft. There is a deep, quiet satisfaction in knowing that the piece you just finished isn’t just held together, but is built to endure long after you’ve turned off the machine and walked away.
Frequently Asked Questions
If I find a bit of porosity in a bead I just laid down, is it better to just grind it out now or can I bridge it over with another pass?
If you see porosity, don’t you dare try to bridge it over. That little pocket of gas is a trap; if you just lay another bead on top, you’re just burying a weakness that’ll eventually crack under stress. Stop what you’re doing, grab your grinder, and clean that mess out until you hit solid, clean metal. It feels like a setback, but grinding it out now is much cheaper than replacing a failed part later.
How can I tell if my heat settings are actually the problem, or if I've just got a dirty workpiece that's going to ruin the weld regardless?
Look, it’s a common trap. If your bead looks like Swiss cheese or you’re getting heavy spatter, stop and look at the metal itself. If there’s any rust, oil, or even a fingerprint, that’s your culprit—no amount of amperage will fix a dirty surface. But, if the metal is spotless and you’re still getting poor penetration or a weak, cold bead, then you’re likely running too low on heat. Clean it first; then adjust.
When I'm working on older, salvaged steel, how do I know if those tiny surface cracks are just age or if they're going to cause a catastrophic failure in the joint?
When you’re dealing with salvaged steel, you can’t just take its word for it. If those cracks look like they’re just sitting on the surface—like a bit of oxidation or a scratch from a previous tool—you might be okay after a good cleaning. But if they’re branching out like a spiderweb or feel deep under your fingernail, walk away from the welder. Grind a bit of the area down; if the crack keeps showing its face, it’s structural. Don’t gamble with it.
