I remember standing in a client’s workshop back in ’88, watching a young lad try to force a heavy steel bracket into a piece of seasoned oak using nothing but brute force and some cheap, hardware-store screws. The wood groaned, the metal buckled, and within a week, the whole assembly had split wide open. It’s a common sight these days; people treat metal-to-wood joints like they’re just slapping two things together with glue and luck, forgetting that wood moves and metal stays stubborn. If you don’t respect how those two materials interact, you aren’t building anything—you’re just making a mess that’ll need fixing later.
I’m not here to sell you on some fancy, overpriced jig or a complicated system that requires a degree in aerospace engineering. What I want to do is show you how to do this right, the way we used to do it when things were actually built to stay put. I’ll walk you through the proper ways to seat your fasteners and account for seasonal expansion so your metal-to-wood joints remain rock solid for decades. We’re going to focus on the fundamentals: patience, the right fit, and knowing exactly when to stop hammering.
Table of Contents
Accounting for Thermal Expansion Coefficient Differences
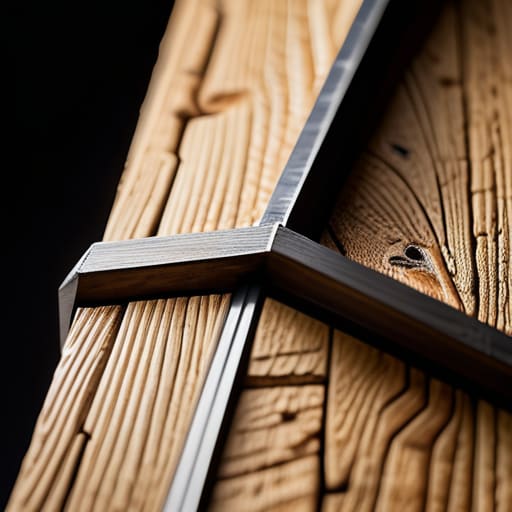
Now, here is where most folks run into trouble when they’re working with two different mediums. You have to respect that metal and wood don’t play by the same rules when the temperature shifts. Metal is a restless thing; it grows and shrinks with the heat in a way that timber just doesn’t match. If you pin a steel bracket too tight against a piece of oak without giving it some breathing room, you’re asking for trouble. You need to account for those thermal expansion coefficient differences before you even pick up your drill. If you don’t, that metal will act like a slow-motion wedge, eventually cracking your workpiece right down the grain.
I’ve seen plenty of beautiful builds fail because the maker ignored the structural integrity of composite connections. If you’re using heavy-duty bolts to marry a thick steel plate to a hardwood beam, don’t just crank them down until they’re seated. Leave a bit of play, or better yet, use slotted holes in your metalwork. This allows the components to move independently without fighting one another. It’s about working with the natural movement of the materials, not trying to bully them into staying still.
Ensuring Long Term Fastener Corrosion Resistance
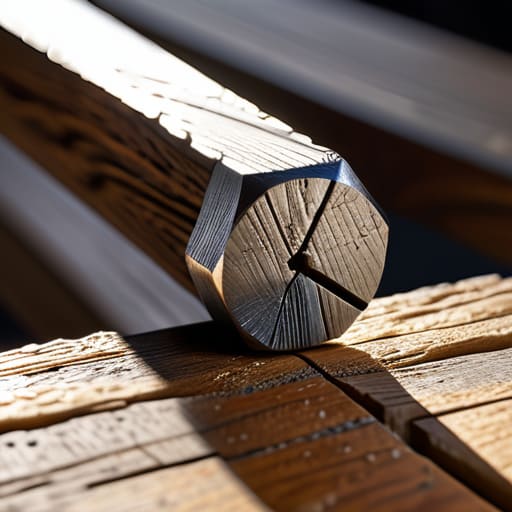
Now, once you’ve accounted for how the materials move, you have to think about what’s actually holding them together when the weather turns. It’s a common mistake to grab whatever galvanized bolt is lying on the workbench and call it a day. If you’re joining steel to a piece of oak that’s going to sit near a damp exterior wall, you’re asking for trouble. You need to prioritize fastener corrosion resistance from the jump. I always tell my apprentices: if the metal eats itself, the whole connection fails, regardless of how tight you torqued it.
I prefer using stainless steel or high-quality brass for these types of projects, especially when moisture is a factor. You don’t want some nasty oxidation bleeding into the grain of the wood, staining it permanently. Beyond just the material choice, pay attention to how the fastener sits. If you’re using a heavy-duty bolt, make sure your washers are wide enough to distribute the pressure. This helps maintain the structural integrity of composite connections over the years, preventing the metal from sinking into the wood as it seasons and shifts.
Five Rules for Joints That Won't Fail You
- Don’t pin the metal too tight against the grain. Wood is a living thing that breathes, expands, and shrinks with the seasons; if you bolt a steel bracket down so tight it can’t move, the wood is going to crack the first time the humidity drops.
- Always use a pilot hole, and make it a clean one. If you’re driving a screw through a metal plate into a hardwood, you’d better drill that hole slightly larger than the screw shank to prevent the metal from acting like a wedge and splitting your timber.
- Watch your edge clearance. I’ve seen too many young fellas try to save material by placing a fastener right at the edge of a metal flange, only to have the stress of the joint snap the metal or blow out the wood grain. Give yourself some breathing room.
- Use washers to spread the load. A screw head alone is a recipe for disaster when you’re joining two different materials. Use a decent flat washer to distribute that clamping pressure across a wider surface area of the wood, or you’ll just be crushing the fibers.
- Check your seating with a hand tool. Once you think the joint is tight, take a screwdriver or a small hammer and give it a real feel. If there’s any wobble or unevenness, don’t just crank the screw harder—stop, find out why it isn’t sitting flush, and fix the surface first.
Lessons from the Workbench
Never treat wood and metal like they’re the same material; wood moves with the seasons and metal moves with the heat, so if you don’t give your joints room to breathe, something’s going to crack.
Don’t go cheap on your fasteners just because they’re small; use the right grade of stainless or galvanized hardware, otherwise you’ll be fighting rust and failed joints before the year is out.
Slow down and respect the fit; a joint that looks good on paper won’t mean a lick if you haven’t accounted for how those two different mediums are going to fight each other over time.
Respect the Movement
Metal and wood are two different beasts living in the same house; one breathes with the humidity and the other stays stubborn, so if you don’t give them room to move, they’ll eventually tear each other apart.
Alistair Fenwick
Making It Right the First Time
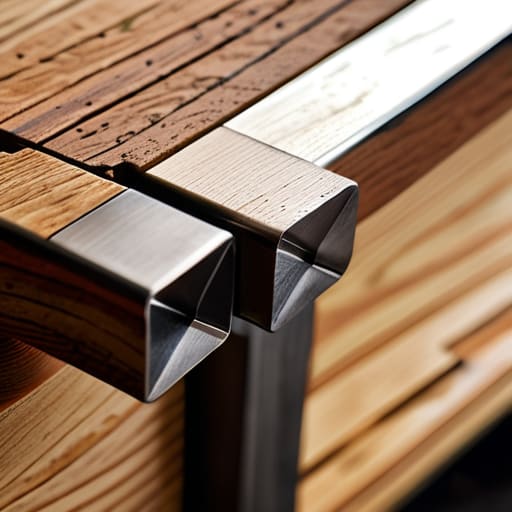
At the end of the day, getting a metal-to-wood joint to hold up isn’t about finding a magic screw or a fancy adhesive; it’s about respecting the materials you’re working with. You have to account for how that metal is going to swell and shrink with the temperature, and you’ve got to pick fasteners that won’t rot out the wood or rust into a useless mess within a season. If you ignore the thermal expansion or skimp on corrosion resistance, you’re essentially building a ticking time bomb that’ll crack your timber or loosen your fittings before the year is out. Don’t rush the heat or the hammer, because taking those extra minutes to plan your tolerances is the only way to ensure the job stays tight.
I know it’s tempting to just grab the nearest drill and force a fit, but that’s how you end up with a pile of scrap instead of a piece of work you can be proud of. Real craftsmanship is found in the details that most people won’t even notice until they’re gone. When you take the time to do these joints correctly, you aren’t just building something functional; you’re building something that will outlive you. Build things to last, and remember that a job well done is its own kind of reward. Now, get back to your bench and do it right.
Frequently Asked Questions
If I'm using heavy steel plates against soft pine, how do I stop the metal from crushing the wood fibers over time?
If you’re pinning heavy steel against soft pine, you’re asking for trouble if you just slap a bolt through it. That steel isn’t going to budge, but the pine will yield like butter under pressure. You need to spread that load. Use oversized fender washers or, better yet, fabricate your own steel spreader plates. Increasing the surface area takes the concentrated pressure off those soft fibers and keeps the joint from sinking into the wood.
What's the best way to handle a joint where the wood is going to be outdoors and exposed to the elements?
If that wood is seeing the sun and rain, you’ve got two enemies: rot and movement. First, don’t skimp on the hardware; use stainless steel or hot-dipped galvanized bolts, otherwise, the rust will bleed into the grain and ruin the look. Second, use oversized washers or slotted holes. Wood breathes and swells outdoors, and if your metal joint is too rigid, the wood will eventually crack right against the fastener. Give it room to move.
When should I stop using standard screws and actually bother with custom-made threaded inserts or bolts?
If you’re just putting a bracket on a workbench, a standard screw is fine. But the moment you’re dealing with heavy loads, frequent disassembly, or wood that’s going to swell and shrink with the seasons, stop messing around with screws. They’ll strip the grain every single time. That’s when you pull out the drill and install proper threaded inserts or go with custom bolts. If you want the joint to hold for twenty years instead of two, invest the extra time in a real mechanical connection.
