I was hunched over a rusted 1954 tractor engine last Tuesday, sweat stinging my eyes and a stripped bolt staring me right in the face, when I realized just how many folks are still trying to muscle their way through a problem that requires finesse. Most people think that if a bolt won’t budge, you just need a bigger breaker bar or a heavier hammer, but that’s a fool’s errand that usually ends with a snapped head and a much bigger headache. Successful metal fastener removal isn’t about how much brute strength you can muster; it’s about understanding how heat, chemistry, and patience work together to coax that metal into cooperating.
In this guide, I’m going to skip the fancy, overpriced gadgetry you see in those glossy catalogs and get straight to the real-world techniques that have kept me out of trouble for forty years. I’ll show you how to properly use penetrating oils, how to manage heat without warping your workpiece, and when it’s time to stop fighting and start thinking. We aren’t here to just break things; we’re here to salvage them.
Table of Contents
- Step-by-Step Instructions
- Patience Over Force Heat Application and Penetrating Oil Applications
- Precision Under Pressure Drilling Out Broken Bolts and Screw Extractor Kit
- Five Things I’ve Learned the Hard Way
- Lessons from the Workbench
- The Cost of Impatience
- The Final Inspection
- Frequently Asked Questions
Guide Overview
Tools & Supplies
- Penetrating oil for loosening rust
- Screw extractor set for stripped heads
- Power drill for creating pilot holes
- Manual screwdriver for controlled torque
- WD-40 or PB Blaster (1 can)
- Steel drill bits (1 small set)
- Rag or cloth (1 piece)
Step-by-Step Instructions
- 1. First thing you need to do is get a good look at what you’re actually dealing with. Don’t just start twisting; take a moment to inspect the head of the bolt or screw for any signs of rounding or stripping. If it looks like the metal is already failing, you’ll need to adjust your approach before you make the problem twice as big.
- 2. Once you’ve assessed the damage, grab yourself some penetrating oil and give it a good soak. I don’t care what the label says about “instant results”—you need to give it time to seep into those threads. If you’re working on something old and rusted, I usually let it sit overnight. Patience is your best tool in a shop.
- 3. If the oil doesn’t do the trick, it’s time to introduce a little controlled heat. Get yourself a propane torch and apply it directly to the fastener. You aren’t trying to melt the damn thing, just enough to expand the metal slightly and break that rust bond. Just be careful if you’re working near anything flammable; I’ve seen too many men lose a workshop because they got careless with a flame.
- 4. Now, pick your driver or wrench and apply steady, even pressure. This is where most folks mess up—they try to jerk it loose with a sudden burst of strength. That’s a one-way ticket to a stripped head. Instead, you want to apply firm, constant torque. If you feel the tool slip, stop immediately. If you keep pushing, you’re just turning a bolt into a useless nub.
- 5. If you’re dealing with a completely seized or rounded-off head, you’ll need to get more aggressive with a hammer and a punch. Position your punch against the edge of the fastener and give it a few measured strikes to try and shock the threads loose. It’s a bit of a brute-force method, but sometimes the metal needs a wake-up call to realize it’s supposed to move.
- 6. If all else fails, you’ll have to resort to drilling it out. This requires a steady hand and a bit of discipline. Start with a smaller pilot bit to ensure you stay centered, and don’t try to force the drill through the metal. Let the bit do the work. If you push too hard, you’ll just snap the bit, and then you’ve got a whole new set of problems on your hands.
- 7. Once the fastener is finally out, don’t just throw the part back together. Take a moment to clean out the old threads with a tap or a die. You want those surfaces clean and smooth before you even think about putting a new bolt in there. If you don’t respect the threads, they won’t respect you.
Patience Over Force Heat Application and Penetrating Oil Applications
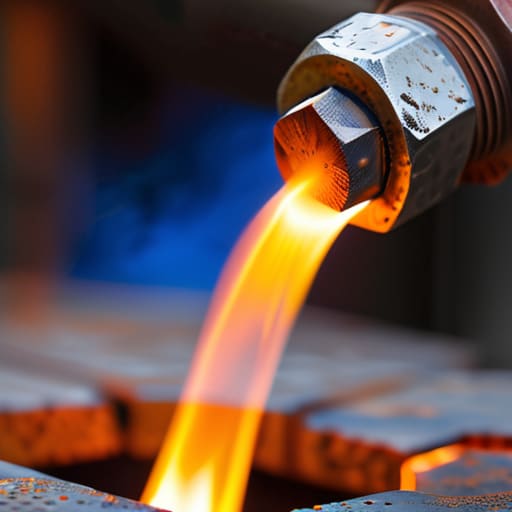
Now, listen close, because this is where most folks lose their nerve and start making a mess. When you’re staring down a bolt that refuses to budge, your first instinct might be to lean into it with every ounce of strength you’ve got. Resist that urge. If you try to muscle a seized fastener, you aren’t just risking a snapped head; you’re likely going to strip the threads entirely. Instead, I always swear by a disciplined approach to heat application for stuck fasteners. A steady flame—get yourself a good propane torch—works to expand the surrounding metal just enough to break that rust seal. It’s about the thermal expansion, not just making the thing red hot.
While you’re waiting for that heat to do its work, don’t neglect your penetrating oil applications. I don’t mean that cheap stuff you find in a grocery store aisle; get something heavy-duty that actually seeps into the microscopic cracks. Apply it, let it sit, and then tap the head of the bolt lightly with a hammer to help the oil find its way down the threads. If you combine a bit of heat with a slow soak, you’ll find that most jobs finish themselves without you ever having to reach for a screw extractor kit.
Precision Under Pressure Drilling Out Broken Bolts and Screw Extractor Kit
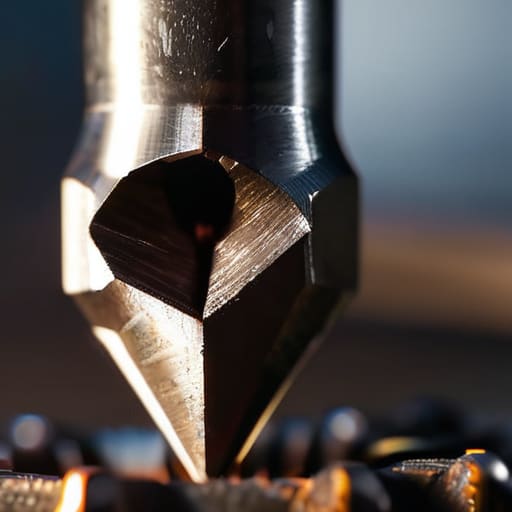
Now, if the heat and the oil didn’t do the trick, you’re likely looking at the grim task of drilling out broken bolts. This is where most folks lose their nerve and start making mistakes that turn a small problem into a permanent headache. Before you even touch a drill bit to that snapped shank, make sure your center point is dead-on. If your pilot hole wanders even a fraction of a millimeter, you aren’t just removing a bolt anymore—you’re carving a new hole into the workpiece itself. I always tell my apprentices: measure twice, drill once, and pray you haven’t rushed the setup.
Once you’ve got your pilot hole established, it’s time for proper screw extractor kit usage. Don’t just grab the first cheap set you find at the big-box store; you need hardened steel that won’t snap inside the bolt. When you seat the extractor, apply steady, even pressure. If you feel the tool starting to slip or “cam out,” stop immediately. Forcing an extractor is the fastest way to turn a salvageable project into a pile of scrap metal. Slow and steady wins the race when you’re working in such tight tolerances.
Five Things I’ve Learned the Hard Way
- Stop the brute force approach. If you find yourself leaning your whole body weight into a wrench just to get a fraction of a turn, you’ve already lost the battle. You’re more likely to snap the head clean off than actually loosen the threads.
- Clean your workspace before you start. I can’t tell you how many times I’ve seen a job go sideways because a stray metal shaving or a bit of grit got lodged in the threads of the part you’re trying to save. A quick wipe with a stiff brush goes a long way.
- Listen to the metal. When you’re applying heat or a bit of torque, listen for that sharp “crack” or a dull groan. If it sounds like it’s about to give up the ghost, back off immediately. It’s better to wait another hour for the oil to soak in than to spend the afternoon drilling out a shattered bolt.
- Use the right tool for the specific job, not just the one that’s closest to your hand. Using a worn-out socket or a screwdriver with a rounded tip is a shortcut to a massive headache. If the tool doesn’t fit tight, put it back in the chest and find the right one.
- Document your progress. If you’re working on something complex, take a quick look at how the fastener was seated or if there’s a specific washer pattern. Once that bolt is out, you don’t want to be staring at a pile of parts wondering how the hell they went back together.
Lessons from the Workbench
Stop trying to muscle it; if a fastener won’t budge, it’s telling you to back off and use heat or oil instead of brute strength.
Respect the material by choosing the right tool for the specific job, because using a drill where you should be using a torch is a fast way to ruin a good piece of metal.
Take your time with the precision work like drilling or extracting, because rushing a delicate task is exactly how you turn a simple repair into a permanent disaster.
The Cost of Impatience
You can always buy a new bolt, but you can’t replace the integrity of the metal once you’ve chewed it up with a hammer and a bad attitude. If the fastener isn’t moving, stop fighting it and start listening to what the heat and the oil are trying to tell you.
Alistair Fenwick
The Final Inspection
At the end of the day, getting that stubborn bolt out isn’t about how much muscle you can throw at it, but how much sense you use. We’ve talked about letting the heat do the heavy lifting, giving the penetrating oil enough time to actually soak into the threads, and being careful with the drill when you’re forced to go through the center of a broken shank. If you try to bypass these steps, you’re usually just going to end up with a warped workpiece or a snapped extractor that makes the whole job twice as difficult. Remember, the goal isn’t just to get the fastener out; it’s to get it out without ruining the surrounding metal that you’re trying to preserve.
I know it can be frustrating when a simple repair turns into a three-hour battle against oxidation and rust. You might feel like throwing the whole tool across the shop, but that’s exactly when you need to step back, grab a coffee, and clear your head. Real craftsmanship is built on the understanding that patience is a tool just as vital as any socket wrench or torch in your kit. When you finally hear that bolt give way and spin free, you’ll know you earned it the right way. Keep your tools sharp, keep your head steady, and never settle for a quick fix when a proper repair is what’s required.
Frequently Asked Questions
What do I do if the drill bit wanders off center and I'm worried about ruining the surrounding workpiece?
Stop right there. If that bit starts dancing, back off the trigger immediately. You’ve already lost the battle if you keep pushing. To prevent a walk, I always use a center punch to create a deep, solid divot exactly where I want to go. If you’re already mid-drill, try a smaller pilot bit first. Don’t force it; let the tool do the work, or you’ll end up scarring the workpiece beyond repair.
Is there a way to tell if a bolt is too heat-damaged or structurally compromised to be reused after I get it out?
Look, just because you got it out doesn’t mean it’s ready to go back in. If you’ve been cooking that bolt with a torch, keep an eye on the color. If it turned a dull, straw-like hue, it might be okay, but if it’s turned dark blue or black, you’ve likely messed with the temper. Give it a good thread check and a stress test; if it feels soft or looks pitted, toss it. Don’t risk it.
If the penetrating oil isn't doing anything after a few hours, is it worth trying a torch, or am I just asking for trouble?
If the oil hasn’t moved the needle after a few hours, you’ve likely got more than just surface rust—you’ve got a chemical bond. It’s worth reaching for the torch, but don’t just go at it blindly. You aren’t asking for trouble if you respect the heat. Heat expands the metal, breaking that seal, and then the oil can actually travel deeper. Just watch your surroundings and don’t overheat the part, or you’ll ruin the temper.
