I remember sitting in my first fabrication shop back in the seventies, staring at a joint that looked fine to the naked eye but snapped like a dry twig the moment the machine hummed to life. I’d rushed the job, thinking I could cheat the physics of the metal by cranking up the heat just to get the solder to flow faster. That’s the trouble with most modern advice on soldering techniques; people treat it like a magic trick rather than a matter of heat management. They’ll sell you a fancy, high-wattage iron and tell you it’ll solve all your problems, but all it really does is burn your hands and ruin your workpiece if you don’t know what you’re doing.
I’m not here to sell you on expensive gadgets or complicated-sounding theories that don’t hold up under a magnifying glass. What I want to do is show you how to actually work with the metal so your joints stay solid for decades, not just until the next time you bump the table. I’m going to walk you through the practical, grit-under-the-fingernails methods I’ve used for forty years. We’ll focus on the real soldering techniques that matter—the ones that ensure a connection is permanent, reliable, and built to last.
Table of Contents
Dont Rush the Heat Mastering Soldering Iron Temperature Settings
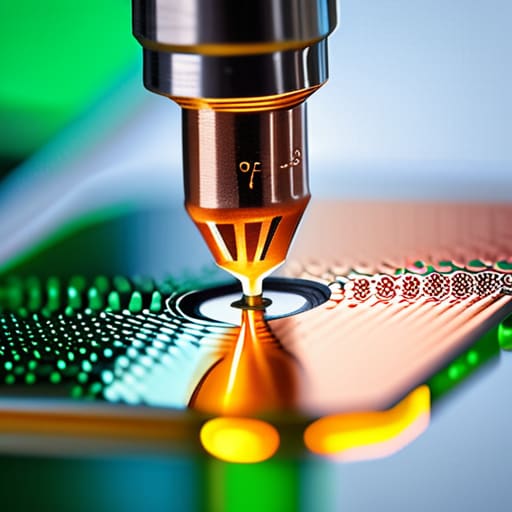
I’ve seen plenty of young folks walk into a shop, crank their iron to the highest setting, and wonder why their components look like they’ve been through a war zone. It’s a common mistake. If you’re running too hot, you’re not just risking a scorched circuit board; you’re actually making the job harder. When the heat is excessive, the flux burns off before it can do its job, leaving you with a messy, oxidized surface that won’t take the metal. You have to find that sweet spot where the metal is hot enough to accept the material, but not so hot that you’re fighting the chemistry of the solder itself.
Getting your soldering iron temperature settings dialed in is the difference between a professional connection and a headache. If the iron is too cool, you’ll end up with those dreaded, dull-looking lumps known as cold solder joints, which are prone to cracking under the slightest vibration. You want to see the solder melt and move smoothly, a process we call solder wetting and flow. When the solder flows like liquid silk around the joint, you know you’ve hit the mark. Take your time to let the iron do the work.
The Truth About Solder Wetting and Flow
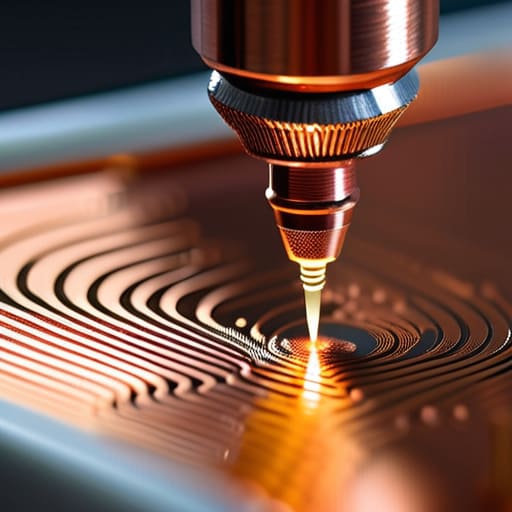
You’ll know you’re doing it right when the solder behaves like water on a hot skillet, spreading smoothly across the metal surface rather than beadng up like a marble. That’s what we call solder wetting and flow, and it’s the difference between a connection that holds for forty years and one that fails in forty minutes. If the solder won’t spread, you aren’t looking at a heat problem alone; you’re likely looking at a cleanliness problem. A dirty surface or a layer of oxidation will act like a wall, stopping the metal from bonding. I’ve seen plenty of youngsters try to force the issue by adding more heat, but you can’t bully physics into working for you.
If you see a dull, grainy, or lumpy finish, stop what you’re doing immediately. That’s a textbook sign of preventing cold solder joints from becoming a reality—except you’ve already made the mistake. A cold joint happens when the parts move before the metal has actually fused, or when the heat wasn’t uniform. It might look okay to the naked eye, but it’s structurally hollow. Take the time to clean your tips and use the right flux; a little bit of preparation saves a lot of frustration later.
Five Hard-Earned Rules for a Joint That Actually Holds
- Clean your surfaces before you even think about applying heat. I’ve seen too many folks try to solder over oxidation or old grease; it’s a fool’s errand. If the metal isn’t bright and clean, that solder isn’t going to bite, and you’ll just be moving a bead of molten metal around a dirty surface without ever getting a real bond.
- Use the right flux for the job, and don’t be stingy with it. Flux is what does the heavy lifting by stripping away impurities while you’re working, but don’t go drowning the whole piece in it either. You want enough to help the flow, but too much leaves a mess that’ll corrode your work down the line.
- Anchor your work so it stays dead still. If you’re fighting a moving wire or a shifting board while the solder is cooling, you’re going to end up with a “cold joint.” A cold joint might look okay to a novice, but it’s brittle and prone to failure the moment it sees any vibration or stress.
- Tin your tip every single time you use it. It sounds like a small thing, but keeping a fresh coat of solder on the end of your iron ensures the heat transfers efficiently into the workpiece. A dry, blackened tip is a heat sink that’ll frustrate you and leave you wondering why your iron isn’t doing its job.
- Let the joint cool on its own. This is where the impatience really bites people. If you blow on a joint to speed things up, you’re shocking the metal and messing with the molecular bond. Set it down, let it sit, and let the physics do the work—it’ll be much stronger for it.
The Essentials to Remember Before You Pull the Trigger
Watch the heat, not the clock; if the solder isn’t flowing smooth and even, you haven’t reached the right temperature yet, so don’t force it.
Cleanliness is everything in this trade, so if your metal isn’t bright and free of oxidation, you’re just trying to glue junk together.
Respect the joint by giving it time to cool naturally; rushing the cooling process is a quick way to bake in cracks that’ll fail you down the road.
## The Mark of a Good Joint
“A proper solder joint shouldn’t look like it was forced into place; it should look like it grew there. If you see beads or lumps, you’ve been fighting the metal instead of working with it, and that’s a sure sign you let your temper or your heat get ahead of your hands.”
Alistair Fenwick
Putting the Work Together
At the end of the day, good soldering isn’t about how fast you can move your hands; it’s about how well you understand the metal you’re working with. We’ve talked about why you can’t just crank the heat and hope for the best, and why watching that solder flow—rather than forcing it—is the only way to ensure a connection that actually holds. If you take the time to clean your surfaces, manage your iron temperature, and respect the physics of the joint, you won’t find yourself pulling apart cold, brittle connections a week later. It’s a matter of doing the job right the first time so you don’t have to do it twice.
I know it can feel tedious when you’re staring at a pile of wires or a delicate circuit board, but that’s where the real skill is built. There’s a certain satisfaction in looking at a clean, shiny joint and knowing it was made with deliberate precision rather than just rushed through to meet a deadline. Don’t let the modern world’s obsession with “fast and cheap” rub off on your workshop habits. Take your time, keep your tools sharp, and remember that a well-made repair is a testament to your patience. Build things that last, and you’ll never have to worry about the junk people call “disposable” ever again.
Frequently Asked Questions
How do I know if I've actually cleaned the metal enough before I start applying the solder?
If you have to wonder, you haven’t done enough. A clean surface should have a slight dull sheen, not a greasy film or a layer of oxidation. I always run a piece of fine-grit sandpaper or a brass brush over the joint first. If the solder beads up like water on a waxed car, stop right there. It won’t flow. It needs to “wet” the metal instantly, spreading flat and smooth.
What’s the best way to handle a "cold joint" if I realize I messed up the heat right after it cools?
If you see a joint that looks dull, grainy, or like a little ball of metal sitting on top of the pad, you’ve got a cold joint. Don’t try to force it by just adding more solder; that’s a fool’s errand. You need to clean the tip, get your iron back up to temperature, and re-heat the existing joint. Let the heat flow through the component and the pad together so they melt as one.
Is there a real difference between using leaded and lead-free solder when I'm working on older, vintage equipment?
When you’re poking around inside vintage gear, there’s a massive difference. Most old equipment was built with leaded solder, which flows smooth and easy at lower temperatures. If you try to force lead-free solder onto those old joints, you’re going to struggle. Lead-free requires more heat, and that extra thermal stress can crack old, brittle components or lift delicate traces. If it’s a vintage repair, stick to leaded. Respect the original chemistry.
