I remember back in ’84, working a double shift in a fabrication shop in Sheffield, I watched a young lad spend three weeks meticulously organizing a tool cabinet only to realize he’d placed his heavy anvil on the far side of the room from his welding station. He spent more time fighting his own floor plan than actually working the metal. Most people think a good metal workshop layout is about having the fanciest rolling tool chests or the most expensive overhead lighting you can find on a catalog. They’re dead wrong. A shop isn’t a showroom; it’s a machine, and if the parts aren’t moving in the right order, the whole thing is broken before you even strike an arc.
I’m not here to sell you on some high-tech, “optimized” system that requires a degree in industrial engineering to understand. I’m going to show you how to set up your space based on how a man actually moves when he’s got a heavy piece of steel in his hands and a deadline looming. We’re going to talk about workflow, safety, and why you need enough room to swing a hammer without knocking over your grinder. If you want a shop that works as hard as you do, let’s get to it.
Table of Contents
Mastering Metalworking Shop Workflow Optimization
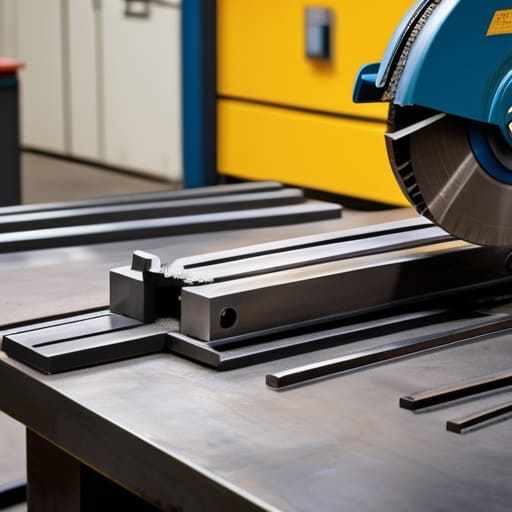
Once you’ve got your benches in place, you need to think about how you actually move. I’ve seen too many young lads spend half their day just walking back and forth across the floor because they put the grinder on one side and the vice on the other. Proper metalworking shop workflow optimization isn’t about making things look pretty; it’s about minimizing the steps between your raw material and the finished piece. You want your heavy stock near the saw, and your finishing tools within arm’s reach of the bench. If you’re constantly hunting for a file or a square, you’re losing your rhythm, and once you lose that rhythm, you start making mistakes.
You also can’t ignore the physical toll of the job. When I’m setting up a new space, I pay close attention to welding station ergonomics. If you’re hunched over a table that’s too low or positioned in a way that forces you to twist your back every time you strike an arc, you’re going to be useless by noon. Make sure your primary work surfaces are at a height that lets you use your body weight to steady the piece, rather than just straining your wrists. A shop that works with your body is a shop where the work actually gets done right.
The Truth About Metal Fabrication Floor Plan Logic
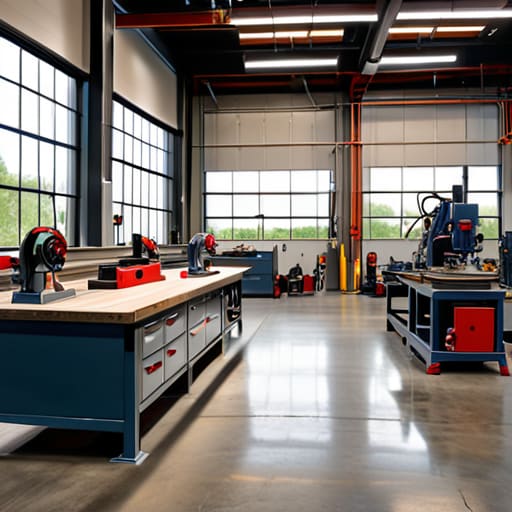
Most folks approach a metal fabrication floor plan like they’re playing a game of Tetris, just trying to shove as much gear into the room as possible. That’s a mistake. A shop isn’t a storage unit; it’s a machine in itself. If you don’t account for heavy machinery clearance before you bolt anything to the floor, you’re going to spend the next decade tripping over grinders or realizing your drill press is boxed in by a pile of scrap. You need to think about the physical path a piece of steel takes from the moment it enters the door to the moment it leaves the finished rack.
You also can’t ignore the invisible stuff, like your workshop ventilation requirements. I’ve seen too many young guys set up a welding station in a corner where the fumes just hang there like a thick fog. It’s not just about being uncomfortable; it’s about staying healthy enough to work tomorrow. When you’re planning your welding station ergonomics, make sure you aren’t fighting the air or the light. If you have to contort your body just to reach a clamp, you’re doing it wrong. Build the space around your body, not the other way around.
Five Rules for a Shop That Actually Works
- Keep your heavy stuff where the floor is strongest. I’ve seen too many fellas try to put an anvil or a heavy drill press on a flimsy workbench or a weak spot in the floorboards. If you’re going to be swinging a sledge or running a heavy motor, that equipment needs to sit on something solid and level, or you’ll spend more time shimmying it back into place than actually working.
- Mind the sparks and the fumes. You can’t just tuck your grinder or your welder into a cramped corner and call it a day. You need a clear path for ventilation to pull the smoke out, and you need enough clearance so that a stray spark doesn’t end up landing on a pile of rags or a stack of sawdust. A shop that breathes is a shop where you stay alive.
- Group your tools by how you actually use them, not just by what size they are. If you’re doing a lot of grinding after you weld, keep your grinders and your bench brushes within arm’s reach of the welding station. Walking twenty feet across a cluttered shop every time you need to clean a bead is a quick way to lose your momentum and your temper.
- Leave room for the long stock. There’s nothing more frustrating than having a beautiful twelve-foot piece of steel and realizing you can’t move it through your shop because your workbench is blocking the way. Plan your aisles wide enough to handle the material you’re actually going to be working with, not just the scrap you’ve got lying around.
- Don’t skimp on lighting, especially over the precision work. There’s no sense in trying to do fine metalwork or checking your measurements in the shadows. Get some decent, bright shop lights positioned so you aren’t working in your own shadow, or you’ll end up making a mistake that costs you a good piece of material.
The Bottom Line for Your Shop
Map your workflow based on the physical movement of the metal, not just where your tools look prettiest; if you’re hauling heavy stock across the room every time you need to cut, you’re doing it wrong.
Leave more breathing room than you think you need, because a cramped shop leads to rushed mistakes, tripped feet, and wasted material.
Invest in heavy-duty, stationary workstations for your loudest and heaviest tasks, and keep your precision tools tucked away from the grit and vibration of the heavy grinders.
## The Cost of a Messy Floor
A shop isn’t just a place to store your tools; it’s a machine in itself. If you haven’t laid out your welding station, your grinder, and your anvil with a clear path between them, you aren’t working—you’re just tripping over your own feet and wasting good steel.
Alistair Fenwick
Final Thoughts on Your Shop Floor
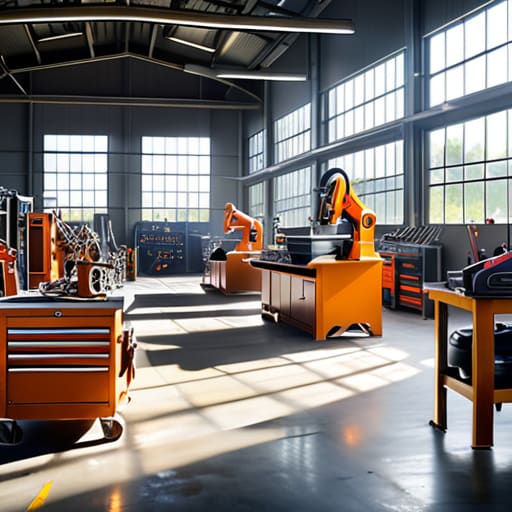
At the end of the day, a good layout isn’t about following some fancy architectural blueprint you found in a magazine; it’s about knowing where your heavy iron sits and making sure you aren’t tripping over a welder lead every time you need to reach the grinder. You’ve looked at the workflow, you’ve mapped out your floor plan logic, and you’ve figured out how to keep the sparks away from the flammable bits. If you’ve done it right, your shop should feel like an extension of your own hands. Remember, a cluttered floor leads to a cluttered mind, and in this trade, a cluttered mind is how you end up with a ruined piece of stock or, worse, a trip to the emergency room. Respect the space you work in, and it’ll respect you back.
Setting up a shop is a continuous process, not a one-and-done task. As you take on bigger projects or pick up new tools, you’ll find yourself moving things around, tweaking the workbench height, or adjusting the lighting. That’s not a sign of failure; it’s part of the craft. Don’t be afraid to move a heavy anvil if it means your workflow finally feels right. Build your shop with the same intention you use when you’re joining two pieces of steel: build it to last, build it with precision, and never settle for a setup that makes your job harder than it needs to be. Now, get to work.
Frequently Asked Questions
How much space should I actually leave between my anvil and my welding bench to avoid tripping over leads?
Look, if you’re squeezing them too close, you’re just asking for a trip to the emergency room. I wouldn’t leave less than five or six feet of clear floor between that anvil and your welding bench. You need enough room to swing a hammer without catching a stray lead, and more importantly, enough space to move your stool or a heavy piece of stock without playing obstacle course. Give yourself breathing room.
Is it worth investing in heavy-duty casters for my worktables, or should I just bolt everything to the floor from the start?
Bolting everything down feels permanent and solid, which I like, but don’t trap yourself in a corner before you’ve even started. If you’re working in a small garage, get the heavy-duty casters. Just don’t buy the cheap plastic ones that’ll buckle the first time you lean on a piece of steel. Get the rated polyurethane wheels and lock them tight. You’ll thank me when you need to move a table to clear space for the welder.
Where’s the best place to put my ventilation and dust collection so I'm not breathing in metal shavings all day?
Listen, your lungs aren’t replaceable like a piece of scrap steel. You want your extraction right where the mess happens—directly over the grinder or the welding bench. Don’t rely on a single fan in the corner to clear the whole room; that’s just moving the dust around. Mount your hoods close to the source and keep your collection lines short and straight. If you’re breathing it, your setup is failing you.
