I remember standing in my old shop back in ’94, staring at a rusted-out tractor part that looked more like a lump of coal than a piece of machinery. I’d spent three hours trying to blast it clean with a rig I’d cobbled together from scrap parts and a prayer, only to end up with more dust in my lungs than actual metal cleaned. Most folks think a decent sandblasting setup is just about buying the biggest compressor you can find and a heavy nozzle, but they’re dead wrong. If your air isn’t bone-dry and your media flow isn’t steady, you aren’t cleaning anything—you’re just moving dirt around and wasting your afternoon.
I’m not here to sell you some shiny, overpriced kit from a catalog that’ll break the first time you hit a stubborn bit of scale. What I want to do is show you how to build a setup that actually works for the long haul. We’re going to talk about the real essentials: managing moisture, choosing the right abrasive for the job, and ensuring your airflow is consistent enough to get the job done right the first time. I’ll walk you through the practical side of things so you can stop fighting your tools and start actually working.
Table of Contents
- Step-by-Step Instructions
- The Essential Sandblasting Equipment Checklist for Real Work
- Choosing Between a Blast Cabinet vs Pressure Pot
- Five Things I’ve Learned the Hard Way About Setting Up Your Rig
- Hard Truths Before You Start Blasting
- ## On the Importance of a Proper Rig
- Getting Your Hands Dirty
- Frequently Asked Questions
Guide Overview
Tools & Supplies
- Air Compressor (Minimum 5-10 CFM at 90 PSI)
- Sandblasting Cabinet or Gun (For containment and application)
- Air Regulator (To control pressure levels)
- Moisture Trap (To prevent water in lines)
- Safety Gear (Respirator, goggles, and gloves)
- Abrasive Media (10-25 lbs of sand, glass bead, or aluminum oxide)
- Air Hose (Heavy-duty, high-flow)
- Sandblasting Cabinet Sealant (If repairing leaks)
Step-by-Step Instructions
- 1. First things first, you need to pick a spot in your shop that isn’t going to turn your entire workspace into a dust bowl. I always tell people to set up in a corner or a dedicated shed where you can control the airflow. If you try to sandblast in the middle of a clean room, you’re just asking for a headache when you try to clean your precision tools later. Make sure you have a solid floor—concrete is best—and enough room to move around the piece without tripping over your air lines.
- 2. Now, let’s talk about your air supply, because this is where most folks mess up. You can’t just plug a sandblaster into a cheap, little pancake compressor and expect it to do anything but stall out. You need a compressor with enough CFM (Cubic Feet per Minute) to keep a steady stream of pressure; if your pressure drops halfway through a job, you’ll end up with a streaky, uneven finish that’ll take twice as long to fix. Get yourself a large tank and a high-quality regulator so you aren’t fighting constant fluctuations.
- 3. Don’t skip the moisture management step, or you’ll be sorry. Air coming out of a compressor is wet, and wet media turns into a useless, clumping sludge inside your nozzle. Install an inline moisture trap or a water separator right before the blast cabinet or gun. If that grit gets damp, it won’t strip the surface—it’ll just smear the grime around, and you’ll waste a perfectly good bag of media.
- 4. Once your air is flowing right, you need to select your media based on what you’re actually trying to clean. If you’re working on a delicate piece of antique cast iron, don’t go grabbing a bag of heavy industrial grit that’ll pit the metal like a shotgun blast. Use something gentler like crushed glass or walnut shells for light restoration, and save the heavy-duty stuff for thick, stubborn rust on structural steel. Match the grit to the job, or you’ll ruin the very thing you’re trying to save.
- 5. Set up your containment, whether that’s a dedicated blast cabinet or a makeshift enclosure. If you’re using a cabinet, check the glass for any cracks and make sure the seals are tight. If you’re doing open-air blasting, you’d better have a heavy-duty shroud or a tarp setup to catch the fallout. Dust management isn’t just about cleanliness; it’s about making sure you aren’t breathing in fine particles every time you pull the trigger.
- 6. Before you even think about pulling that trigger, get your safety gear on. This isn’t a job for a paper mask or a pair of sunglasses. You need a proper, rated respirator and heavy-duty gloves. I’ve seen too many young guys think they can skip the protection because “it’s just a quick job,” but that dust stays in your lungs long after the workshop lights are turned off.
- 7. Finally, do a dry run. Hook everything up, turn on the compressor, and check for leaks in your hoses and fittings. A small hiss of air might not seem like much, but it’s a massive waste of energy and pressure when you’re in the middle of a heavy cycle. Once you’re sure the lines are tight and the pressure is steady, only then should you start your work.
The Essential Sandblasting Equipment Checklist for Real Work
When you’re putting together your gear, don’t get blinded by the shiny catalogs. A proper sandblasting equipment checklist isn’t just about checking boxes; it’s about ensuring your tools can actually handle the grit. If you’re working on small, delicate parts, a sandblasting blast cabinet vs pressure pot is the first big decision you’ll face. A cabinet is clean and easy for a hobbyist, but if you’re trying to strip heavy rust off a tractor part or a large cast-iron skillet, you’ll find yourself wishing you had the raw power of a pressure pot.
Don’t overlook the air side of things, either. Most folks underestimate the air compressor requirements for sandblasting, thinking a little pancake compressor from the big-box store will do the trick. It won’t. You need consistent volume, or your pressure will drop the second you pull the trigger, leaving you with a useless stream of media. And for heaven’s sake, install a decent moisture separator. If you let water creep into your lines, you aren’t just blasting; you’re essentially throwing wet mud at your project, and that’s a recipe for a massive headache.
Choosing Between a Blast Cabinet vs Pressure Pot
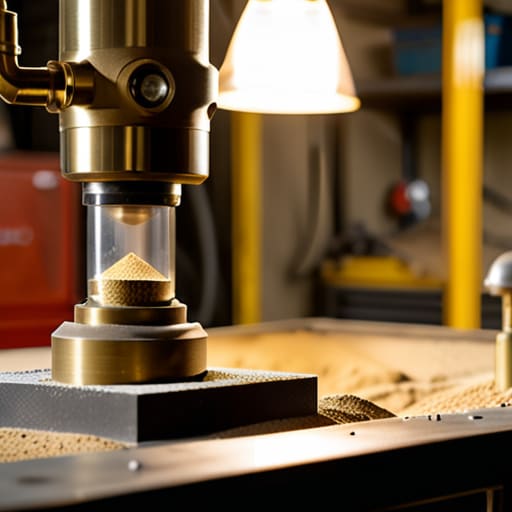
Now, this is where most folks get tripped up before they even pull the trigger on a purchase. You’ve got to decide if you’re looking for convenience or sheer, unadulterated power. A blast cabinet is fine if you’re just cleaning up small carburetor parts or some delicate brass fittings on a tabletop. It keeps the mess contained, which your garage floor will thank you for, but you’re limited by the size of that glass box. If you try to shove something in there that’s too big, you’re just fighting the machine.
If you’ve got real work to do—like stripping the rust off a heavy cast-iron frame or cleaning up large engine components—you need to look at a pressure pot setup. It’s a different beast entirely. It gives you much more control over your media flow and lets you tackle larger pieces, but it requires a more serious commitment to your air compressor requirements for sandblasting. You can’t just run a small pancake compressor on a pressure pot; you’ll run out of air before you’ve even finished the first corner. It’s about choosing the right tool for the job you actually have, not the one you wish you had.
Five Things I’ve Learned the Hard Way About Setting Up Your Rig
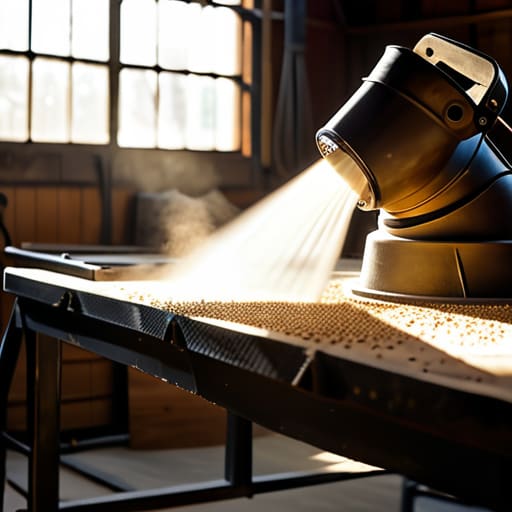
- Check your air supply twice before you pull the trigger. If your compressor can’t keep up with the CFM requirements of your nozzle, you aren’t sandblasting—you’re just spitting pebbles. You’ll end up with a stuttering flow that leaves half the grit stuck in the hose and twice the frustration in your head.
- Invest in a decent moisture trap and a water separator. I’ve seen more ruined projects from water spots and rust-trapping moisture than from bad technique. If you let that damp air hit your media, you’ll turn your expensive abrasive into a useless, clumpy mess that’ll clog your lines faster than you can say “waste of money.”
- Don’t skimp on the hose quality. Cheap, thin hoses kink like crazy and won’t stand up to the pressure or the grit. A good, heavy-duty hose makes the whole job feel smoother and keeps you from fighting the equipment every time you try to reach a tight corner.
- Set up your workspace with ventilation in mind, even if you’re using a cabinet. Dust finds a way. If you don’t have a proper extraction system or a way to keep that fine particulate from settling on your other tools, you’ll be breathing it in or cleaning it off your workbench for the next three months.
- Get your nozzle size dialed in for the specific job at hand. Using a massive nozzle on delicate restoration work is a quick way to gouge metal you can’t fix later. Match the grit to the nozzle, and match the nozzle to the material, or you’re just asking for a headache.
Hard Truths Before You Start Blasting
Don’t skimp on the air compressor; if your machine can’t keep up with the demand, you’ll spend more time waiting for pressure to build than actually cleaning metal.
Choose your setup based on the scale of your work, because a blast cabinet is great for small parts, but you’ll be fighting a losing battle if you try to use one for heavy industrial frames.
Safety isn’t a suggestion—invest in a decent respirator and eye protection, because breathing in fine media dust is a mistake you only make once.
## On the Importance of a Proper Rig
“A cheap, makeshift sandblasting rig is just a fast way to turn good media into useless dust and a clean surface into a headache; if you don’t take the time to plumb your lines and seal your seals properly now, you’ll spend twice as long fighting the machine as you will cleaning the metal.”
Alistair Fenwick
Getting Your Hands Dirty
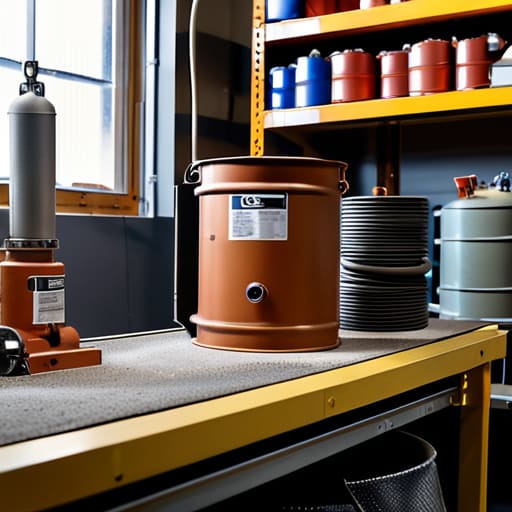
At the end of the day, setting up a sandblasting rig isn’t about buying the most expensive kit on the shelf; it’s about making sure your setup is built for the task at hand. Whether you decided on a blast cabinet for those smaller, delicate restoration pieces or went with a heavy-duty pressure pot to tackle larger industrial jobs, the principle remains the same. You need a reliable air source, the right media for the specific metal you’re working on, and a workspace that won’t turn into a chaotic mess of dust and grit the moment you pull the trigger. If you skip the prep work or try to cut corners on your filtration, you’ll spend more time cleaning up your mistakes than actually doing the work.
I know it can feel a bit overwhelming when you’re staring at a pile of hoses, nozzles, and abrasive media, but don’t let that stop you. There is a deep, quiet satisfaction in seeing a rusted, pitted piece of history stripped down to its true, clean surface through your own effort. It’s about more than just cleaning metal; it’s about reclaiming something that was meant to endure. Take your time, respect the equipment, and remember that the best way to learn is to actually start doing it. Once you get that first clean pass, you’ll see exactly why we bother with the hard way.
Frequently Asked Questions
How do I figure out which abrasive media to use without stripping the metal down to nothing or wasting a fortune on the wrong grit?
You can’t just grab the first bag of grit you see and hope for the best. If you’re working on delicate vintage tools, a heavy glass bead or crushed walnut shell will do the trick without scarring the metal. But if you’re tackling rusted-out frame parts, you’ll need something with more teeth, like aluminum oxide. My rule is simple: start with the gentlest media possible. It’s better to spend an extra hour scrubbing than to spend a week regretting a ruined surface.
Is it worth the extra money to get a dedicated compressor, or can I just hook this up to the one I already use for my air tools?
Look, I get the temptation to save a few bucks and use your shop compressor, but here’s the truth: sandblasting is an absolute hog for air. If your current compressor is sized for impact wrenches or nail guns, it’s going to choke halfway through a job. You’ll end up with nothing but a weak, sputtering stream that won’t strip a lick of rust. If you can swing it, get a dedicated unit with a larger tank. It’ll save you a massive headache.
How am I supposed to keep the dust from settling all over my shop and ruining every other project I've got sitting on the bench?
That’s the million-dollar question, isn’t it? If you don’t control the dust, you aren’t sandblasting—you’re just decorating your entire shop in grit. First, you need a dedicated extraction system; a shop vac won’t cut it for fine media. Second, seal your workspace. Use heavy plastic sheeting to create a makeshift curtain around your rig. It’s a pain in the neck to set up, but it beats spending three hours wiping dust off your lathe.
