I remember sitting in my old shop back in the nineties, staring at a piece of brass that looked like it had been pulled from the bottom of a harbor. I’d spent three hours fighting with a high-speed buffer, thinking that if I just cranked up the RPMs and pushed harder, I’d get that mirror finish I saw in the magazines. Instead, I ended up with nothing but heat-discolored streaks and a surface so scarred I nearly tossed the whole thing in the scrap bin. That’s the trouble with most folks today; they think metal polishing is about how much power you can throw at a workpiece, when it’s actually about how much control you can maintain.
I’m not here to sell you on some expensive, proprietary chemical kit or a fancy motorized setup that’ll break the first time you use it. What I want to do is show you the proper way to respect the material in front of you. I’m going to walk you through the actual grit, the steady hand, and the sequence of steps that turn a dull, oxidized hunk of metal into something worth keeping. We’re going to do this right, one pass at a time, so you build a finish that actually lasts.
Table of Contents
Mastering Metal Oxidation Removal Without Rushing the Job
Mastering Metal Oxidation Removal Without Rushing the Job
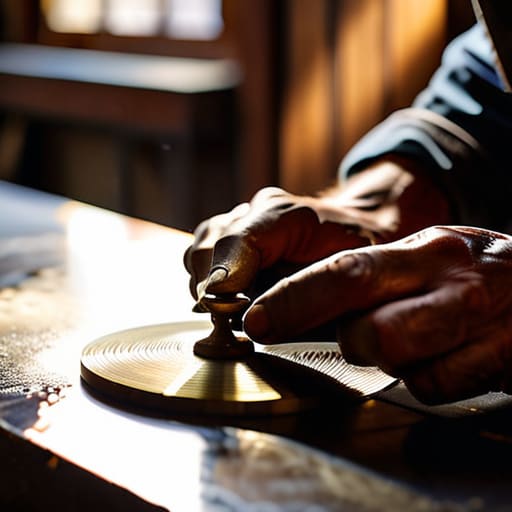
When you’re staring down a piece of pitted brass or a dull, oxidized stainless steel component, the temptation is to grab the heaviest grit you’ve got and start grinding. Resist that urge. If you go too aggressive right out of the gate, you aren’t just removing the corrosion; you’re eating into the structural integrity of the piece. Real metal oxidation removal is about peeling back the layers of decay one thin slice at a time. I’ve seen too many youngsters ruin a perfectly good heirloom because they thought they could “power through” the rust.
You need to select your abrasive polishing tools based on the severity of the damage, starting with a coarse grit to level the surface and moving progressively finer. If you skip a step in the sequence, you’ll find those deep scratches staring back at you no matter how much time you spend on the final buff. Don’t let your ego dictate the speed of your work. It’s better to spend an extra hour working through the grits than to spend a week trying to fix a gouge you shouldn’t have made in the first place.
Choosing Abrasive Polishing Tools That Wont Fail You
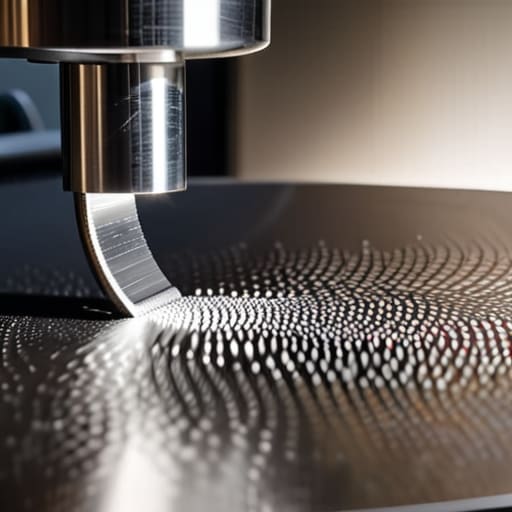
You can have all the patience in the world, but if you’re using cheap, bottom-shelf abrasives, you’re just fighting a losing battle. I’ve seen too many young fellas walk into a shop, buy a handful of generic pads, and wonder why their workpiece looks like it went through a rock crusher. When it comes to selecting your abrasive polishing tools, you need to look at the grit progression and the backing material. A good cloth wheel or a high-quality felt bob isn’t just a luxury; it’s the difference between a smooth transition and a surface riddled with deep, permanent scratches that no amount of fine sanding will ever pull out.
If you’re working on something delicate, like a piece of vintage brass or a specialized stainless steel restoration project, you have to match the tool to the metal’s hardness. Don’t just grab the first buffing wheel you see. For heavy material removal, you want something substantial, but as you move toward that final shine, you need to transition to much finer, softer media. Never skip a grit level in your sequence. If you try to jump from a coarse scratch to a high-luster look without the proper intermediate steps, you’re just wasting your time and your energy.
Five Rules to Keep from Ruining Your Workpiece
- Check your grit progression every few minutes. It’s easy to get carried away with the high-speed buffer, but if you skip a step in the grit sequence, you’ll spend three hours trying to buff out scratches that should have been gone in five minutes.
- Keep the metal cool to the touch. If you’re using a motorized wheel and the piece starts getting hot, stop what you’re doing. Excessive heat can warp thin sheets or even ruin the temper of certain alloys, and no amount of polishing will fix a twisted piece of steel.
- Clean the surface thoroughly between every single stage. I’ve seen plenty of fellas move from a coarse abrasive straight to a fine compound, only to find they’ve just embedded large grit particles into the finish. Wipe it down with a clean rag and some solvent; don’t be lazy about it.
- Watch your pressure, not just your speed. You don’t need to lean your whole weight into the tool to get a shine. Let the abrasive do the work. If you press too hard, you’ll create “high spots” or uneven divots that’ll haunt you once the light hits the metal.
- Test your work in different lighting. A piece might look mirror-bright under your shop’s overhead fluorescent lights, but once you move it into natural sunlight, all those tiny swirl marks will jump out at you. Always check your progress from a few different angles before you call the job finished.
The Fundamentals of a Lasting Finish
Never skip the progression of grits; if you try to jump from a coarse scratch to a fine shine without cleaning up the previous marks, you’re just polishing mistakes instead of metal.
Listen to your tools and your hands, not the clock; if the metal is getting too hot or the abrasive is clogging, stop what you’re doing and reset before you ruin the workpiece.
Invest in quality abrasives that hold their shape, because a cheap, soft compound will just smear across the surface and leave you doing twice the work for half the result.
## The Truth About the Shine
“A mirror finish isn’t something you force out of a piece of steel; it’s something you earn through hours of steady, disciplined work. If you try to skip the grit stages just to see a glimmer, you’ll find yourself chasing scratches you can’t ever get out.”
Alistair Fenwick
The Final Polish
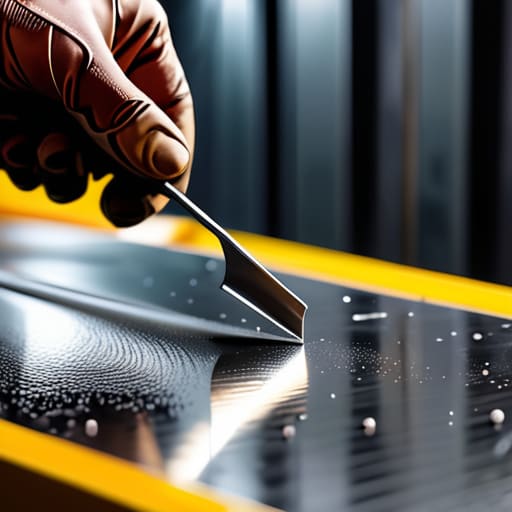
At the end of the day, successful metal polishing comes down to the fundamentals we’ve discussed: respecting the oxidation layer, selecting the right grit of abrasive, and—most importantly—not trying to cheat the clock. You can have the most expensive buffing wheel in the shop, but if you haven’t prepared the surface properly with the right sequence of tools, you’re just polishing a mistake. Remember that every pass with a finer grit is a building block for the next. If you skip a step or jump straight to the high-speed shine before the metal is truly leveled, you’ll find yourself fighting deep scratches that no amount of compound can ever truly hide. Precision requires patience.
I know it’s tempting to look at a pile of work and want to see the finished product immediately, but there is a quiet satisfaction in the slow, methodical grind of a job done right. When you finally lift that piece from the bench and see your reflection clear and true in the surface, you’ll know it wasn’t luck—it was your discipline. Don’t just aim for something that looks good for a photo; aim for a finish that stands the test of time. We aren’t just cleaning up old scrap here; we are preserving history and proving that things can still be made to last. Now, get back to the bench and do it right.
Frequently Asked Questions
How do I know when I've gone too far with the abrasives and actually started thinning the metal?
You’ll feel it in your hands before you see it with your eyes. When you’re working a piece, the heat starts to build up faster and the resistance changes; it feels “soft” or thin under the buff. If you notice the geometry of the part—like a sharp edge or a specific bevel—starting to round off or lose its definition, stop immediately. You’ve stopped polishing the surface and started eating into the structure.
What's the best way to handle polishing deep pits or heavy pitting without ruining the surrounding surface?
When you’re staring down deep pitting, the temptation is to go in hard with a grinder to level it out. Don’t do that. You’ll end up with a “crater” effect that’s harder to fix than the rust itself. Start by using a small, tapered file to manually knock down the high edges of the pits first. Once those sharp edges are smoothed, move to hand-sanding with progressively finer grits. It takes longer, but you’ll keep the surrounding surface flat and true.
Can I use the same polishing compounds on different types of alloys, or am I asking for trouble if I don't switch them out?
You’re asking for trouble, plain and simple. If you try to run a heavy, coarse compound meant for steel onto a soft piece of brass or aluminum, you’re going to gouge it faster than you can blink. Every alloy has its own temperament. You need to match the grit of your compound to the hardness of the metal. Don’t get lazy and try to save time by using one jar for everything; you’ll just end up ruining a good piece.
