I remember standing in a cramped workshop back in ’84, watching a young apprentice try to force a joint together by cranking the torch to a blinding white heat. He thought more flame meant a faster job, but all he did was scorch the metal and ruin a perfectly good fitting. That’s the trouble with how people approach brazing copper these days; they think it’s about brute force and expensive, high-tech gadgets. In reality, if you aren’t watching the color of the metal and respecting the flow of the filler, you’re just making a mess that’ll leak the first time it sees any real pressure.
I’m not here to sell you on some fancy, multi-step system that requires a degree in thermodynamics just to fix a pipe. I want to show you how to do it right, the way we did it when things were actually built to last. I’m going to walk you through the honest, hands-on reality of getting a clean, structural bond every single time. We’ll skip the fluff and get straight to the heat management and surface prep that actually matters, so you can stop wasting material and start building things that stay put.
Table of Contents
Brazing vs Soldering Copper Choosing Strength Over Speed
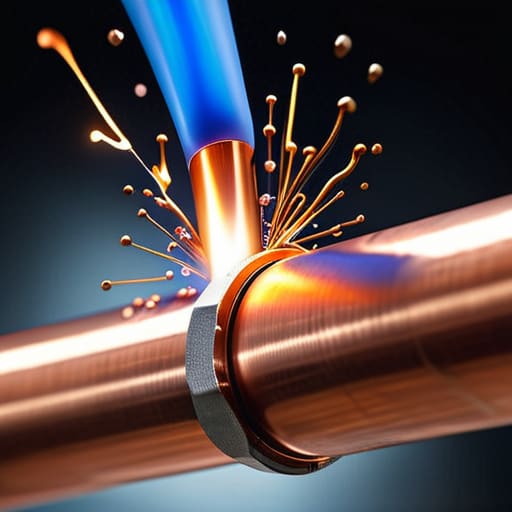
Now, I see a lot of folks getting these two mixed up, and that’s where the trouble starts. The main thing you need to understand about brazing vs soldering copper is the heat you’re putting into the metal. Soldering is fine for something low-stakes, like a little bit of electronics or some basic plumbing where the pressure isn’t going to kick up. You’re basically just using a filler metal to glue things together at a relatively low temperature. But if you’re working on something that needs to hold up under real stress, soldering just won’t cut it.
When I’m in the shop, I’m looking for a bond that’s actually part of the structure. That’s where brazing comes in. Because you’re using a much higher torch temperature for copper brazing, the filler metal—often a silver solder for copper—actually flows into the joint through capillary action. It doesn’t just sit on the surface; it pulls itself deep into the seam. It takes more patience and a steady hand, but you end up with a copper pipe joint strength that can withstand the test of time. If you want it done right, don’t settle for the quick fix.
Mastering Torch Temperature for Copper Brazing
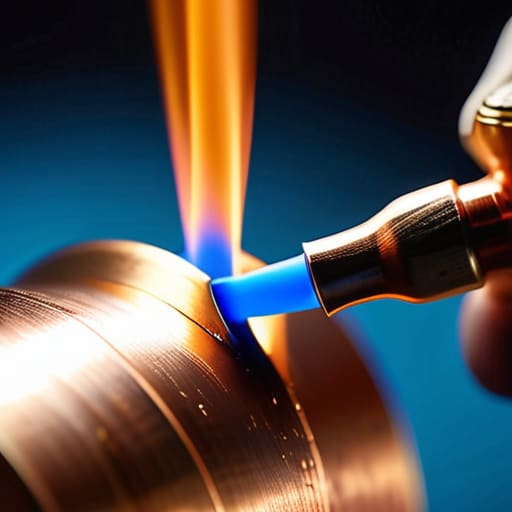
Now, if you want a joint that’ll actually hold up under pressure, you have to get your head right about the flame. You aren’t just looking to melt the filler; you’re looking to soak the metal with heat. I’ve seen too many young fellas come into my shop with a torch held too close, blasting one spot like they’re trying to burn a hole through the floor. That’s a mistake. You need to sweep the flame across the entire surface of the fitting and the pipe, ensuring the heat is even. If the copper isn’t hot enough, the filler won’t flow; if it’s too hot, you’ll cook your flux right out of the joint before the metal even gets a chance to react.
The real secret to a professional finish is understanding capillary action in brazing. You aren’t pushing the metal into the gap; you’re letting physics do the heavy lifting. When you hit that sweet spot with your torch temperature for copper brazing, the filler will practically suck itself into the connection. You’ll know you’ve got it right when you see the silver solder pull deep into the seam without you having to force it. Patience is your best tool here. If you try to rush the pull, you’ll end up with a hollow, weak joint that’ll fail the moment it sees any real stress.
Five Rules to Keep Your Joints from Failing
- Clean your copper until it shines; any bit of oil, oxidation, or grime left on that surface will act like a barrier, and your filler metal won’t bond properly.
- Don’t just aim the flame at the rod; you have to heat the base metal itself until it’s ready to pull the alloy in through capillary action.
- Use the right flux for the job, and don’t be stingy with it—if the flux dries out or burns up before the metal is ready, you’re headed for a weak joint.
- Watch the color of the metal, not just the flame; you’re looking for that dull cherry red, and if you push it too far toward bright orange, you’re going to burn your work.
- Let the joint cool naturally instead of quenching it in water immediately; rushing the cooling process can create internal stresses that’ll crack your work later on.
The Bottom Line on a Proper Braze
Don’t mistake heat for speed; you need to get the copper itself up to temperature so the filler flows naturally, rather than trying to melt the rod with the flame directly.
Cleanliness isn’t optional—if there’s even a hint of oxidation or grease on that metal, your braze will fail, and you’ll be wasting your time and good material.
Trust your eyes more than your thermometer; watch how the molten filler wicks into the joint, and once it’s set, let it cool steady and slow instead of quenching it in a rush.
## The Cost of a Cold Joint
“If you’re looking for a quick fix that’ll hold for a week, go find some solder; but if you want a joint that’ll outlive the person who made it, you have to respect the heat and let that filler flow where it’s told. You can’t bully copper into a good bond, you have to coax it.”
Alistair Fenwick
Putting the Torch Down
At the end of the day, a successful copper braze comes down to three things: choosing the right filler, managing your heat with a steady hand, and having the patience to let the capillary action do its work. If you’ve rushed the temperature or failed to clean your surfaces properly, you aren’t going to get that deep, structural bond that separates a real repair from a temporary patch. Remember, you aren’t just melting metal together; you are fusing components into a single, reliable unit. Don’t let the urge to finish the job quickly override the need to do it right the first time, because a failed joint is just a waste of your time and good copper.
I know it can feel intimidating when you’re staring down a piece of heirloom equipment or a critical plumbing line, but don’t let the fear of a mistake keep your torch cold. Every master I ever worked with started out by making a mess and burning through a few rods. The real skill isn’t just in the movement of your hands, but in the discipline of your mind. Take your time, respect the materials, and treat every joint as a testament to your craftsmanship. When you finally see that perfect, even bead of filler metal, you’ll know you’ve built something that’s truly meant to last.
Frequently Asked Questions
What kind of flux should I be using to make sure I'm not just burning up the metal?
Look, if you’re brazing, stop reaching for that standard plumbing solder flux. It’s too weak and won’t stand up to the heat you need. You need a dedicated brazing flux—something specifically formulated for high temperatures. If you use the wrong stuff, you’ll just cook the flux into a crusty, useless mess before the filler metal even flows. Get a good white brazing paste; it’ll keep those oxides at bay while you’re working.
How do I know if I've overheated the copper and ruined its temper?
You’ll see it in the color. If that copper turns a dull, dark purple or a muddy black instead of a bright, cherry red, you’ve pushed it too far. You might also notice the metal getting “gummy” or losing its structural snap. If it feels soft like lead or looks like it’s been scorched, you’ve cooked the life out of it. Once you lose that temper, you aren’t just working with metal anymore—you’re working with scrap.
Can I use a standard propane torch for this, or am I going to need something more heavy-duty like MAPP gas?
Look, if you’re just joining two tiny little wires, a standard propane torch might get the job done. But for anything substantial—real copper tubing or heavy plate—propane is going to leave you frustrated and wasting fuel. It just doesn’t pack the punch you need to get the metal up to temperature quickly. Grab a canister of MAPP gas. It burns hotter and faster, which means you spend less time chasing the heat and more time doing quality work.
