I remember sitting in my first shop back in the late seventies, staring at a catalog filled with shiny, overpriced equipment that promised “professional results” for the amateur. I spent half my paycheck on a fancy power hammer that ended up gathering dust because I hadn’t even mastered the basics of a decent anvil or a reliable set of tongs. Most of the fluff you’ll find online today is just a way to get you to buy more junk you don’t need, but a real forging tools guide shouldn’t be about how much money you can throw at a problem. It should be about knowing exactly which piece of iron is going to stand up to the heat when the work gets heavy.
I’m not here to sell you on some high-tech, computerized setup that’ll be obsolete by next Tuesday. My goal is to give you the straight truth on the essential gear that actually earns its keep in a working shop. I’ll walk you through what to look for in quality steel and how to spot the difference between a tool that lasts a lifetime and one that’s just disposable scrap. We’re going to focus on the fundamentals, because if you don’t respect your tools, they certainly won’t respect your work.
Table of Contents
Essential Blacksmithing Workshop Setup Without Wasting Material
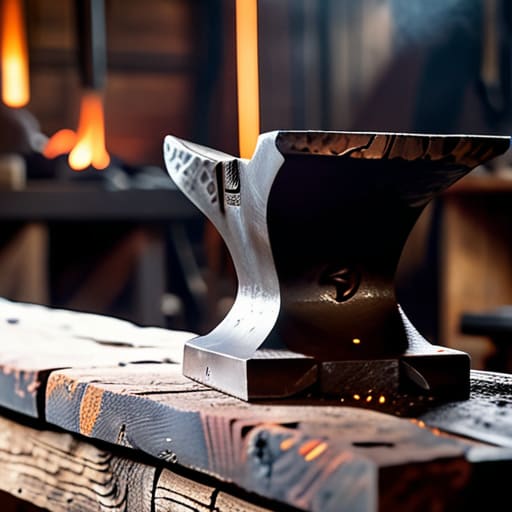
You don’t need a warehouse full of shiny, overpriced gadgets to get started, but you do need the right foundation. When I was starting out, I learned the hard way that buying cheap, flimsy gear is just a fast track to frustration. For an essential blacksmithing workshop setup, focus on the heavy hitters first. You need a solid anvil—and don’t let anyone talk you into a thin, cast-iron piece that’ll crack under a real strike. Anvil selection for beginners is all about mass and stability; if it moves when you hit it, you’re wasting your energy instead of shaping the steel.
Once your station is anchored, you have to look at your hand tools. You’ll eventually want a variety of forging tongs for different shapes, but don’t go overboard on day one. Start with a few versatile pairs that can hold a bar or a plate without slipping. I also tell my apprentices to invest in quality hammers early. Understanding the various forging hammer types and uses saves you from a sore wrist and a ruined workpiece. Get the tools that feel right in your hand, and keep them clean.
Anvil Selection for Beginners Finding Your Foundation
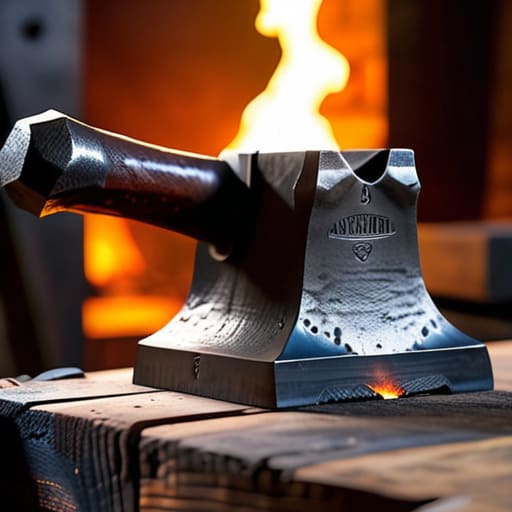
Now, let’s talk about the one thing that’ll either make or break your progress: the anvil. I’ve seen too many folks starting out by buying some cheap, cast-iron “hobby” anvil they found online. Let me tell you straight—those things are glorified paperweights. They’ll ring like a tin can and won’t hold an edge to save their life. When you’re looking into anvil selection for beginners, you need to look for something made of forged steel with a decent amount of mass. You want weight; you want that density so the energy from your hammer stays in the workpiece instead of vibrating right back into your elbows.
A proper anvil is your foundation, and if that foundation is soft or uneven, you’ll spend more time fighting your tools than shaping your steel. Look for a clear, distinct horn and a flat face that hasn’t been pitted or dented by someone else’s mistakes. It might cost a bit more upfront, but it’s a piece of equipment you’ll use for the rest of your life. Don’t settle for a compromise here; you can always upgrade your tongs or your fuel later, but a bad anvil is a hard mistake to undo.
Five Things You Shouldn't Skimp On
- Get a decent pair of tongs. I’ve seen too many beginners try to use pliers or makeshift clamps, and all they end up doing is burning their hands or letting the steel slip mid-swing. You need a pair that bites into the metal and stays there, no matter how much you’re working the heat.
- Don’t buy cheap, mystery-metal hammers. A hammer that’s poorly balanced or made of soft steel will vibrate right up your arm and leave you with sore wrists before the hour is up. Invest in a tool with a decent weight and a handle that feels like an extension of your own hand.
- Pay attention to your hammer face. I keep a bit of sandpaper in my pocket for a reason; even a new hammer can have tiny imperfections. If that face isn’t smooth, you’re going to leave marks on your workpiece that you’ll spend hours trying to grind out later.
- Your tongs are only as good as your ability to hold the piece. If you’re buying a kit, make sure it includes a variety of shapes—V-bit, flat, and maybe a pair of bolt tongs. Trying to force a tool to do a job it wasn’t built for is a quick way to ruin a good piece of steel.
- Look for quality in the used market, but be careful. A seasoned hammer or a set of well-maintained tongs from an old shop can be better than anything new in a big-box store, provided you check for cracks or structural fatigue. If it looks like it’s been abused, leave it on the shelf.
Things to Remember Before You Start Hitting Steel
Don’t go out and buy every gadget in the catalog; start with a solid anvil and a reliable forge, then build your kit as your skills grow.
Quality matters more than quantity, so invest in tools that can handle the heat and the weight rather than cheap imitations that’ll snap when you need them most.
Respect your workspace and your tools, because a disorganized shop leads to sloppy work and wasted material.
## The Truth About Your Toolkit
A cheap hammer or a poorly balanced tong isn’t just a nuisance; it’s a thief that steals your precision and your patience. If you’re going to invest in tools, invest in ones that feel like an extension of your own hands, because the metal won’t care about your excuses when you’re fighting a tool that’s working against you.
Alistair Fenwick
Getting Your Hands Dirty
At the end of the day, building a forge isn’t about having the flashiest setup or the most expensive imported hammer. It’s about having the right foundation—a solid anvil that won’t ring hollow, a forge that holds heat consistently, and a set of tongs that won’t slip when the metal is glowing cherry red. I’ve seen plenty of fellas blow through a small budget by buying cheap, soft steel tools that lose their edge or shape before the first month is out. Remember, you want to invest in tools that work with you, not against you. Focus on the essentials, prioritize durability over aesthetics, and don’t go chasing gadgets you don’t actually need to get the job done.
Once you’ve got your shop laid out and your tools within reach, the real work begins. You’re going to make mistakes; you’ll probably ruin a few good pieces of steel and realize you gripped a tool a little too tight. That’s just part of the process. The goal isn’t to reach perfection on your first strike, but to develop the patience and precision that separates a hobbyist from a craftsman. Take your time, respect the heat, and treat your tools with enough care that they’ll be around to teach you something new twenty years from now. Now, quit reading and get to the anvil.
Frequently Asked Questions
I’ve seen some folks using cheap, lightweight hammers from the big-box stores—will those actually hold up once I start heavy drawing, or am I just throwing money away?
You’re throwing money away, plain and simple. Those big-box hammers are usually made of cheap, cast steel that’s brittle. The first time you try some heavy drawing or hit a piece of cold steel, you risk the head cracking or, worse, chipping off a piece of metal that’ll fly straight at your face. Buy a proper forged steel hammer. It’ll balance better in your hand and, more importantly, it won’t fail you mid-strike.
Is it worth spending the extra coin on a propane forge right out of the gate, or should I stick to a coal forge until I know I'm serious about this?
Look, if you’ve got the extra coin, go with the propane. Coal is traditional, sure, but it’s messy, finicky, and requires a lot of management just to keep a consistent heat. When you’re starting out, you want to spend your energy learning how the steel reacts to the hammer, not fighting a temperamental fire and cleaning up ash all night. Propane is cleaner, more predictable, and lets you get straight to the work.
How do I tell the difference between a decent piece of secondhand steel and something that's going to crack the moment it hits the anvil?
You can’t just trust a pretty surface. I always start by looking for deep pits or heavy scaling—that’s a sign of neglect or poor quality. But the real test is the spark. If you can get a grinder on it, watch those sparks. High-carbon steel throws bright, branching sparks like a firework; mild steel just gives you a dull, straight spray. If it’s too brittle or has too many impurities, it’ll snap when you try to work it.
