I remember sitting at my workbench ten years ago, staring at a rusted-to-hell Stanley plane I’d pulled from a damp cellar, thinking I’d need a chemistry degree and a mountain of expensive solvents to bring it back. I was wrong. Most folks think vintage tool restoration is about buying a dozen fancy chemical sprays and scrubbing until your knuckles bleed, but that’s just a fast way to strip the character right out of the steel. The truth is, if you treat the metal with a bit of respect and understand how it was forged in the first place, you don’t need a miracle—you just need the right sequence of steps.
In this guide, I’m going to skip the marketing fluff and show you how I actually get things done in my shop. We aren’t going to aim for “shiny and new,” because that’s not what these tools were meant to be; instead, we are going to aim for functional and honest. I’ll walk you through the proper way to manage rust, how to clean up old wood handles without ruining the grain, and why you should never rush the process. If you’re ready to stop buying disposable junk and start fixing what’s worth keeping, let’s get to work.
Table of Contents
Guide Overview
Tools & Supplies
- Wire brush for removing loose rust
- Sandpaper assortment (various grits) for smoothing metal
- Screwdriver set for disassembly
- Buffing wheel or cloth for final polish
- Penetrating oil (1 bottle) for loosening stuck parts
- Rust converter or phosphoric acid (1 small bottle)
- Sandpaper pack (80 to 400 grit)
- Mineral oil or paste wax (1 tin) for protection
Step-by-Step Instructions
- 1. First things first, you need to get that tool stripped down to its bare bones. I don’t care how much you want to get straight to the polishing; if there’s old grease, flaky rust, or decades of grime holding onto the metal, your finish will look like garbage. Use a stiff wire brush or a bit of steel wool to knock off the heavy scale, but don’t go overboard with a power grinder right away. You want to see what you’re actually working with before you start making permanent changes to the surface.
- 2. Once the heavy junk is gone, it’s time for a proper soak. I’ve always found that a simple vinegar bath works wonders for most common rust, but you have to keep a close eye on it. Don’t just toss it in a bucket and walk away for a week; if you leave it too long, the acid will start eating into the good metal along with the rust. Check it every few hours. Once the rust has softened up, scrub it clean with a nylon brush and rinse it thoroughly with water to stop the chemical reaction.
- 3. Now, this is where most folks lose their patience and ruin a good find: drying. If you leave a piece of metal sitting damp on a workbench, it’ll have a fresh coat of orange rust before you can even finish your coffee. Get a rag and dry it immediately, then hit it with a bit of heat from a torch or a hair dryer to make sure every bit of moisture is evaporated from the pores of the metal. I usually keep a bit of light oil on hand just to wipe it down the second it’s dry.
- 4. Next, we get down to the actual smoothing. This is the part that separates the craftsmen from the hobbyists. Start with a medium-grit sandpaper to level out any pits or deep scratches left behind by the rust. Work in one direction—don’t go in circles like you’re buffing a car—and keep your movements steady. If you feel a bump, stop and address it. You want to respect the geometry of the tool; if it’s a plane or a chisel, that edge needs to be true, not just pretty.
- 5. Once the surface feels smooth to the touch, move up to a finer grit. I like to work my way through the grits systematically, moving from 220 up to 400 or even 600 if the tool is worth the extra effort. You’ll know you’re doing it right when the scratches from the previous grit are completely gone. It’s tedious work, I know, but shortcuts only lead to wasted material in the long run. If you skip a grit, you’ll just spend twice as much time trying to hide the mistake later.
- 6. For the final touch, you need to protect what you’ve just spent hours perfecting. For cast iron or carbon steel, a thin coat of boiled linseed oil or a high-quality paste wax is my go-to. Apply a very thin, even layer and buff it out with a clean cloth. You aren’t trying to build up a thick, sticky mess; you just want a microscopic barrier between the metal and the air. This ensures that the tool stays in your shop and doesn’t end up back in the scrap bin next season.
Patina vs Rust Removal Knowing When to Stop
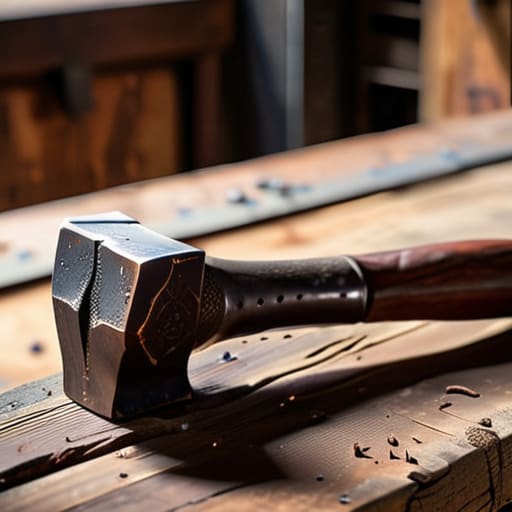
One of the biggest mistakes I see beginners make is treating every speck of discoloration like it’s a disease that needs to be cured. There is a massive difference between patina vs rust removal, and knowing the distinction is what separates a craftsman from a scavenger. A deep, even patina is a sign of age and character; it’s a protective layer that tells the story of the tool’s life. If you go in with a wire wheel or heavy abrasives trying to make an old hammer look like it just rolled off a modern assembly line, you’re stripping away its soul. You want to aim for a surface that’s clean and functional, not a piece of shiny, soulless scrap metal.
When you’re cleaning old hand planes or chisels, look closely at the texture. If the oxidation is just a thin, dark film that doesn’t pit the surface, leave it be. But if you see bubbling, flaking, or deep orange crust, that’s active corrosion that will eventually eat into the structural integrity of the steel. My rule of thumb is to remove the grit, but preserve the history. Once you’ve cleared the bad stuff, make sure you’re protecting the steel from corrosion immediately with a light coat of oil, or you’ll just be fighting the same battle again by next Tuesday.
Cleaning Old Hand Planes Without Wasting Good Steel
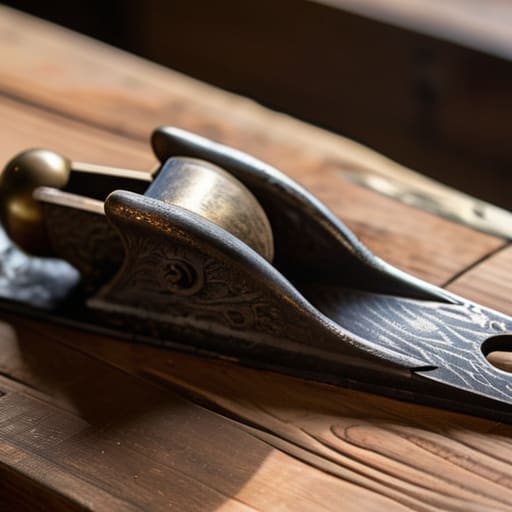
When you’re cleaning old hand planes, the biggest mistake I see is people treating the tool like it’s something to be scrubbed clean of its history. A hand plane isn’t just a piece of hardware; it’s a precision instrument. If you go too heavy with the abrasive pads or a wire wheel, you’ll start eating into the flatness of the sole. Once you’ve lost that precision, you aren’t restoring it—you’re just making a paperweight. I always tell folks to focus on reconditioning vintage hardware by targeting the pitting rather than trying to make the entire surface look like it just rolled off a factory line.
If you find yourself stuck between a deep rust spot and a healthy aged surface, remember that preserving the soul of the tool is more important than a mirror finish. Use a fine-grade emery cloth or even a bit of steel wool soaked in light oil to work through the stubborn bits. Once you’ve cleared the grime, don’t just set it back on the bench. You need to be proactive about protecting steel from corrosion by applying a thin coat of paste wax or a dedicated camellia oil. It keeps the moisture out and ensures that the next time you pick it up, it’s ready to work.
Five Rules to Keep You from Ruining Good Steel
- Stop the sandblasting urge. I see folks coming into my shop wanting to blast every bit of character off an old tool with high-pressure grit. You’ll strip the history right out of it and leave you with nothing but raw, vulnerable metal that’ll pit again before the month is out.
- Watch your heat levels like a hawk. If you’re trying to remove a stuck part or temper a blade, don’t just crank the torch and hope for the best. If you get it too hot too fast, you’ll ruin the temper and turn a precision tool into a useless piece of scrap.
- Use the right solvent for the job. Don’t go throwing harsh, modern chemicals at a tool that’s been around since your grandfather was in diapers. Stick to something predictable like kerosene or a bit of mineral spirits so you aren’t fighting unexpected reactions.
- Keep your workspace organized, or you’ll lose the small bits. There is nothing more frustrating than spending three hours cleaning a plane only to realize you’ve misplaced the one tiny screw that holds the adjustment mechanism together. A tidy bench is a productive bench.
- Always test your oil. When you’re applying a protective coating to prevent flash rust, don’t just slather on whatever’s sitting in a can in the corner. Use a high-quality, non-drying oil that actually penetrates the surface instead of just sitting on top like a greasy film.
The Bottom Line on Working with Old Iron
Don’t mistake a good patina for neglect; if the metal is still structurally sound, leave the character alone and only strip away the genuine rust that’s eating into the surface.
Patience is your most valuable tool in the shop, so take your time with the heat and the abrasives to avoid thinning out the steel or ruining the tool’s original geometry.
Always prioritize the function of the tool over its appearance, because a shiny piece of metal that doesn’t hold an edge or stay true is nothing more than a paperweight.
## On the Value of Old Steel
You aren’t just stripping away rust when you work on an old tool; you’re clearing the path to see the quality that was put into it fifty years ago. If you scrub it until it shines like a cheap new toy, you’ve missed the point entirely.
Alistair Fenwick
The Long Game in the Workshop
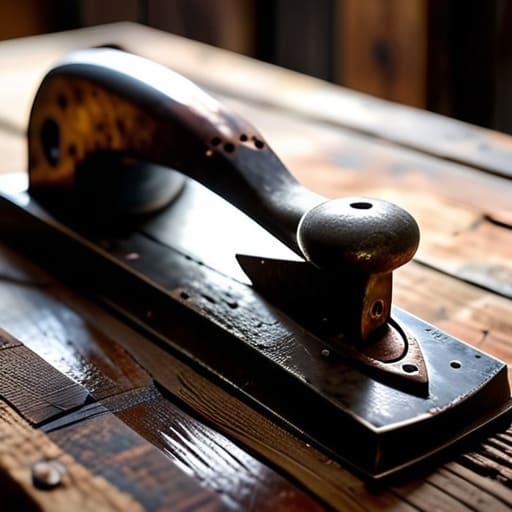
At the end of the day, restoring a piece of vintage steel isn’t just about scrubbing away the orange crust or making a surface shine like a new dime. It’s about the balance you find between cleaning and preserving. You’ve learned to distinguish between the destructive rust that eats into the core and the honest patina that tells the tool’s story. You’ve seen why rushing the process—whether it’s through aggressive grinding or improper heat treatment—only leads to a ruined workpiece. Remember, the goal isn’t to make an antique look like it just rolled off a modern assembly line; it’s to ensure the tool is structurally sound and ready for another fifty years of hard labor.
When you finally wipe the last bit of oil onto that restored plane or chisel, take a second to look at it. You aren’t just looking at a tool anymore; you’re looking at a piece of history that you’ve personally rescued from the scrap heap. There is a profound satisfaction in knowing that because you took the time to do it right, this implement won’t end up in a landfill next year. We live in a world that’s obsessed with the new and the disposable, but out here in the shop, we do things differently. Keep your tools sharp, keep your patience even longer, and never stop respecting the metal.
Frequently Asked Questions
How do I tell the difference between surface oxidation and deep pitting that might actually compromise the tool's strength?
You’ve got to use your eyes and your fingernails for this one. Run your nail across the metal; surface oxidation feels like a light grit, something you can buff away with a bit of fine sandpaper. But if your nail catches in a crater, or if you see dark, jagged “canyons” eating into the steel, that’s pitting. If those pits are deep enough to compromise the tool’s geometry or structural integrity, it’s no longer a restoration—it’s a liability.
Is it worth using a modern chemical rust remover, or am I better off sticking to traditional methods like vinegar and steel wool?
Look, if you’re working on a piece of junk you plan to toss in a scrap bin, go ahead and douse it in those modern chemicals. But if you’re handling something with history, stay away from the harsh stuff. Those acids can be unpredictable and might eat into the good metal faster than you realize. I’ll stick to white vinegar and a bit of elbow grease every time. It’s slower, sure, but you stay in control.
Once I've got the metal clean, what's the best way to coat it so it doesn't start rusting again the moment I put it back on the workbench?
Once the metal is clean, you’ve got to seal it fast before the humidity gets to it. For most hand tools, I swear by a thin coat of boiled linseed oil. Rub it in well with a clean rag, let it soak, and wipe off the excess. If it’s a tool that sees heavy use, a bit of paste wax works wonders too. Just don’t go overboard with heavy grease; you want protection, not a mess.
