I still remember the first time I stood in front of a heavy industrial machine in my apprenticeship, the smell of cutting oil thick in the air and the steady, rhythmic hum of the motor vibrating right through the soles of my boots. I was terrified of making a mistake, especially after watching a senior fabricator lose a week’s worth of work because he tried to force a cut that wasn’t ready. There’s a specific kind of tension you feel when you’re first using a metal lathe, a mix of respect for the power in your hands and the fear of ruining a perfectly good piece of stock. It isn’t like the digital simulators they show you in those fancy modern courses; it’s loud, it’s messy, and it demands your full attention.
I’m not here to sell you on some high-tech, automated magic that does the thinking for you. My goal is to give you the straight truth about how to actually control that machine without wasting material or breaking tools. I’ll show you how to listen to the metal and find the right rhythm, because once you master the fundamentals, you stop fighting the machine and start working with it.
Table of Contents
Never Neglect the Crucial Lathe Safety Protocols
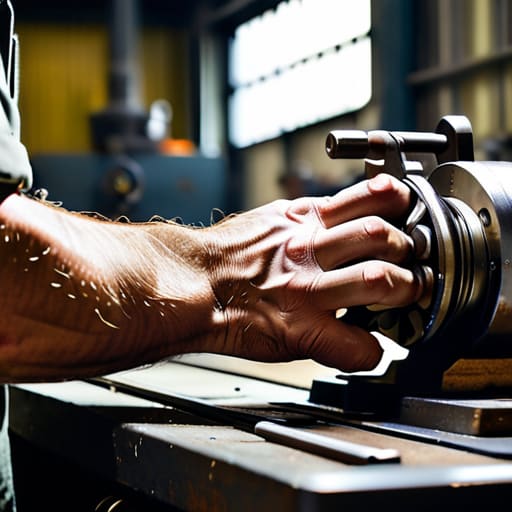
Now, listen close, because this is where a single moment of carelessness turns a productive afternoon into a trip to the emergency room. I’ve seen too many young lads walk into a shop thinking they’re faster than the machine, only to find out the machine doesn’t care about their ego. You need to treat your lathe safety protocols as if they were written in stone, not just some suggestions in a manual. Before you even think about flicking that power switch, make sure your chuck key is out of the machine and your workspace is clear of any loose scrap or oily rags.
It isn’t just about the big accidents, either; it’s about the small, stinging mistakes. If you’re performing complex metal turning operations, you have to be mindful of those long, curling swarf ribbons. Never try to clear them away with your bare hands while the spindle is turning—use a hook or a brush, or better yet, stop the machine entirely. I always say, if you feel like you’re rushing, you’ve already lost control. Take a breath, check your guards, and respect the power spinning right in front of your eyes.
Mastering Machining Tool Settings for a Proper Cut

Once you’ve got your safety gear sorted, you need to talk about the actual business of the machine: your machining tool settings. I’ve seen too many young fellas walk up to a lathe, slap a tool in the holder, and crank the handles without a second thought. That’s a recipe for a broken bit or a ruined workpiece. You have to understand how your tool interacts with the material. Before you even touch the power switch, make sure your tool bit is centered exactly on the axis of rotation. If it’s even a hair too high or too low, you aren’t cutting; you’re just rubbing, and that’s going to generate heat that’ll ruin your temper.
Getting your spindle speed calculation right is where the real craftsmanship shows. You can’t just guess. A heavy cut on stainless steel requires a slow, steady rotation, whereas a light pass on aluminum might allow for more speed. If you hear a high-pitched scream or feel a shudder in the floor, you’ve got your settings wrong. Stop, adjust, and listen to the metal. It’ll tell you exactly what it needs.
Five Rules for Keeping Your Work Precise and Your Machine Happy
- Listen to the sound of the cut. A good cut has a steady, rhythmic hum; if you start hearing a high-pitched scream or a heavy chatter, you’re either pushing the feed too hard or your tool is dull. Don’t just crank the handwheel harder—stop, adjust your depth, and find that sweet spot again.
- Keep your chips under control. I’ve seen too many young fellas let long, stringy curls of metal wrap around the chuck or the workpiece. It’s a mess, and it’ll ruin your finish. Use a chip breaker on your tool bit, and if you see a nest forming, shut the machine down and clear it out properly.
- Clean your ways every single time you finish a session. A little bit of fine grit or a stray metal shaving left on the bed rails can score the metal and ruin the precision of your machine for years to come. Wipe them down with a clean rag and a bit of light oil before you walk away.
- Don’t trust your eyes alone; use your calipers. You might think you’re getting close to your target dimension, but “close enough” isn’t a measurement in a real machine shop. Measure frequently, especially as you approach your final pass, because once you take too much off, there’s no putting it back on.
- Watch your coolant levels like a hawk. If you’re running dry or your flow is blocked, you’re going to burn up your tool bits and heat the workpiece unnecessarily. Heat is the enemy of precision, so make sure that fluid is hitting the point of contact exactly where it needs to be.
Lessons From the Workbench
Listen to the machine; if the sound of the cut changes from a steady hum to a chatter or a scream, stop what you’re doing and check your tool geometry or your feed rate immediately.
Keep your workspace clean and your chips controlled, because a stray bit of metal in the wrong place is the quickest way to ruin a precision finish or, worse, catch your hand.
Don’t trust a measurement just because you saw it on a digital readout; always double-check your work with a manual micrometer to ensure the piece is actually where it needs to be.
The Sound of a Good Cut
You’ll know you’ve got the settings right not by what you see, but by what you hear; if that machine starts screaming at you, you’ve stopped machining and started fighting the metal, and the metal always wins that fight.
Alistair Fenwick
Putting the Work to the Metal
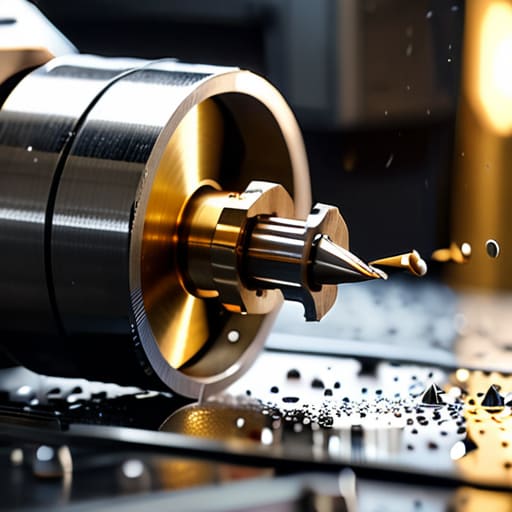
At the end of the day, running a lathe isn’t about how fast you can clear a pile of chips or how many parts you can churn out before lunch. It’s about the discipline you show when you’re setting your tool geometry and the respect you show for the safety protocols we discussed. If you take the time to dial in your machine, listen to the sound of the cut, and never bypass a safety check just because you’re in a hurry, you’ll find that the metal starts to behave. Remember, a poorly set tool or a rushed cut isn’t just a waste of time; it’s a waste of good material that you can’t simply click a button to replace.
There’s a particular kind of satisfaction that comes from stepping back and looking at a piece of stock that you’ve shaped with your own hands and a steady eye. It’s a feeling you won’t get from buying something off a shelf. This craft requires a bit of grit and a lot of patience, but once you master the machine, you stop being just a consumer and start being a maker. Don’t let the fear of a bad cut keep you from the lever. Keep your tools sharp, keep your mind focused, and build something that’s actually worth keeping.
Frequently Asked Questions
How do I know if I'm pushing the feed rate too fast and risking a tool break?
Listen for the chatter. If you hear a high-pitched, rhythmic screaming or a heavy vibration shaking the whole machine, you’re pushing it too hard. You’ll also see it in the chips; if they’re coming out uneven or looking scorched, back off. Most importantly, watch your tool tip. If you see a sudden, violent shudder or a smell like burning oil, stop immediately. You’re about to snap a carbide tip, and those aren’t cheap.
What's the best way to deal with chatter when I'm trying to get a smooth finish on a long piece of stock?
Chatter is a headache, plain and simple. If that long piece of stock is vibrating like a tuning fork, you’ve got too much overhang. First thing, shorten your workholding; get that piece as close to the chuck as you can without hitting the tool. If you can’t, use a tailstock with a live center to steady it. Also, check your tool geometry—sometimes a slightly larger nose radius or a shallower cut will stop the dancing.
When should I stop trying to adjust the tool bit and just realize I need to change the material or the speed entirely?
If you’ve spent twenty minutes fiddling with the tool height or the feed rate and you’re still hearing that high-pitched scream or seeing nothing but burnt-off chips, stop. You’re fighting a losing battle. If the tool isn’t biting, it’s usually because your RPM is too high for the hardness of the stock, or your bit is simply the wrong grade for the job. Don’t punish your machine; just change your settings or your material.
